Category Archives: Travel Blogs

A Student Ambassador–The Trip Begins

Trip Planning Documents

Its been eight months in the planning but the time has finally arrived for the next group of student ambassadors to begin their journey to discover Europe. During this time of preparation there has been funds to raise, travel documents to submit, packing lists to prepare, and picking up those items before now. Let the adventure begin!

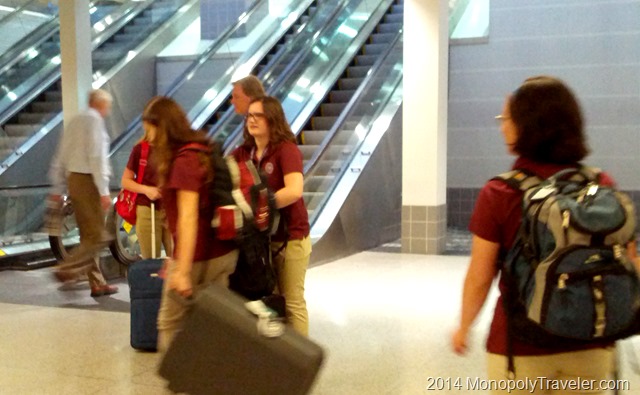
And begin it did. Not the way we were hoping though. Finally it was time to leave for the airport. Everybody was nervous as this new experience was beginning. Parents watching as their child meets with their delegation and passes through security. Delegates leaving their families behind for several weeks uncertain of what to expect in Europe. Siblings both sad to see their brother or sister leave for so long and jealous that they were not the ones going. As this group of student ambassadors walked out of sight for the last time, their families, already missing them, slowly dispersed back to their vehicles and returned home anxious to here any small amount of information about their voyage.

Getting Ready to Leave

Soon the text messages began: “the flight is delayed”, “we should be boarding about an hour and a half late”. Since this flight was already an overnight flight, we decided to head to bed with the mobile phone close by. As the night progressed, more texts came describing a later and later boarding time. Finally the phone rang “Come pick me up. Our flight has been cancelled due to mechanical problems and we can’t get another one for two days!” all said with anger, sadness, and exhaustion. These student ambassadors returned home weeks before they were expecting to uncertain of what to do or think. Only knowing that they would miss part of their trip – London – a very important destination on their itinerary.

After getting some sleep and making phone calls and sending emails, the new flight details came along with an updated itinerary which included most of the landmarks that would be missed due to the change in the departing date. This information brought many sighs of relief and a renewed excitement among the delegation. Now the waiting game begins again, watching the hours slowly tick by, anxiously wanting that trip to the airport to arrive again.

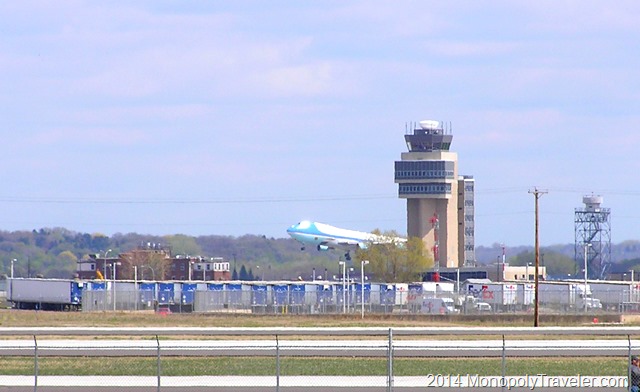
Finally it was time to board the vehicle providing transportation to the airport that was the site of so much angst days ago. Again families joined their child as they re-joined their delegation, passed through security, and reluctantly left the airport. Not again! Here come the texts “the plane is delayed.” THIS CAN’T POSSIBLY HAPPEN AGAIN! Can it? This time it was due to the arrival of President Obama. Once he landed and was safely at his hanger, planes began taking off again and this group of Student Ambassadors was in flight. Although this time is was in three separate groups, one headed for Detroit before going to London and the other two headed for Atlanta first. All eventually met up again in London safely to begin their European adventure.

Air Force One

Travel Photos–The Camera …. part II

Point and Shoot Cameras

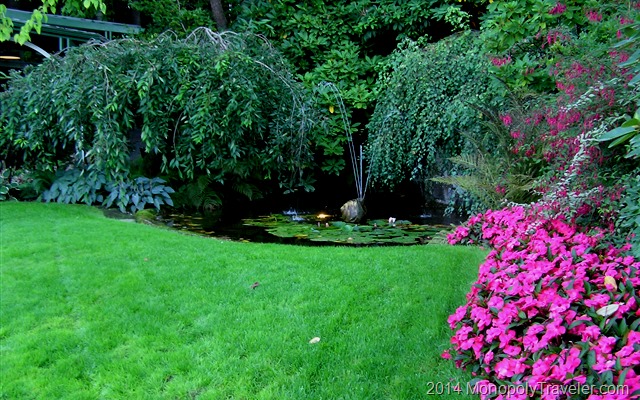
An Evening Garden Photo using a Point and Shoot Camera

A point and shoot camera is a camera with only one lens which can not be changed. These type of cameras take a bit more of an effort to use simply because they have to be with you when a photo opportunity presents itself. Older digital point and shoot cameras have a difficult time compared to newer phone cameras and newer point and shoot cameras. This is where you can start to understand the importance of lens quality on cameras. More affordable cameras typically have lower quality lenses producing lower quality photos. If you invest in a point and shoot camera with a quality lens it will reward you with higher quality photos for a longer time. I have an Olympus camera that is 8 years old that will take better photos than many newer point and shoot cameras simply because the lens is of a higher quality. The unfortunate reality is that it is only a 4MP camera meaning a reduced image quality for enlargements or if I need to crop a photo.

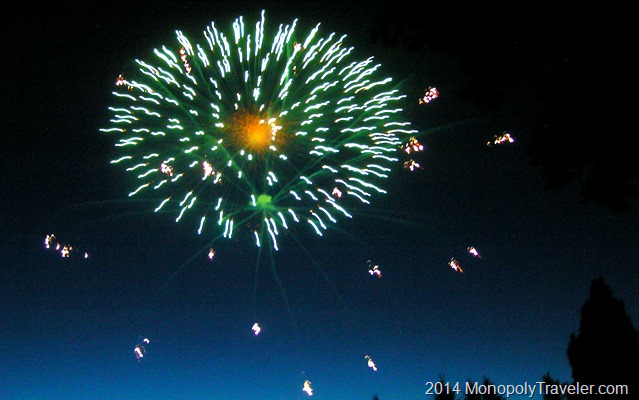
A Night Photo using a Point and Shoot Camera

Even if you can’t afford a higher quality point and shoot there is an advantage to using these cameras simply because of battery life. Phone cameras are not intended to take a lot of pictures on a single charge where as a point and shoot camera will take hundreds of pictures on a single charge and will save the battery on your phone for other things. Also, point and shoot cameras can produce a final picture which is a nicer photo because they are able to adjust the exposure better for the subject of that picture. Photo editing software can usually enhance point and shoot photos more to bring out the subject you were focusing on giving a nicer picture. This is not always the case when compared to today’s phone cameras but is generally so.
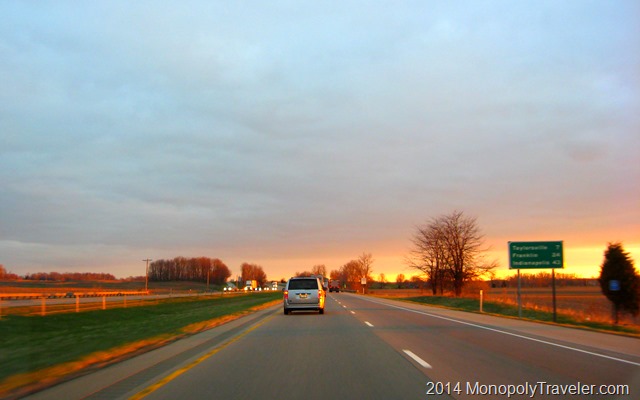
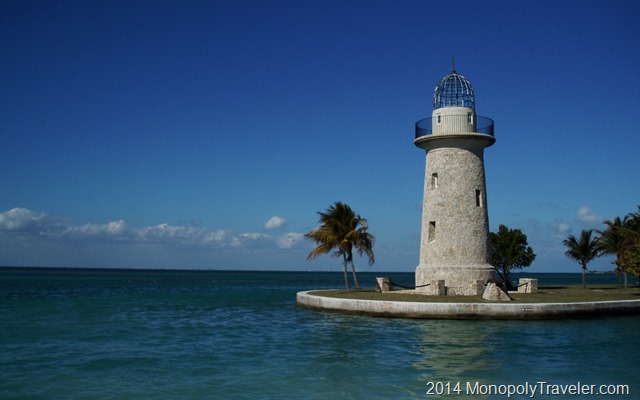
Afternoon Lighthouse using a Point and Shoot Camera

Photos from a point and shoot camera work great for printing off copies or for photo books and for the many photo gifts that can be purchased today. With wireless capabilities in many newer cameras or possibly in the storage card, these pictures can be uploaded to websites such as Flickr or Photobucket fairly easily making them available when you want to share them. Maybe not quite as easily as a phone camera can share photos but still not real difficult and getting easier as technology continues to improve.

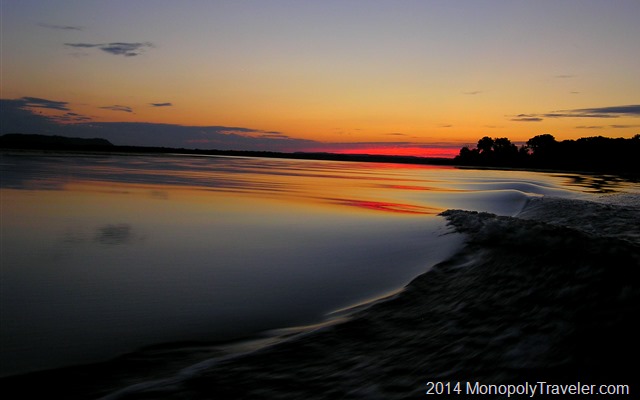
Dusk on the Mississippi River using a Point and Shoot Camera

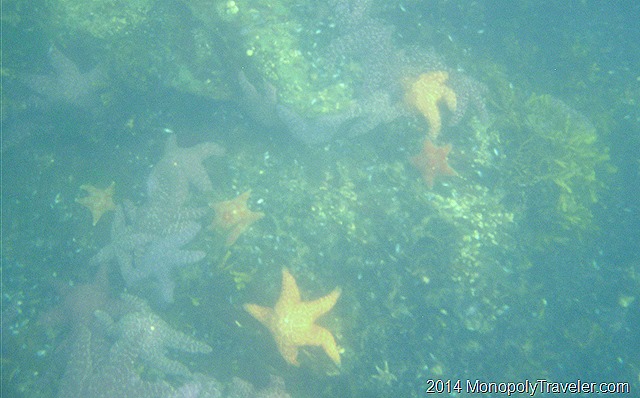
I still use a few point and shoot cameras for certain situations such as when taking time lapse photos or underwater pictures because I have waterproof cases for some of them or if I just want something quick and fairly easy to take with me and not lug around a bunch of camera gear. I could use my phone camera as well but battery life is sometimes a factor along with the ease of transferring pictures to my computer.

Underwater Picture of Starfish using a Point and Shoot Camera

To continue on with interchangeable lens cameras click here….

Travel Photos–The Camera

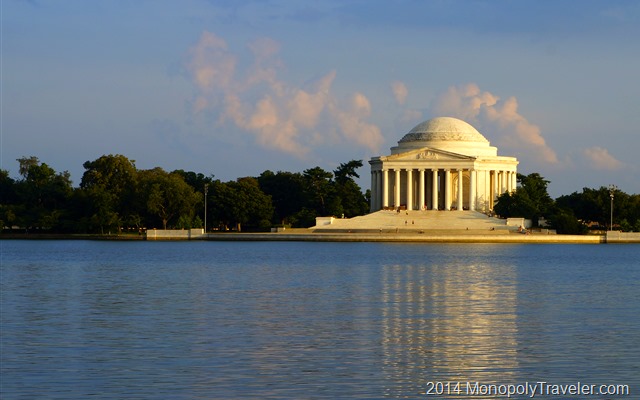
The Jefferson Memorial

Which camera should you use to take pictures while traveling? My answer is it depends on what you want to do with those photos after you’ve taken them. So many photos just end up sitting in storage whether that be on a computer or the camera card or in the cloud. If that’s the case then there really is no reason to use an expensive camera to take these pictures. Now if you want to get a poster made from some of your travel photos than using a DSLR may be the camera to use. Here are a couple of options based on my experience taking travel photos for the past 20 years or so.

Phone Cameras

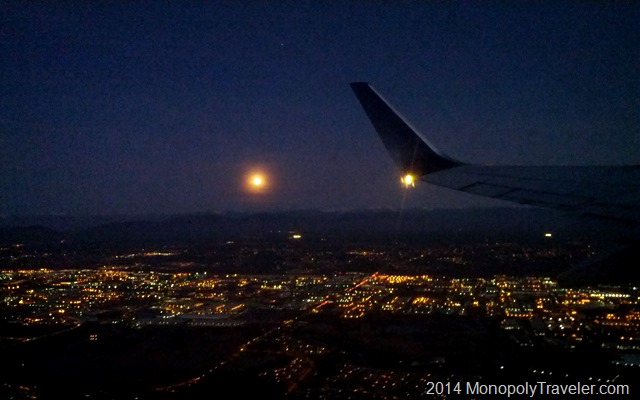
Night Photo Using Phone Camera Over Seattle

I couldn’t find any recent estimate of how many photos are taken with phone cameras but that number keeps rising every year as they continue to get better and better and the most available camera for most people is on their phone. Phone cameras are better than most point and shoot cameras of only 5 years ago in image quality. What a major improvement in a short time. The biggest advantage of taking your travel photos with the phone camera is that this camera is already with you whenever a capturable moment presents itself. And don’t forget, these cameras can often get into situations that other cameras can’t especially in tight places.

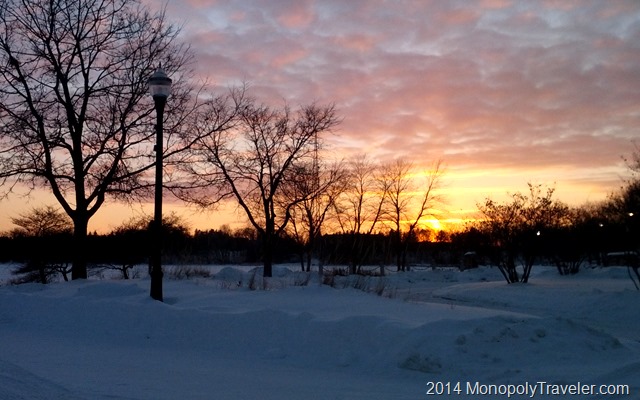
Winter Sunset Using Phone Camera

One of the downsides is limitations in editing and enlarging these photos. You can’t do as much with editing software on photos taken with a phone camera as you can with other cameras. This will likely change as these devices continue to improve. Enlargements can be more restricted due to the reduced image quality when wanting to have a 20 x 30 print of that amazing photo you captured. Another problem is the battery life of many of the phones and taking pictures with your phone wears the battery down even faster. Controlling what the camera focuses on can be a bit of a challenge which can affect some of your pictures and their sharpness.

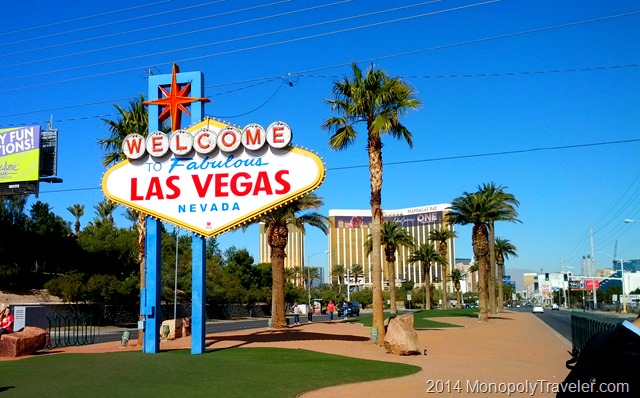
Las Vegas Sign using a phone camera

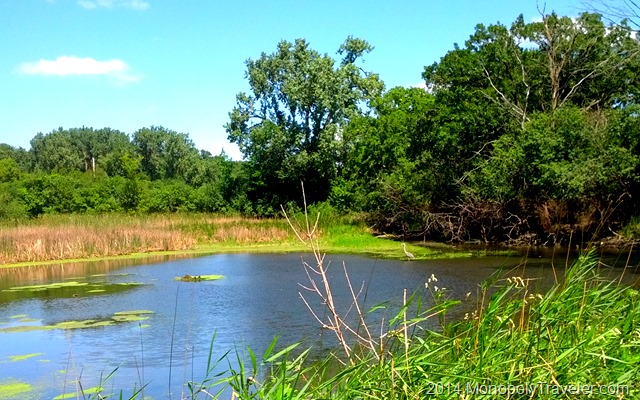
Photos taken with a phone camera are great for quickly uploading them to social media websites such as Facebook, Twitter, or Instagram. Emailing a photo taken with a phone camera can be easy to do and faster compared to any other type of camera. Smaller prints are great from most phone cameras as well as using these pictures in smaller photo books works well.

A Mid-Day Photo using a Phone Camera

To continue reading about point and shoot cameras go here….

A Quick Airport Tip

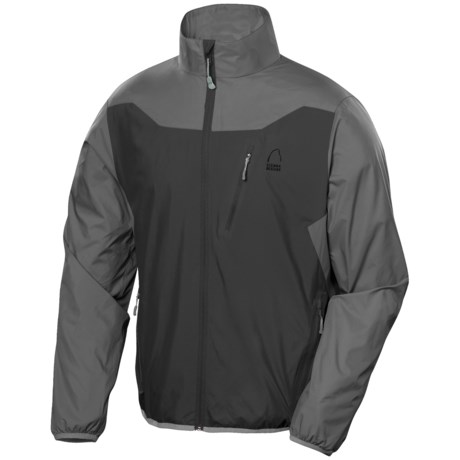
Sierra Designs Maverick Jacket (For Men) in Black/Slate

Going through airport security can already be challenging and stressful depending on how much stuff you have to carry through. One item that can make it a little easier is to wear a lightweight jacket with multiple pockets. You can empty out all of your items that you will need to place in a bin and put it in your jacket pockets and zip them shut before you get to the security screeners. Once you get to the screeners you just need to remove your jacket, place it in a bin and move on to the next step. After security, you grab your jacket and quickly put it on instead of grabbing your mobile phone and putting that back in your pants pocket and then going for your keys and putting them back in a pants pocket and searching for all of your loose change to put back in a pocket. Oh, and don’t forget a wallet with all of your valuable information in it.

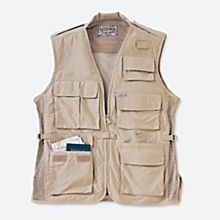
I know during the summer it can be quite warm and wearing a jacket might be adding to that warmth. A lightweight vest can also work. Often times it can be nice to have a light jacket on the airplane once they get to their cruising altitude. It can be a lot cooler next to the windows.

Travel Vest

This is not to suggest that you should go out and spend $150 dollars on a jacket for the airport unless you are going through airports several times a year. If you take an airplane once every other year or even a couple of times a year you can find a jacket suitable for this purpose for less than $50 and even for half of that if you wait until they are going on clearance. Many retailers will clearance out items toward the end of a season as they are bringing in the next season’s merchandise. Or you can watch online sites like sierratradingpost.com and sift through their clearance and sale items. Remember you want the jacket to have more than just the hand pockets and these pockets should be able to be secured with either a zipper or velcro if possible. Also, a pocket or two on the inside is a nice addition.

The first time I went through airport security with all of my loose items in my jacket pockets I was amazed how much easier it made things and the decreased level of stress was noticeable.

The Longest Cave

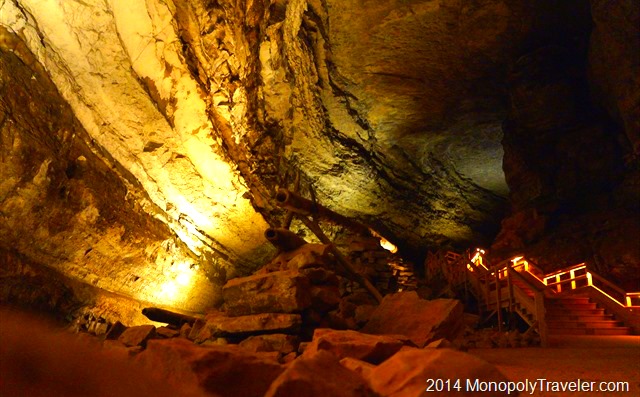
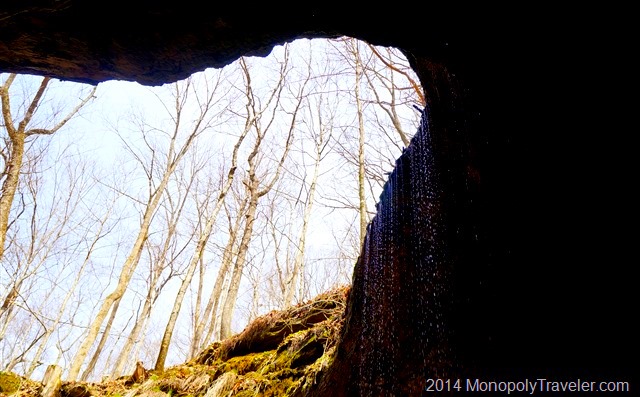
Inside the Enormous Cave

The longest cave in the world is found in Kentucky with over 365 miles of explored caves to wonder and get lost in. Although if you’re not an experienced cave explorer than you have to be escorted inside because it would be too easy to get lost and not be found for a long time as so many of the passageways look the same. Fortunately there is also a lot to explore outside of the cave as well with almost 80 miles of trails to hike and the Green River in this 53,000 acre national park.

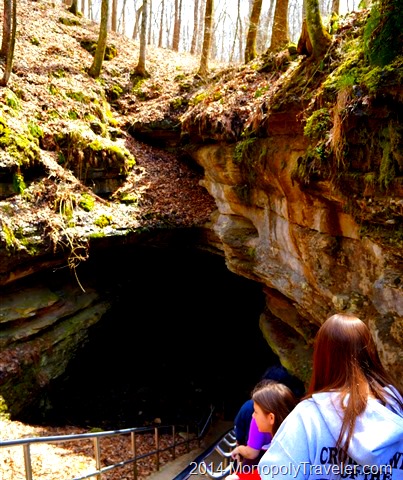
Heading into the Historic Entrance of Mammoth Cave

Mammoth Cave National Park is not on our National Parks Monopoly Board but has been a destination of interest for us and this spring we had to opportunity to join some friends and visit this cave. I get a little nervous before entering any cave due to claustrophobia but after going in Wind Cave and Jewel Cave I’ve learned that these caves are so enormous, especially where the tours are, that I forget I’m underground in a cave most of the time which allows me to take in the surroundings and enjoy the cave. I recommend getting to Mammoth early in the day as the tour tickets go fast at this popular National Park.

One Last Look Back to the Daylight

The pathways are fairly easily managed and there is plenty of light to navigate by, once your eyes adjust, while being led through the tunnels by a ranger. Just be prepared for a lot of stairs. There are several tour options available which take you to different parts of the cave and highlight different formations and the historic events that occurred in certain areas such as mining saltpeter which is used for gun powder and holding church services during the hottest times of the year. We chose to take the Historic Tour as our introduction to Mammoth Cave.

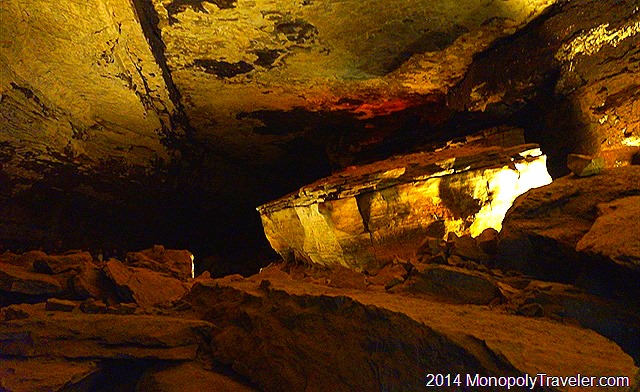
The Boulder Known as the Giant's Coffin

After meeting at the predetermined location we began walking towards the historic entrance which was all downhill for us. Following a brief talk covering the rules and guidelines inside the cave we headed down a long staircase going inside the cave. There was a set of doors to go through and we were inside this dark, cool, and damp maze. I was surprised to be underground exploring a cave this quickly. My prior experiences all required an elevator to get inside the cave and yet here we were. It was hard to see much making the lighting seem rather dim. As it turned out, our eyes just needed to adjust as moments earlier we were in the sunlight. Once our eyesight was adjusted for these cave conditions, it was much easier to take in these unique surroundings.
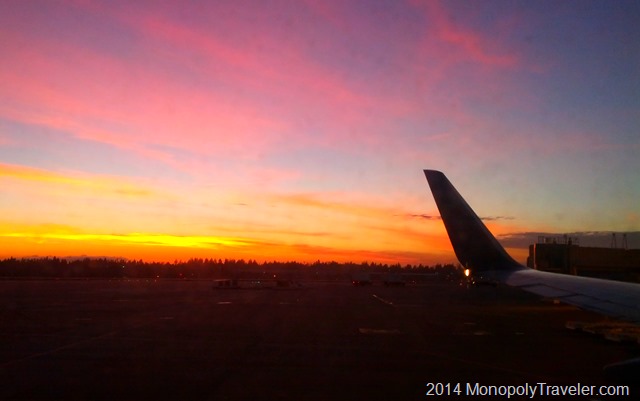
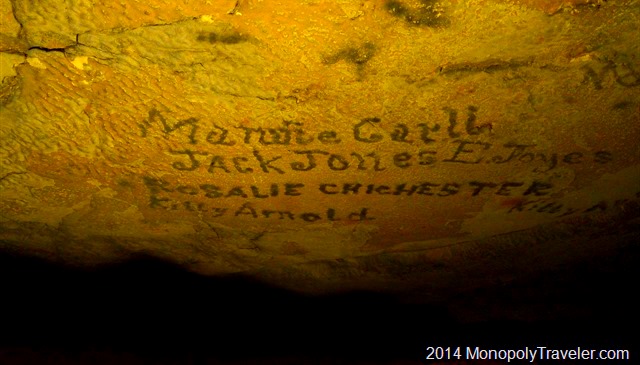
Some of the Writings on the Ceilings

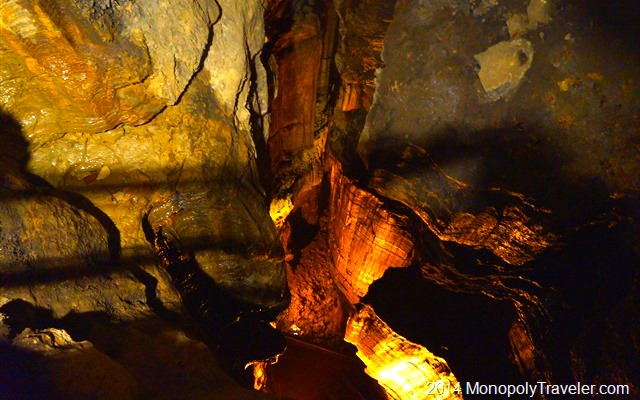
This two hour tour goes up and down, sometimes with stairs and other times just on a dirt path. It winds around boulders and man made structures used at different times during the many uses of Mammoth Cave. In some of the areas there are names written on the walls and ceilings from before becoming a National Park. There are naturally carved areas larger than most houses and tiny narrow openings that only one person can squeeze through in this winding system of tunnels. These passageways were all carved out by running water which continues to make new areas even today. Just at lower levels. Such amazing sights and beautiful formations to remember because photos are difficult and a tripod is not allowed on the tour. I just set my camera on a rock or the floor to keep it as still as possible to get the best pictures I could when there was time because the group was stopped. Otherwise you could fall behind and that was not a pleasant thought.
Looking Down From Mammoth Dome which has 155 stairs to get to the top.

Without lights it would be so dark you couldn’t see your hand right in front of your face. And when there is no one else near you it is so quiet all you can hear is a loud high pitched buzzing coming from the moving parts in your ears as air moves over them. Even with all the people on the tour there can be a sense of loneliness in such a large rock structure and a fear of getting lost in these numerous caverns. Good incentives to stay with the ranger leading the group and continually counting everyone that started this tour with you. After walking for about 2 miles you begin to see familiar stones again with daylight soon after. The tour is complete. Ready to do it again?

An Above Ground Trail

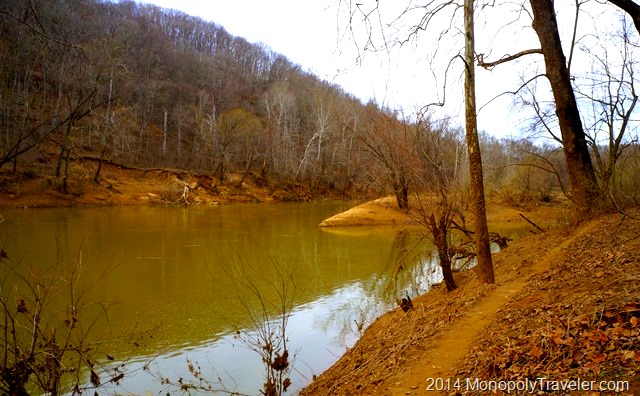
After being below ground for a couple of hours we decided to explore above ground for awhile to take in the scenery and an amazing spring day under the sun. The rock formations here are also beautiful and help translate to the rocks below ground. The main difference is that these rocks are subject to the harsh elements of the Kentucky climate such as wind and rain and snow and ice. There are plants growing all around breaking these enormous boulders into smaller rocks over time. All of which either does not occur underground or in lesser amounts. Plenty of this to climb on or around if you’re young enough. For the rest of us, the trails are relatively easy to navigate so everybody can enjoy time wondering through the woods and catch a glimpse of the Green River which is largely responsible for the depth of the tunnels inside Mammoth Cave by controlling the falling water levels over many thousands of years. Amazing how these different environments work together to make such a creation.

The Green River

The Chilkoot Trail

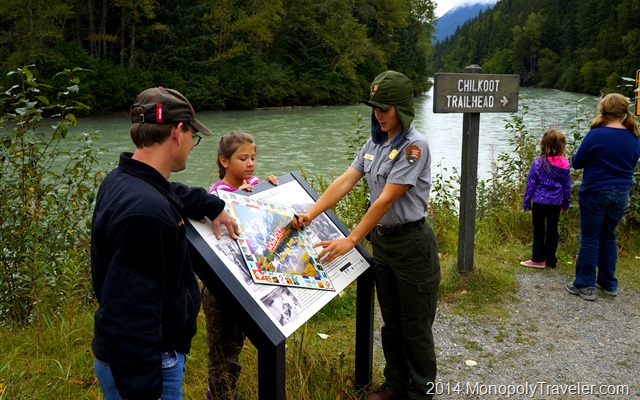
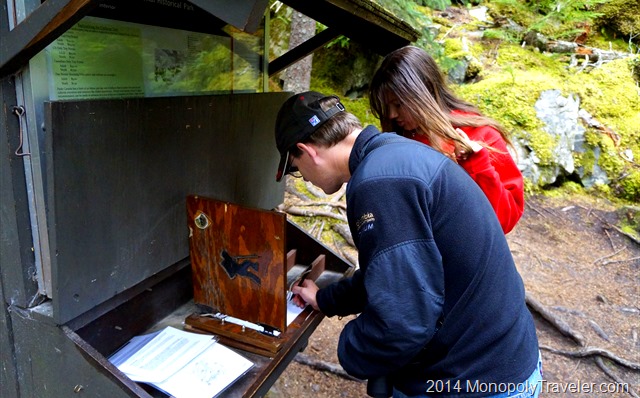
Getting the Board Signed at the Chilkoot Trail

When first looking over the destinations on our Monopoly Board, this was the location I was most concerned about getting to. A trip to Alaska didn’t seem to fit our reality. First of all, we see enough winter in Minnesota do we really want to see it during the summer? There have been a multitude of people raving about how great it is to explore Alaska. Do we really want to experience the sun 24 hours around the clock? The wilderness of this area is often portrayed as a dangerous place with the rugged and steep mountains along with the wildlife that call these areas home.

As we began to experience some of our Monopoly adventures and visit areas that could be considered dangerous because of the landscape and/or the wildlife, I began to look forward to our Alaskan adventure more and more. These areas can be dangerous if you decide to approach them in a dangerous manner. Otherwise, they are as safe as almost anywhere else. And the life experience you gain from exploring Alaska is incredible. On to the next destination on the board – The Chilkoot Trail.

_DSC5440

I would have never known about this historic and beautiful trail if it hadn’t been for our Monopoly Adventures. The trailhead is near Skagway, Alaska so we had to get here and figure out how to get to the trail from Skagway. An Alaskan cruise was the choice of transportation to this town so now we needed to figure out how to get to the trail. Fortunately there are a couple of car rental places in Skagway, an Avis and Sourdough Rental. For a little more information on our choice check out A Day in Skagway. We could have taken an excursion from the cruise line that would have taken us to the trail but they weren’t appealing because of the portions of those excursions that were in addition to the trail and the cost would have been a lot higher.

Registering for the Trail

The Chilkoot Trail gained it’s fame from the Klondike Gold Rush. Those in search of gold would travel with heavy packs 33 miles into Canada and on to the gold fields. You can read more about the history of this trail here…. 

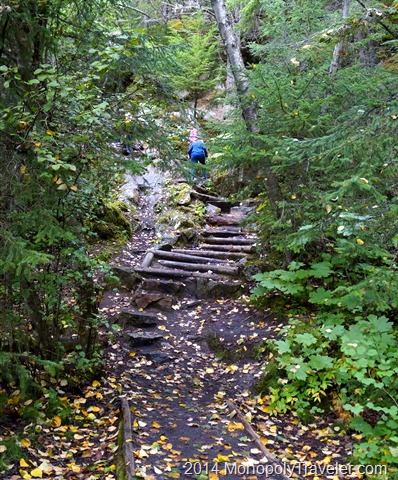
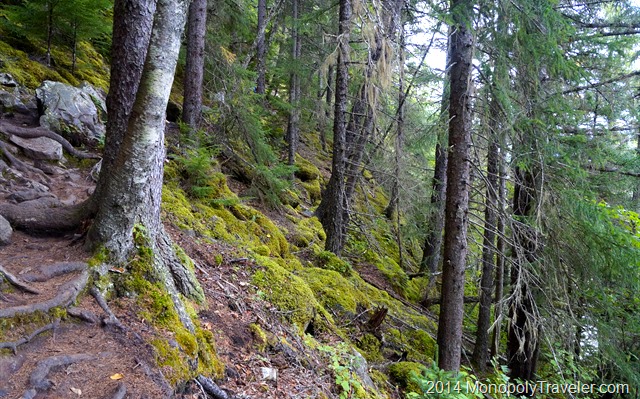
Along the way we learned more and more about the use of this trail before ever arriving here. That made the significance of being on the same trail that thousands have taken for different reasons even more important. We only had a short time to explore the Chilkoot Trail so we hiked for about a mile or two and turned around. While on this short hike we imagined what it would have been like carrying heavy packs up and down the mountain stepping over rocks and tree roots with a careful step because the trail can get very slippery due to the high amount of rain this area receives. All of these elements combine to make a beautiful tapestry which keeps encouraging you to go further.

I am so thankful that this was on our National Parks Monopoly Board so we could experience this adventure!

The Rugged Yet Beautiful Chilkoot Trail

Sunsets

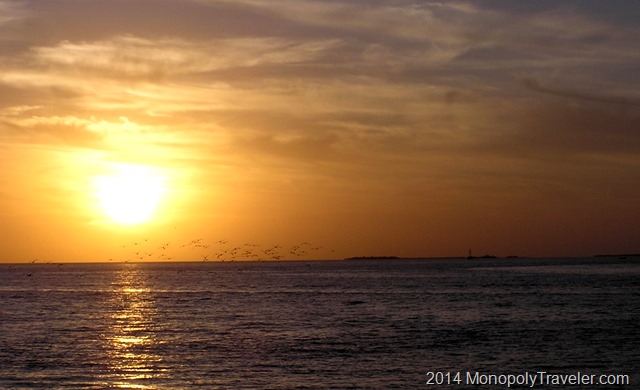
Sunset in Keywest

Ahh, sunsets. Like so many people, this is one of my favorite subjects to photograph. Looking through any number of posts on this website you will no doubt come across some of my pictures. In Peter’s photography experiment post on sunsets (located here…. he focuses on tropical sunsets. More specifically, sunsets over the ocean. Who doesn’t like a good tropical ocean sunset photo. There are photos of this subject all over the place. I have taken many of these myself and will likely take several hundred or even several thousand more myself in the future. However, most of my sunset opportunities are far away from any ocean so I have to practice in different situations.

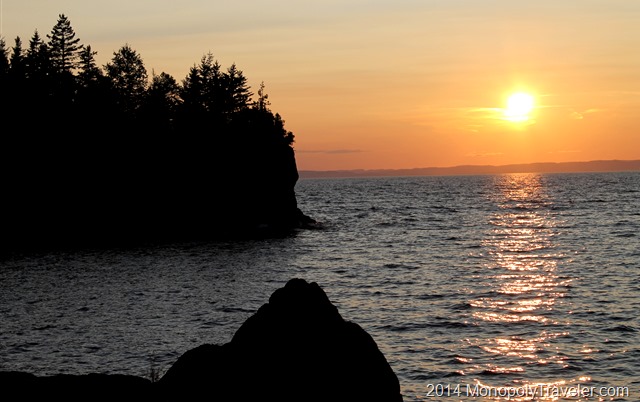
Sunset on Isle Royale

Peter writes about the importance of composition in taking a good sunset photo and that applies to any sunset photo. Just a photo of the setting sun in the center of the picture is certainly not as interesting as capturing some of the surrounding landscape and inviting the viewer into the setting. Fortunately Lake Superior is much closer to me and can photograph similar to the ocean providing a place to practice. One of the differences is the lack of nice sandy beaches but many of the rock formations can more than make up for this in creating interesting sun sets. Another opportunity for practice comes with the sea of snow often available. Sun sets are different with a snow covered landscape for a couple of reasons. First, sun sets occur earlier in the day and happen substantially faster. Second, the reflection off of the snow provides a different lighting, and thirdly, there are no leaves on many of the trees allowing different silhouettes to outline a landscape.

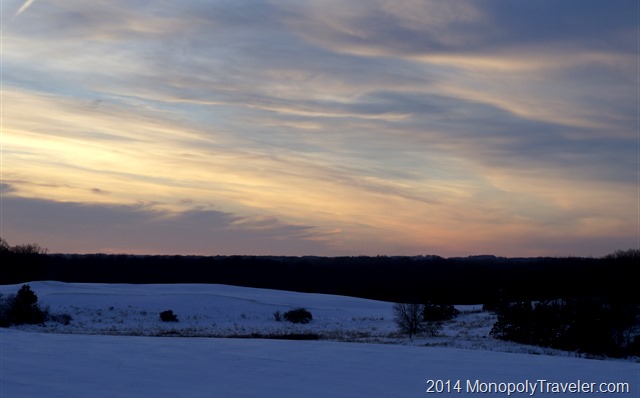
Winter Sunset

During this past winter, when the polar vortex affected so many, there were a number of great opportunities to practice sunset photography. The above picture was taken one evening on a last minute decision to go out and watch the sun set because the clouds were creating a beautiful canvas while the sun traveled through them. Unfortunately those clouds also covered the sun right at sun set. Still, the way the light bounced off of the clouds provided for an amazing opportunity to practice my photography. This was at a local park and as I traveled around the park the sky kept begging for more pictures as the clouds and colors changed and intensified so naturally I obliged.

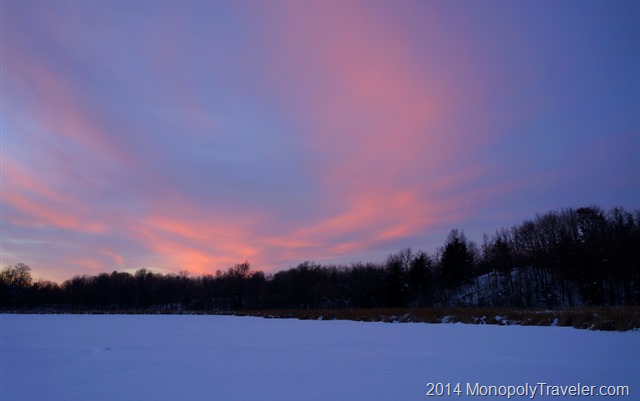
The Blue Hour

Stopping at a frozen over lake, I watched the final moments of daylight vanish as the light continued to change the look of the landscape all the while. My camera kept snapping photos, changing the composition of each shot in an attempt to learn attributes of a great composition. During the winter in the Midwest, the sunset colors are different than the summer or in the tropics. Whether it is do to lack of the growing plants, the snow covered landscape, or the angle of the sun, I don’t know. But I do know it is just different, the reds are more pronounced in the clouds creating a striking contrast to the blue sky.

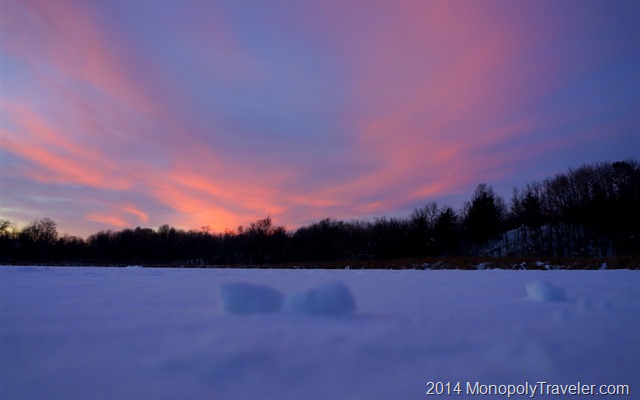
The Blue Hour with Snowballs

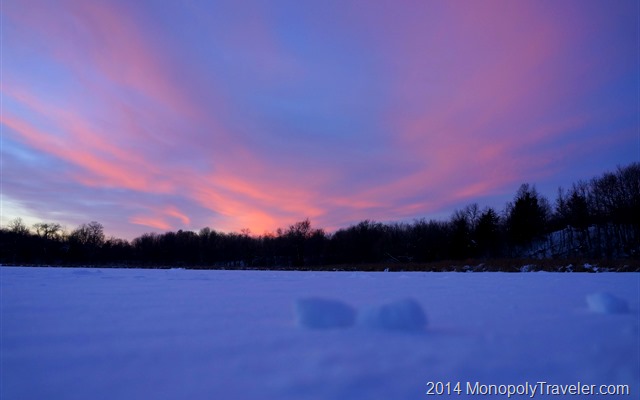
After the sun had set there were still amazing colors floating around in the sky. Taking a few pictures over this lake I was just moving around in the snow and wanted to try a low angle shot. Using my boot I started kicking away the snow to make a place for the camera to capture this low angle. By accident the snow was firm enough to create these snow balls so I decided to try and add these into the photograph. Setting up the first shot, the snow balls definitely added to the overall composition by providing interest in the foreground. Maybe centered is not the best placement though. Let’s try moving them to one side. That helps! Instead of focusing on the snowballs by putting them in the center of the picture, moving them to the side allows the viewer to look past them and returns the focus onto the colorful clouds. Composition definitely plays a part in the quality of a photograph in the winter as well.

The Blue Hour with Snowballs Repositioned

Drive or Fly

A Driving Vacation

This is a question asked quite often when preparing to travel somewhere assuming you can drive to that destination. This is a question that has come up while preparing a vacation from Minneapolis, Minnesota to Louisville, Kentucky which is about 700 miles and takes about 10 1/2 hours to drive plus stopping time. So what are the factors that determine whether to fly or drive?

First, how many people are traveling? If you’re going with 1 or 2 people than flying can be just as economical as driving but if your party is 4 or 5 people it gets to be a different story. Let’s take an average airfare cost of $378.62 as reported by Airlines for America in 2012 and the average per gallon cost of gas in that same year which was $3.60 per gallon according to this CNN/Money article. So at these prices, driving 700 would cost you $228 in fuel at 22 miles per gallon round trip driving your own vehicle.

What is Your Fuel Cost?

Many people choose to rent a vehicle for a trip like this to keep these higher miles off of personal cars. Lets use $65 per day for a standard size car from this USA article. For a week long vacation take that $65 per day X 7 days which gives us $455.00. A car rental and fuel cost would be $455 + $228 = $683. Two airfares would cost $757.24. Not much difference in price but quite a bit of difference in time since a direct flight lasts about 2 hours plus airport time. Can you drive this distance in one day or do you need a hotel stay? That can add another $130 per night to the bill depending on the type of hotel you would choose to stay in. Obviously traveling with 3 or more people shifts the economics to driving.

Another consideration is how much time do you want to take travel to a destination? Vacation time is a premium and are you willing to spend 3 or 4 days driving or do you want to spend that time at your destination? Sometimes the trip to the destination is part of the adventure allowing you to see the sights along the way. I do enjoy seeing different parts of the country from the car. From palm trees to mountains to prairies. Plus there are always some intriguing tourist areas to visit while traveling. Be careful not to indulge in all of them otherwise you may not actually make it to the final destination before needing to head back.

Taking these factors into consideration I’ve determined that 750-800 miles is as far as I’m willing to drive right now since I can do that in one long day. My family include 4 people so there are that many airfares so it is not all about the economics that I’ve made that decision. I do spend some time to get cheaper air fares using credit card points and air miles programs combined with watching airfares and booking when prices are less. The bigger deciding factor for me is the amount of vacation time available. I like to spend my time exploring a the final destination and anything more than a days drive takes away from that. In all fairness, I do usually drive about 1,500 – 2,000 miles during a weeks vacation while exploring this destination with a rental vehicle.

Other people that I know drive to as many of their destinations as possible and there are others that can not fly for different reasons so driving is one of the few options left. How far do you like to drive on vacation?

Taking Off in an Airplane at Sunset

A Student Ambassador–The Memorabilia

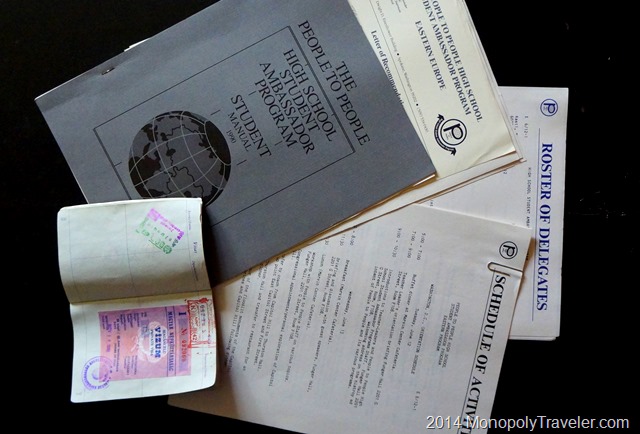
Documents From The 1989 Eastern Europe Program

The time for the next student ambassador to embark on her journey draws nearer and preparations continue for her adventure to Europe. She’s had a few informational meetings which include things like discussing their planned itinerary, meeting the other delegates going on their trip, and appropriate dress and behavior while traveling in Europe. During some of these preparations I’ve come across a few of the souvenirs from my student ambassador experience.

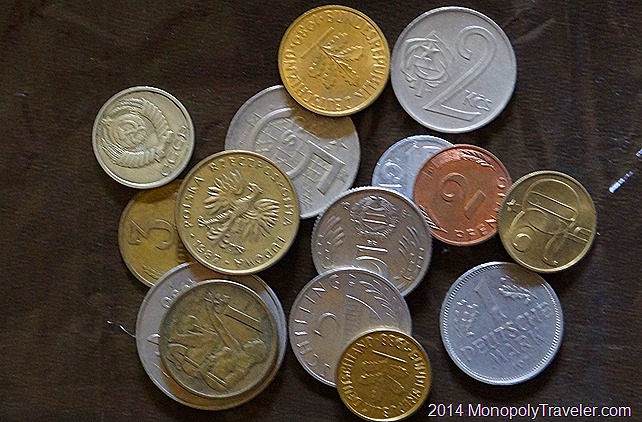
Coins From Each Country I Visited

The top photo includes several of the documents from my Eastern Europe adventure such as the itinerary, passport, list of other student ambassadors, and the code of conduct of a student ambassador. It’s been fun to look over some of these documents recalling that journey and the people I shared it with.

This middle photo is of the currencies I collected from most of the countries visited. Some of these currencies no longer exist. A number of these countries have changed over to the Euro such as Germany and Austria. Czechoslovakia and USSR no longer exist so neither do those currencies. Isn’t it interesting to see all of the changes that have occurred in this region in the last 25 years. What will the next 25 years bring as borders are being questioned in the Ukraine today?

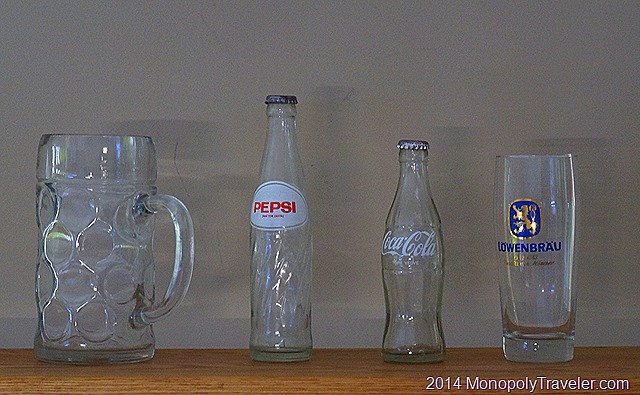
Beverages While in Europe

A sample of the beverages drank while in different parts of Eastern Europe. They certainly bring back memories of my visit to different areas of Eastern Europe and the people I share those memories with. There are other souvenir’s such as shirts, flags, and gifts from homestays which complete this collection and serve as a reminder of an adventure that has impacted my life for the last 25 years. These items bring excitement for what my daughter will experience and the influence it will have on her life.

Moon Photos–Photography Experiment

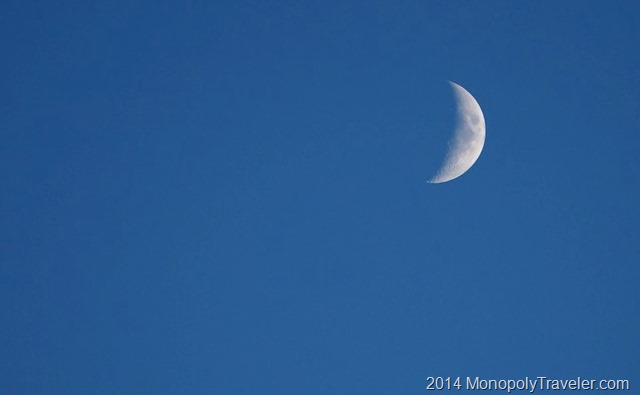
The Waning Moon

It’s time to continue on with the photography experiment. Taking pictures of the moon is not something that I’ve really wanted to do but is something that I tried while taking pictures of sunsets and stars. Using the information in Peter’s post about moon photos, I can attempt to take better pictures of this subject. Here are a couple of my attempts. The first one above was taken shortly after sunset so the sky was still pretty light making the exposure easier to get right for the moon.

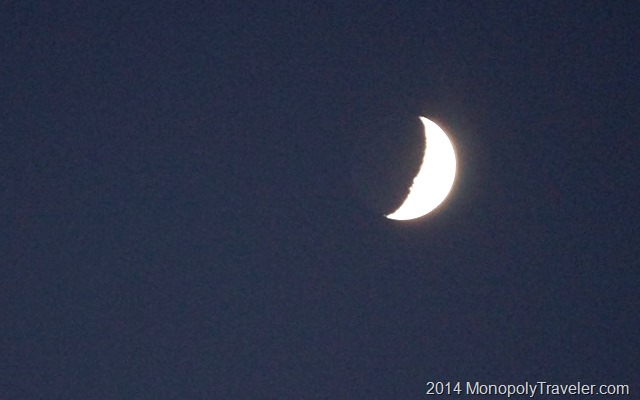
Shadows Dancing Across the Moon

This next one was taken a little while later as the darkness grew around the moon. I thought it was interesting to see how the sunlight displays the moon surface with the mountains and valleys which are evident in the uneven shadows. Also, the entire moon is visible in this shot but can be a little difficult to see. Exposure was a little high to really get the details of the moon in this shot. I’m sure I could work with it using editing software but the point of the experiment is to improve the actual taking of the photo.

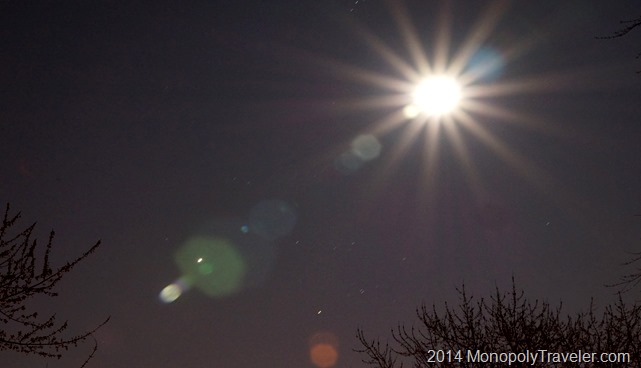
Moon Bursts

Playing around with the exposure a little I got this cool moon burst. This was from changing the aperture and leaving all the other parameters (ISO and shutter speed) the same. I also like the lens flare and how it accents the moon burst. While this might be an unique way of capturing the moon, I don’t know if there is a good use for this type of shot. If so, I haven’t found it yet.

Moon on the Horizon

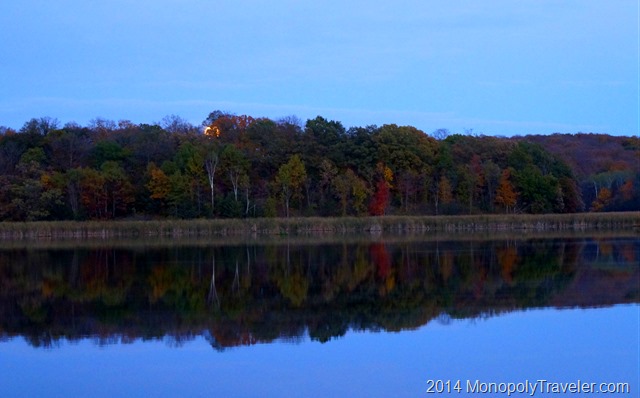
There was a partial eclipse of the moon on the night this photo was taken. I actually planned out parts of this night of moon shots. Earlier in the day I researched when the moon rise was and how that would relate to the timing of the eclipse. From that I looked over different places to photograph the moon. Once I chose a spot, I used Google Sky to determine where the moon would rise so I could set up the tripod and get the camera ready. There where many practice shots while checking over the settings. Finally the sun had set and it was time for the moon to rise. Cold was dropping in on me causing me to shiver making it a bit more challenging to make adjustments to the camera but that’s part of the fun isn’t it? Looking just below the top of the trees you can see the moon. Time to go to work. I was hoping to catch some nice moon reflections in the water at this location.

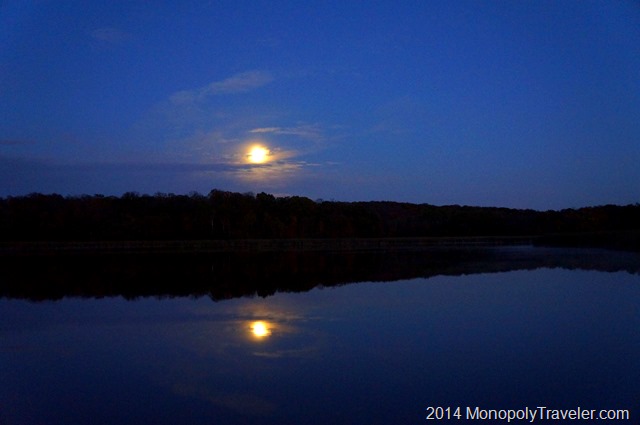
Moon Reflecting in the Water Above the Trees

Right as the moon was getting above the trees, clouds moved in preventing clear moon photos right away. I wasn’t certain how long the clouds where going to cover the moon but figured I would wait awhile just in case. Finally the moon was rising higher in the sky and began to clear the clouds leaving a reflection in the water. Just what I was hoping for. Now where’s the eclipse. Where I was the eclipse had a very minor impact on the moon this night. You couldn’t really tell there was one actually. I continued to take pictures trying different shots and exposures. I never really got the correct exposure out in the field. This one is still overexposed to see any details in the moon.

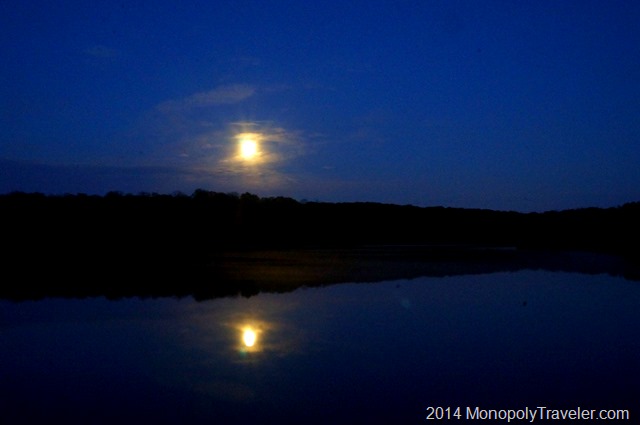
More Moon Bursts

While trying different exposures I did capture the moon burst again. I thought that was kind of interesting as it reflected in the water. In the moons reflection, fog was beginning to float across the water. Unfortunately it didn’t get as pronounced as I was hoping for once I saw it beginning to form. It was interesting to see it form at the shoreline and travel across the water.

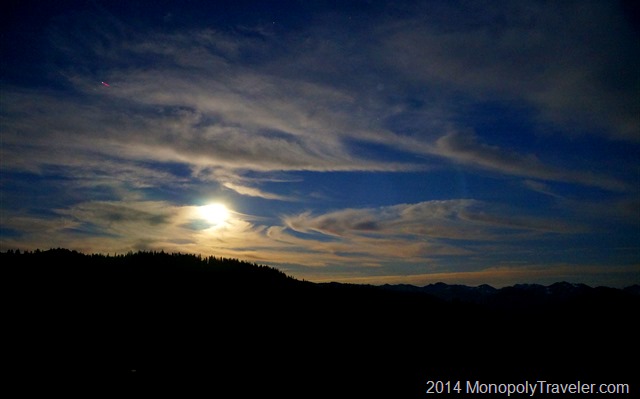
In the photo below I wasn’t actually intending on photographing the moon. This was by accident while traveling in the Olympic Mountains in Washington. The purpose was to capture stars in a dark setting but, not doing my homework first, the moon changed that. Just as the sun set and the stars began to shine I had the camera set up and was about to begin shooting away when the sky lit up. Turning around I cold see a full moon rising over the mountains. So much for star pictures. The way the clouds where swirling in the sky lit up by the moon I decided to change my focus a little and take photos of the moon. Still a little overexposed but I wanted to get the clouds and the mountain in the picture so I wasn’t exposing just for the moon. More practice is needed for my moon photography. Eventually I’ll get the exposure right.

The Moon Interacting With the Clouds in the Olympic Mountains