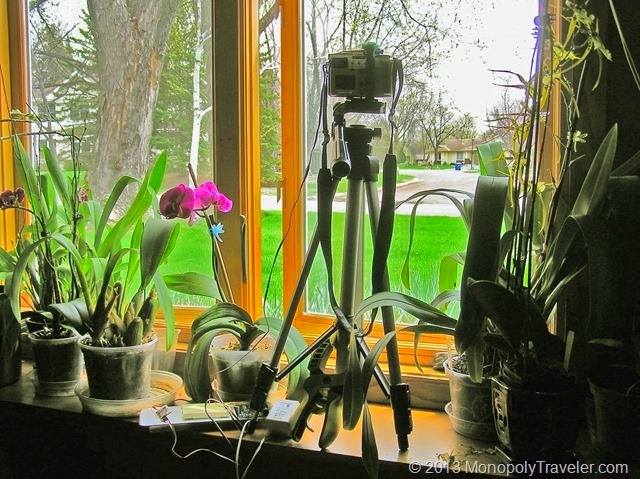
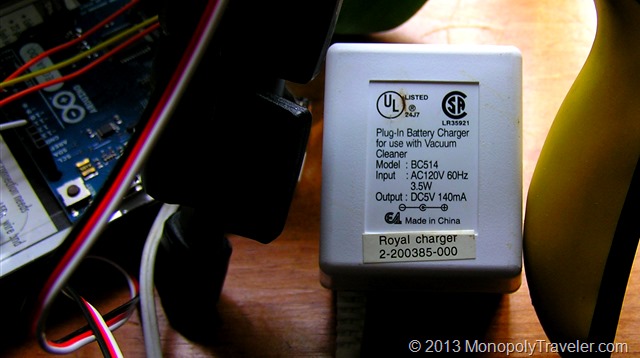
This is how I set everything up to shoot a time lapse video before the snow started falling for one of our April snow storms. I plugged in the Arduino which is connected to a prototype board with the potentiometer on it which is connected the the shutterbug pro which is connected to the servo on top of the camera set to take pictures. I found an AC adapter around the house ( I knew I saved these things for a reason) that puts out 5 volts DC current which is perfect to power all of the boards and the servo. As a bonus the plug fits perfectly into the port on the Arduino board. Should be all ready to go now.
The next thing is to adjust the camera for taking the pictures. If it was left in automatic mode it would re-focus each time and set different shutter, aperture, and ISO for each shot. This takes time, energy, and changes how each picture looks so that there is a flicker appearance in a time-lapse. To help avoid this I set the camera on aperture priority with a setting of f2.8 so I could get as much light to the senor as possible because it was darker than normal with the heavy cloud cover and snowfall along with the day transitioning to night during the shooting time of over 8 hours. Also, the focus was set to manual and adjusted for further away. This saves power since the camera doesn’t have to focus for each picture and prevents it from transitioning the focus from the street to the glass in the window as night arrives since this all took place through the window. Here is the final video which lasts 24 seconds but taken over 8+ hours in time.
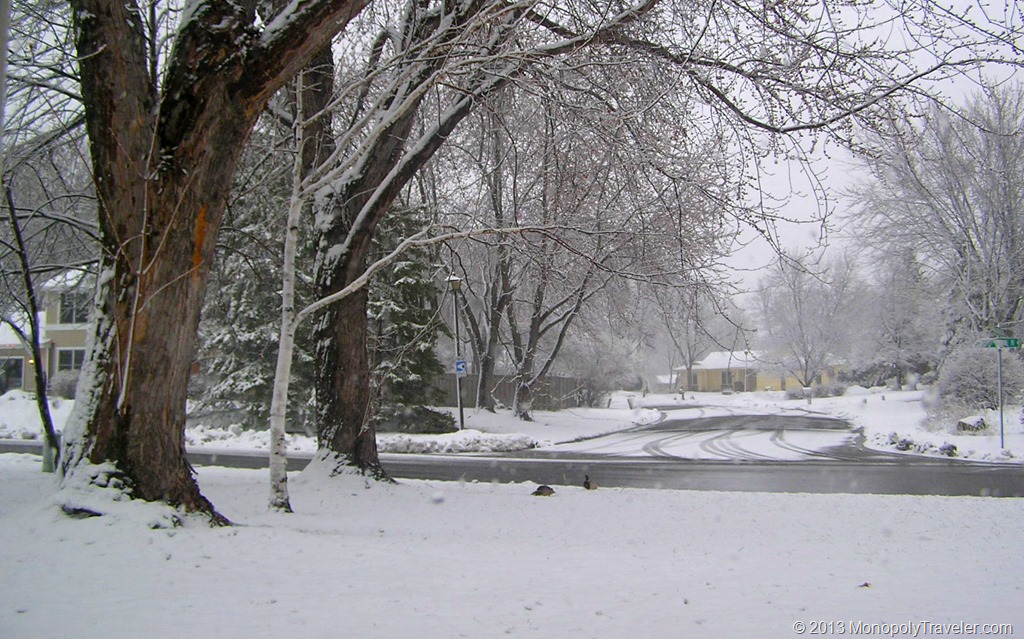
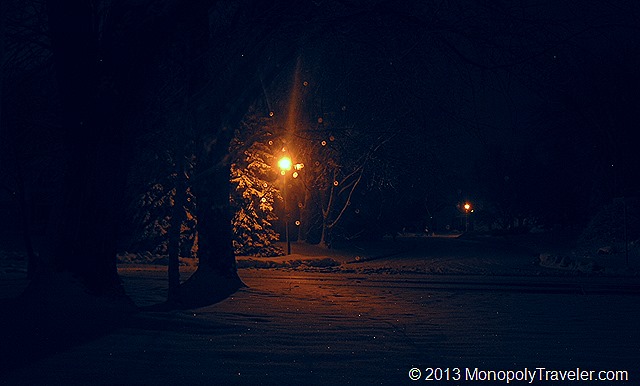
Some points of interest. First, at about 5 seconds, if you’re lucky, you can see a pair of ducks venture into different yards for a few frames. Second, I used 25 frames per second which means that for every second of video there are 25 pictures. Calculating that out you get 600 pictures taken over the 8+hours which is 1 picture every 50 seconds. I used 8 hours because that’s how long the batteries lasted in the camera. Below are the first and last photo so you can compare the difference in light throughout this project.

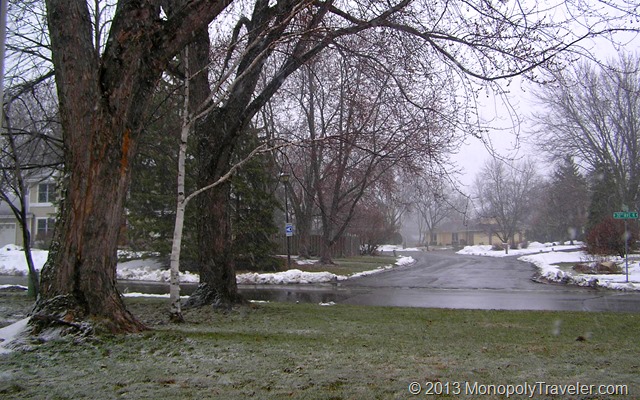
It’s great the way the falling snow flickers to the music after it gets dark
That is a lot of pictures. Does it affect the camera to continuosly take pictures?
It is possible to overheat the camera if you take too many photos too close together. It helps that the camera is not re-focusing or changing settings during a time lapse so not a lot of wear on it.
The ducks are funny to watch in a time lapse.