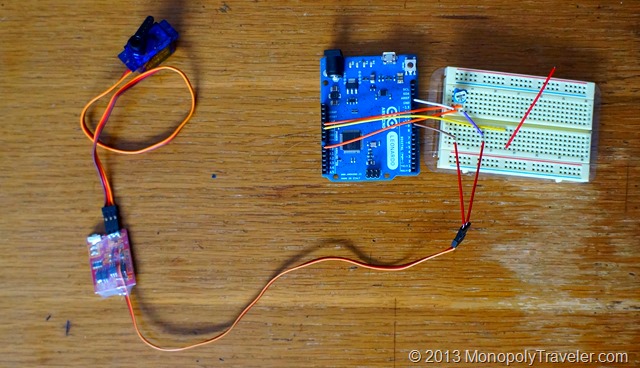
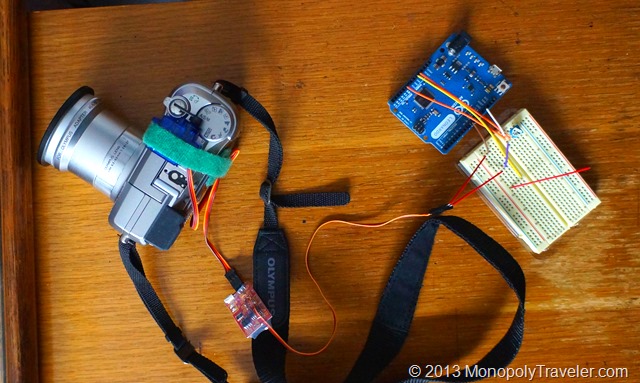
While spending way too much time researching mechanical intervalometers (the device that takes pictures at a set interval) I came across a video that shows a shutterbug pro pre-built circuit board used to control a servo which mechanically presses the shutter button on any camera. While looking through the parts list and how this all works I came across a problem. You need another device to set the servo positions so shutterbug can operate the servo to those precise positions. The company that sells the shutterbug pro also sells a signal emulator which can position the servo. Do I really want to use something once that really has no other uses?
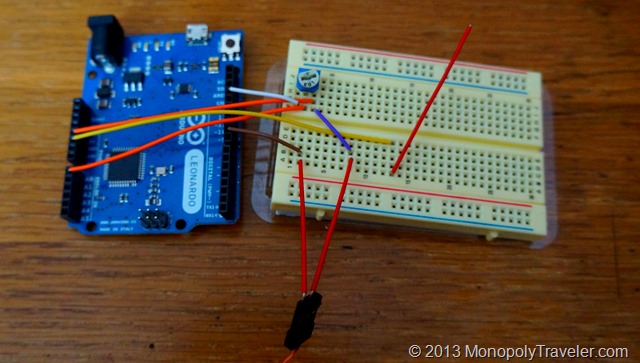
Of course not! Spending even more time I came across another video that shows how to use an Arduino micro computer and potentiometer to adjust the servo. In addition, once I’m done using it to set the servo positions for the shutterbug, I can learn simple programming to make the Arduino do other things if so desired. In addition I use the Arduino as a voltage regulator to the shutterbug. Are there a lot of terms here that are unfamiliar? I had that issue as well. I never really knew what a potentiometer was or how a servo works until researching it more just to do time lapse photography.
I do also want to try long exposures to capture star trails at some point which the shutterbug can do with some (suppose to be) simple programming. Although I have run into issues trying to re-program this board from time to time for different interval shooting and to change it to hold for long exposures. With enough messing around I do eventually get it to do what I want. Make sure everything is working well before the desired photography session begins. It has taken me up to 30 minutes to get the board and servo set up. In addition, it takes some tinkering to get the servo to consistently push the shutter button on the camera.
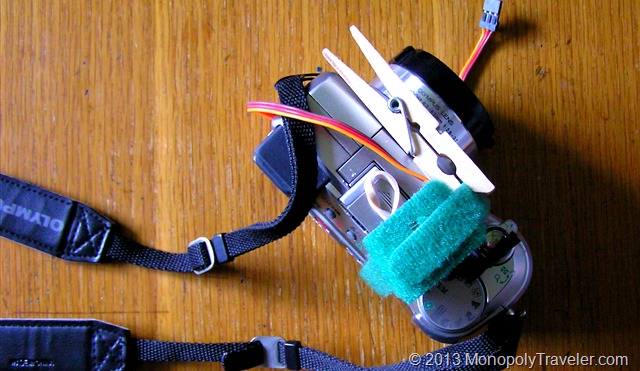
As you can see in the photo above I needed to add some extra equipment to make this work flawlessly. I have the servo attached to the camera with a velcro strap. Just this didn’t work well because I could not get it tight enough to actually push down the button on the camera. That’s where the close pin comes in. I use one or two to make the velcro tight enough to get the servo to press the button depending on how tight I get the velcro to start with. Also, I added a rubber band to the servo because it kept sliding around on top of the camera over time preventing it from taking photos after awhile. One last modification was the addition of electrical tape to the servo arm as it would scratch the button after a number of pictures.
Next up….. taking the actual pictures.

