Tag Archives: Photography

Artistic Photos

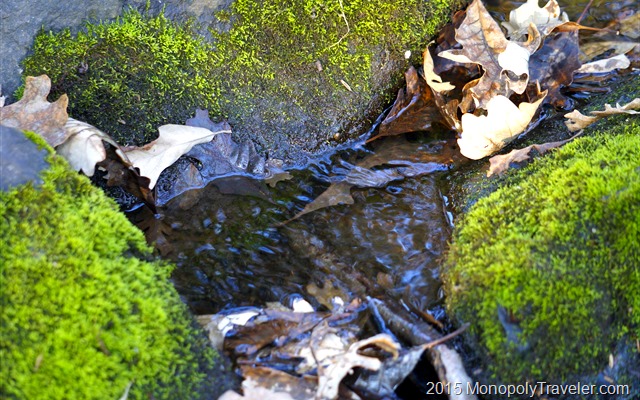
Moss Covered Rocks

When going out to take pictures I generally stick to the landscapes and/or wildlife as that is what I enjoy the most but from time to time I see textures or colors together and attempt to capture them. On a recent trip to Blue Mounds State Park I took several artistic pictures from a few places that I saw interesting combinations so here are a few of those.

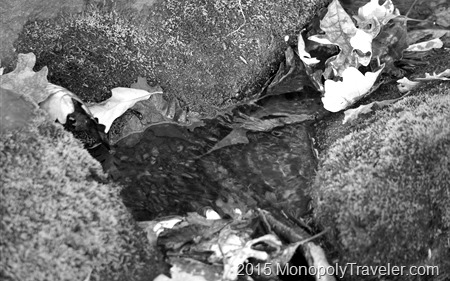
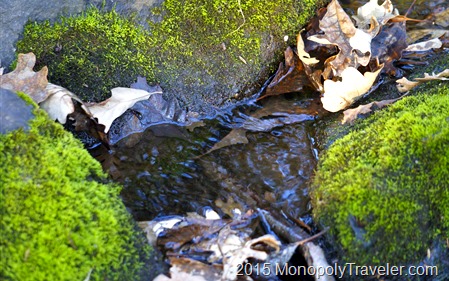
In the picture above I thought the softness of the water and moss growing on the rocks contrasted nicely with the hardness of the fallen leaves. In addition, the colors contrasted beautifully together. Taking this photograph at another time of day could have given better light to really create a great picture and set off the colors.

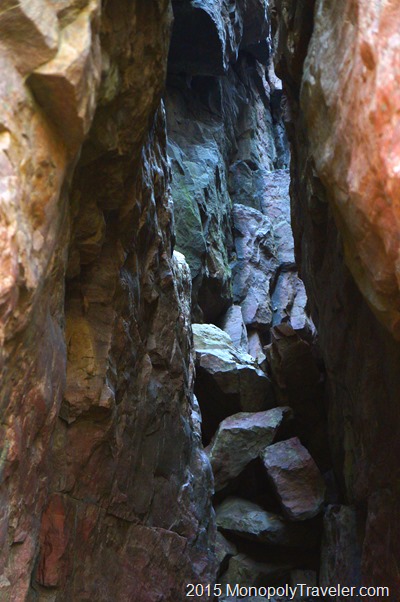
Between the Rocks

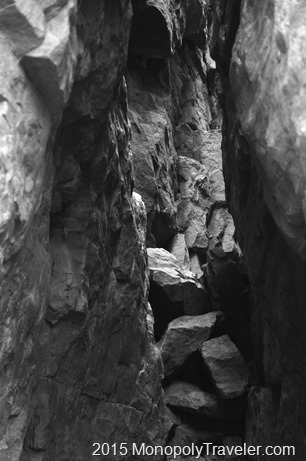
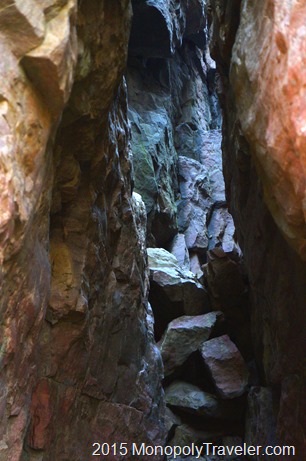
While exploring the park I came across a number of places where the rocks were split apart exposing different patterns and colors. This was one of more unique pictures with the pinks of the rock closest to you and more of a green tone which is amplified by the shading of the sunlight as you look through this crevice. Also, I liked the text of the fallen rocks as you peak through this photo.

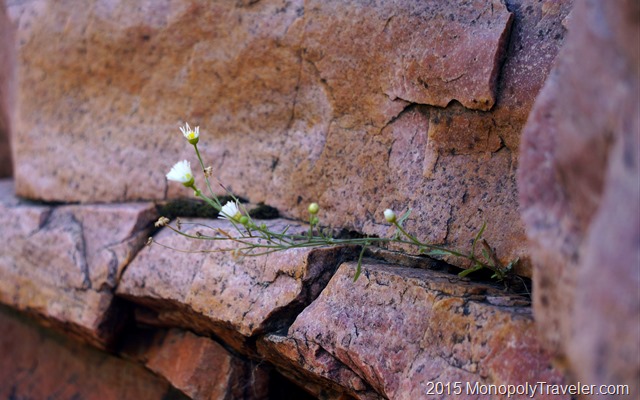
Growing in a Rock

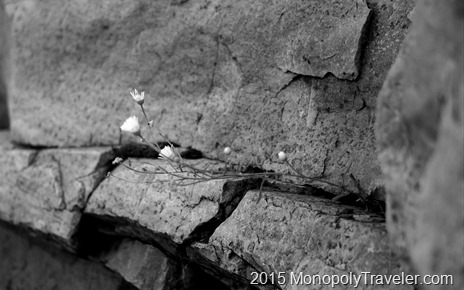
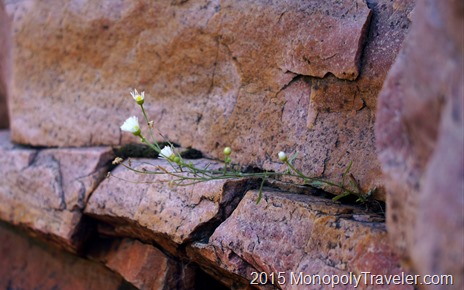
Another great contrast with one little flower managing to survive in a crack in the stones. Also, the purity of the white flowers against the irregular cracks in this hard, pink mottled stone add to the contrasts that I liked about this image.

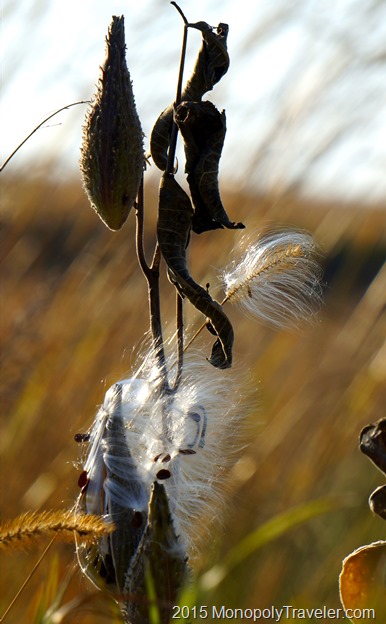
_DSC0921

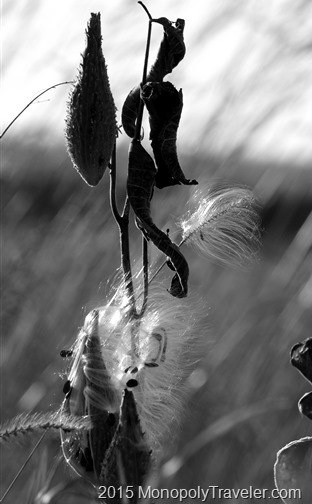
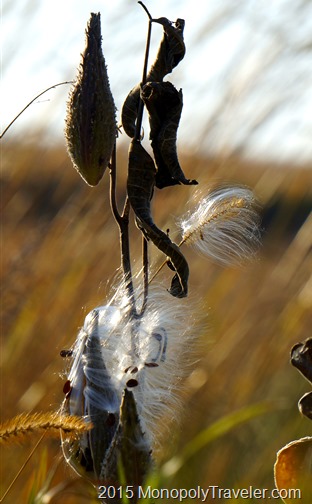
Can you feel the warm breeze blowing when looking at this photograph? The grasses in the background are at an angle along with milkweed seeds all angled in the same direction and the bright sunlight illuminating it all.  When I look at this picture I keep waiting for some of the seeds to fly off in the wind.

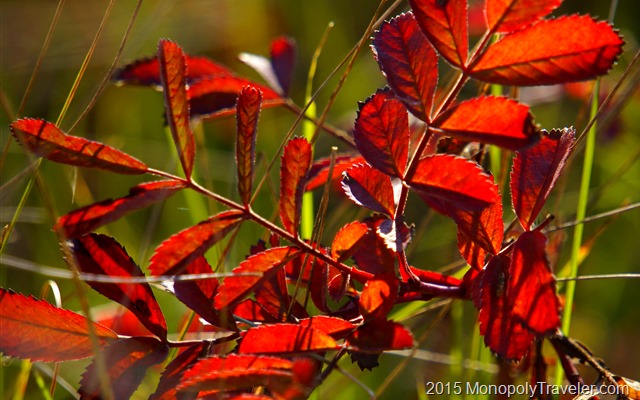
Roses are Red

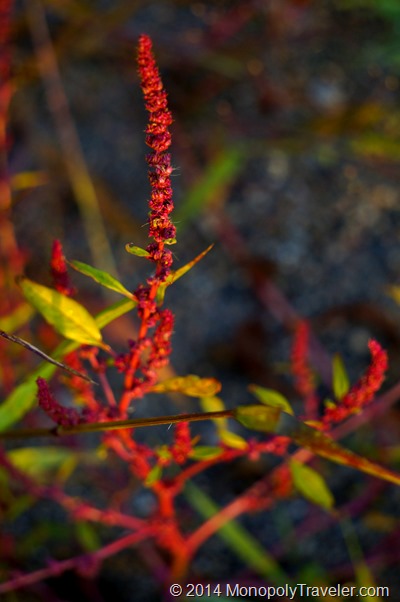
When I saw the amazing reddish fall color in these roses I kept trying to find a way to bring that out. The sun showing through these leaves provided the perfect light to bring these brilliant colors out which contrasted beautifully with the still green grasses surrounding this plant. In addition, the bright sunlight highlights the serrated edges of the rose leaves against the straight blades of the grasses making for a nice texture contrast.

Analyzing my ‘artistic’ photographs there are usually two main elements that catch my attention: contrasting textures and contrasting colors. With that in mind, I wonder how some of these may look as black and white photographs eliminating the contrasting color aspect?

Black and White Version

  Colored Version

Seeing these two next to each other I really like the black and white version as well. Just focusing on the textures and evident wind makes for an interesting photograph.

Black and White Version

Colored Version

With this image the black and white version is not as interesting but still not bad. If I had focused on creating a black and white picture I would have taken it at a different angle to get the white flowers against the solid stone above them allowing the cracks to show through without being covered by the flowers and the flowers could contrast against the stone without the cracks taking away them.

Black and White Version  Color Version

  I was amazed at how much I like this photograph in black and white. Removing the color really gives a sense of peering in between these large rocks and shows the shapes and shadows in much more detail. This little addition to this post may be helping me rethink the idea of black and white photographs. I certainly did not plan on doing this with this post. Since I’m having so much fun with it let’s try the top picture.

Black and White Version

Color Version

No, this picture does not benefit from the conversion to black and white. It eliminates the effect the moss has which is one of the things I like about it. Definitely worth trying though.

I won’t even consider trying the rose picture because the purpose of that photograph is the bright red colors. Hopefully this was interesting to look over. It was for me to write it.

Going to the Beach

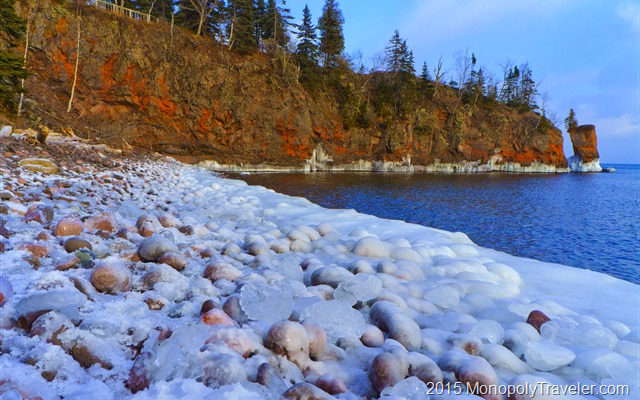
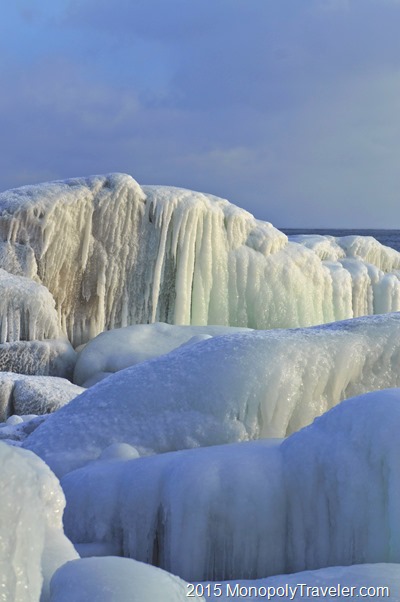
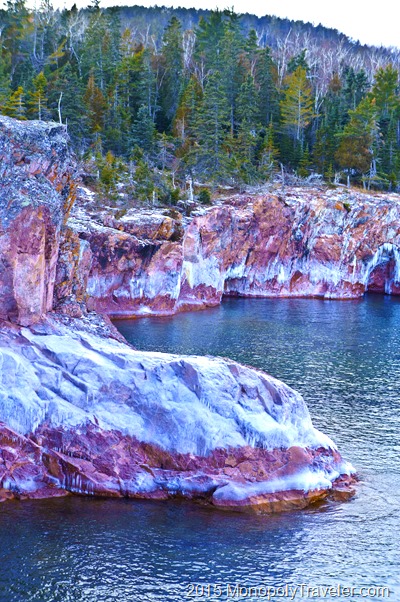
Ice Covered Beach on the North Shore

Usually when someone thinks of going to the beach in the winter they have images of a white sandy beach in the Caribbean, Hawaii, or the Seychelles.  I had a slightly different opportunity to start the New Year. A trip to Northern Minnesota to view the picturesque shore of Lake Superior. It was a beautiful January afternoon with temperatures just above 0 degrees Fahrenheit (-15 degrees Celsius) which felt warm compared to the cold of the previous days and days to follow which where anywhere from 10 to 30 degrees colder with brisk winds. Yes, I did take a quick dip in the lake since this is a beach with open water (if you consider sticking my hand into the water, which was warmer than the air this day, a quick dip) even if the beach is ice covered.

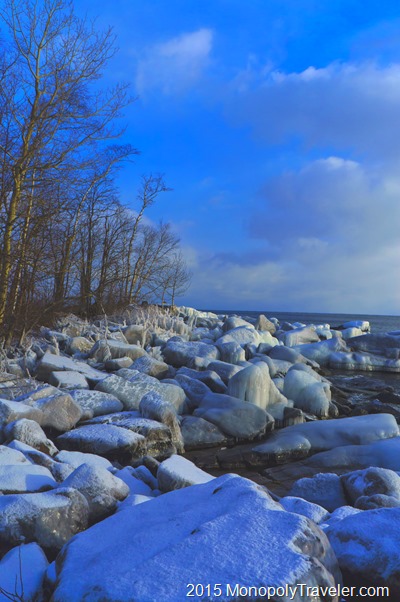
Ice Covered Shoreline of Lake Superior

This was the first opportunity I’ve had to take in the North Shore of Minnesota during the winter and it was worth the effort to dress appropriately for a couple of hours in the cold. Surprisingly, I was not the only person on this beach this day. One of my neighbors joined me in climbing ice covered rocks and exploring this winter wonderland. We did encounter other people also taking in this winter wonderland that was missing it’s snow blanket exposing the many colors contained in this rocky shoreline.

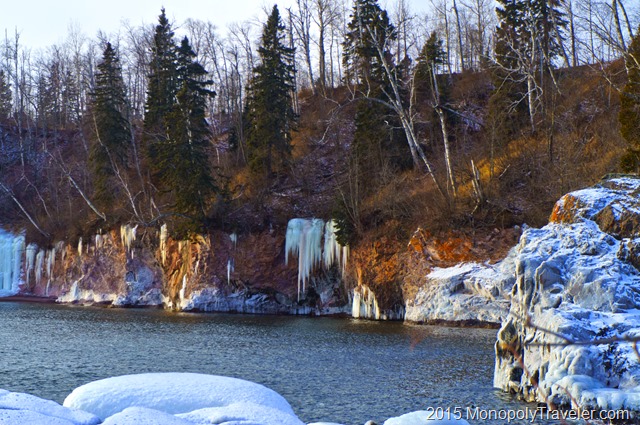
Icicles Adorning the Shoreline Cliffs

Large waves had made their mark here earlier evident by the ice covered rocks and shrubs but on this day Lake Superior provided a relaxing, calm motion in the water giving great opportunities to explore the shoreline. Icicles hang abundantly off of the rock ledges from all of the water running towards the lake before this area became a frozen spectacle.

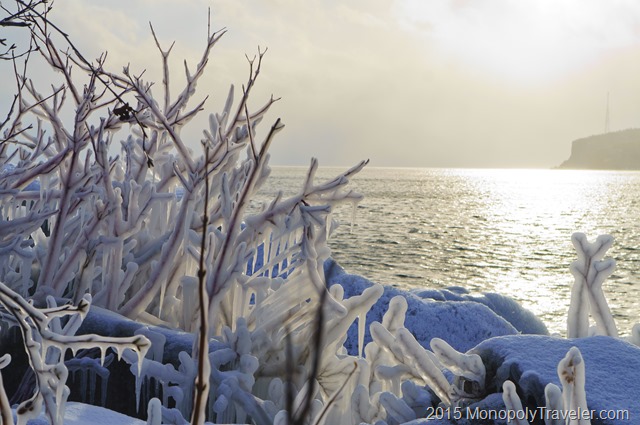
Ice Covered Shrubs

I could only imagine what it must have been like to be in this area when the waves where large enough to come crashing over the shoreline high enough to coat everything in a thick layer of ice creating these amazing ornaments only visible during winter time. In reading other accounts of the ice sculptures created by Lake Superior I could not fully appreciate what they were writing about. Now those experiences have become clearer and much more exciting to see.

Ice Sculptures Created by Lake Superior

Only a couple of miles to the north there was 6 – 8 inches of snow on the ground and to the south there was an inch or two but here…. snow was missing on this day. For me it was fortunate to be able to have the contrast of the ice and colorful rock all around. I’m sure there is a whole different beauty here when it’s all covered in fresh snow.

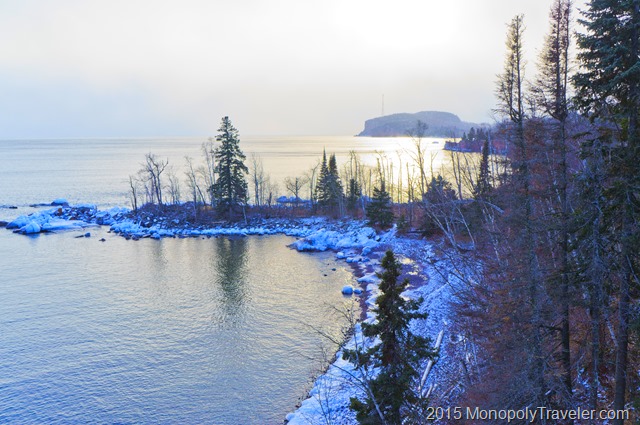
North Shore Winter Wonderland

Lake Superior always gave away it’s location during these colder days because of the constant cloud cover created by the steam coming off the warmer water. A mile inland could be sunny but there were always clouds on one of the horizons. Fortunately there was just enough wind to blow this cloud cover away from the shore allowing the sky to clear a little overhead during these afternoon hours. It didn’t last long.

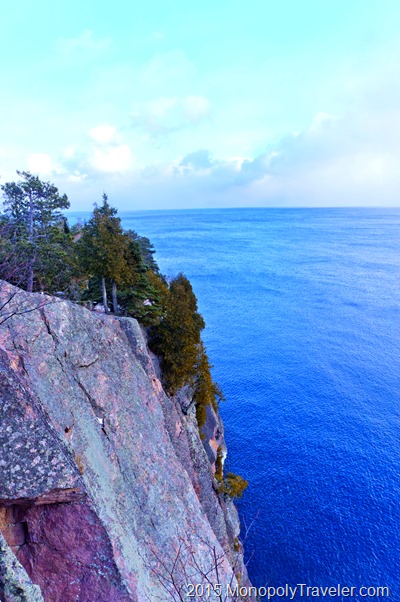
Calm Waters Colliding with the Rocky Cliffs

For a few minutes while the sun was out I was wishing for a comfortable lawn chair to be able to set up on the beach and just take in the quiet, calm solitude of this incredible landscape. These blue waters just begged to be touched and so I obliged by removing my two layers of gloves and soaking my hands. Sure the water was a little colder than I prefer but it wasn’t unbearable. It helped that I was kept warm by climbing up and around the boulders and trees of this shoreline before testing this water. I don’t recommend wading or swimming during the winter but a quick rinse of the hands is typically harmless.

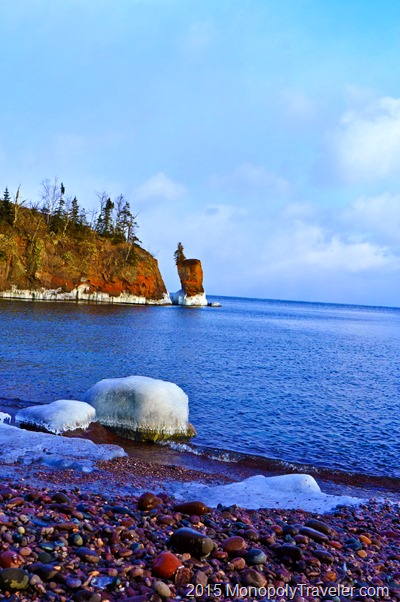
Shoreline Highlighted in Ice Near the Water

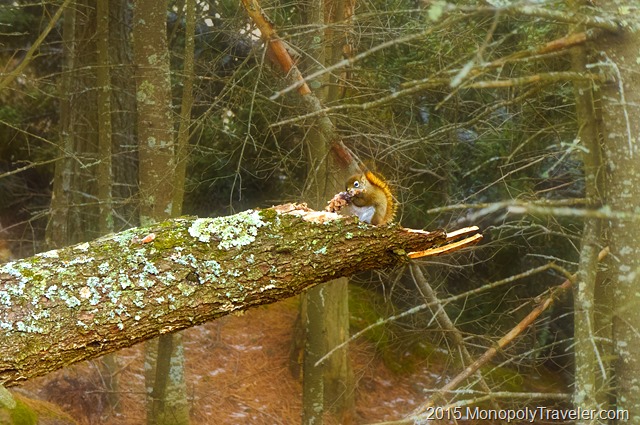
While hiking through the woods this member of the local wildlife kept posing as if to tell us it was alright to take a picture. We were mere feet away and it just sat there like we were of no concern. Why would I pass up such a situation? I pulled the camera from it’s case and snapped a few photos. After a couple of shots it was time for red squirrel to move on to his daily routine.

Wildlife Posing for a Picture

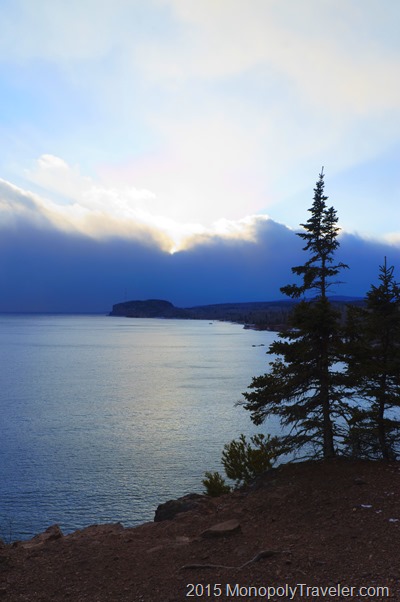
After hiking for a few miles we came to this point, looked out over this Great Lake and decided it was time to begin our trek back.

Icy Evidence of Higher Water and Waves

On the return trip we noticed the clouds on the horizon appeared to be bringing snow and we were due back to our camp shortly so making our way to the vehicle became a little more hurried. Once snow covers the roads it can greatly increase the difficulty in traveling so using the dry roads seemed like a good idea. A few miles north we encountered this snow along with colder temperatures and increased wind. Yet, passing by this area again later in the week showed the snow never reached here. The beauty of Lake Superior is such a privilege to be able to take in and winter appears to be no different and with a lot fewer people joining you.

Approaching Snowstorm

Going to See the Fall Colors

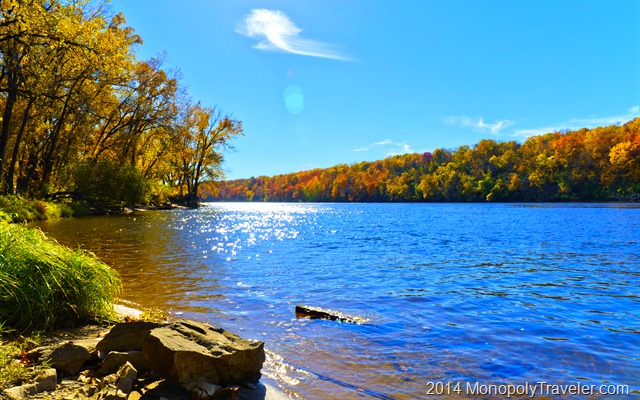
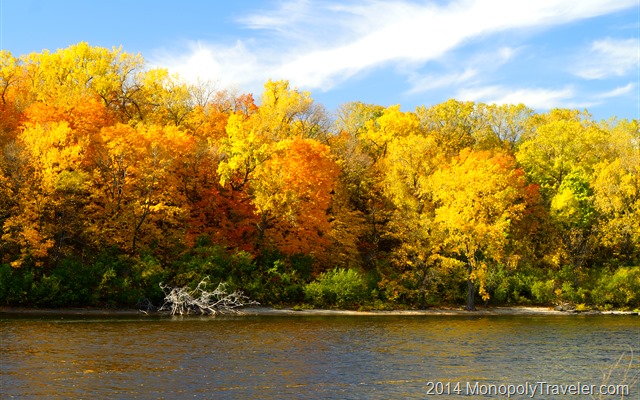
Fall Colors Along the Mississippi River

Hopefully you’ve been able to take in some of the amazing fall colors in recent weeks. They seem to be more vibrant this year compared to the last couple of years in many areas. Taking in the fall colors can take many forms from a weekend getaway to a camping trip or for many, a simple walk around a lake or area park. There seems to be one catch with these incredible fall colors this year:  you have to take them in quickly because they’re peaking and than just as quickly being blown off the trees or changing to a brown color. It seems as though the colors peak and then two days later have begun to fade.

If you are unable to get out to see the colors or just want to have a reminder of their vibrancy, here are a few pictures from the past few weeks.

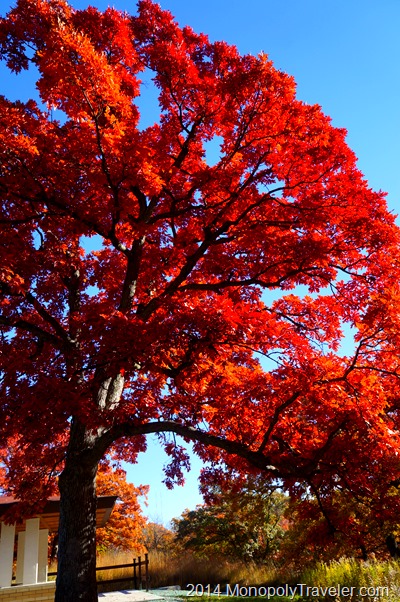
A Red Oak at Peak Color

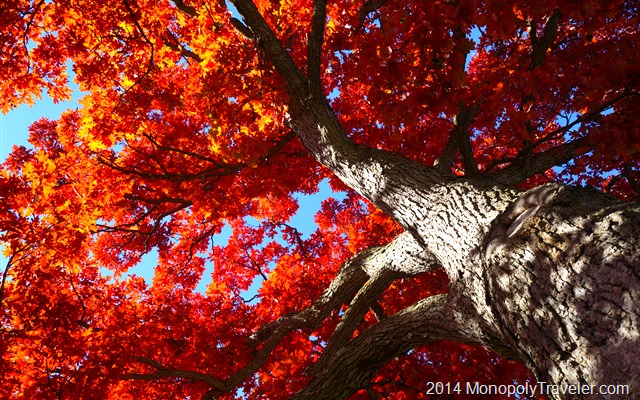
Enjoying a Beautiful Fall Afternooon Under a Red Oak

Amazing Maple Fall Colors Along the Water

Brilliant Red Colors of a Maple

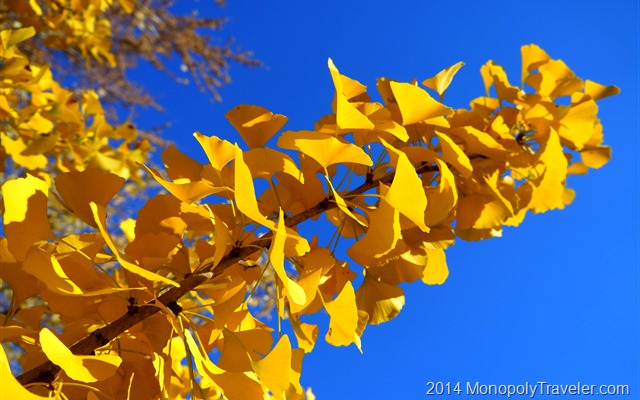
The Gold of Ginkgo Leaves

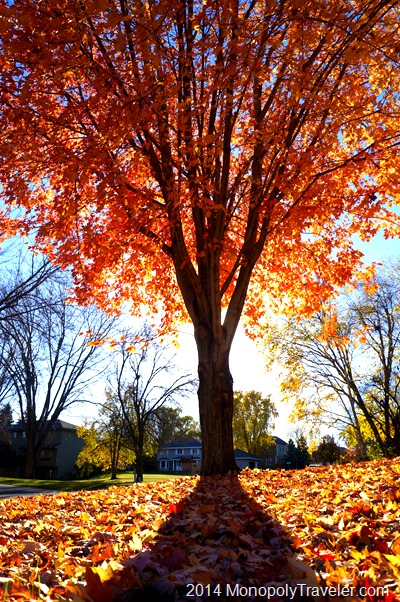
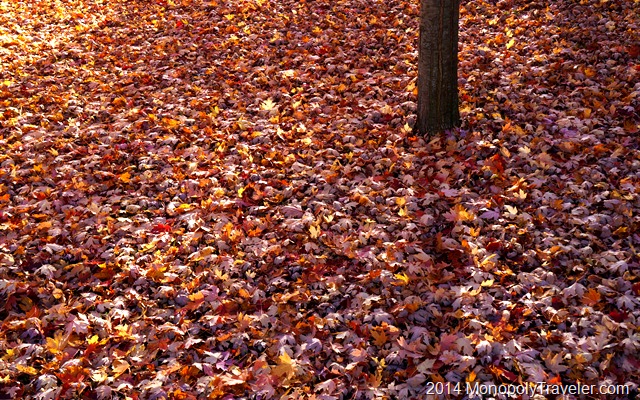
The Ground Under a Maple Tree

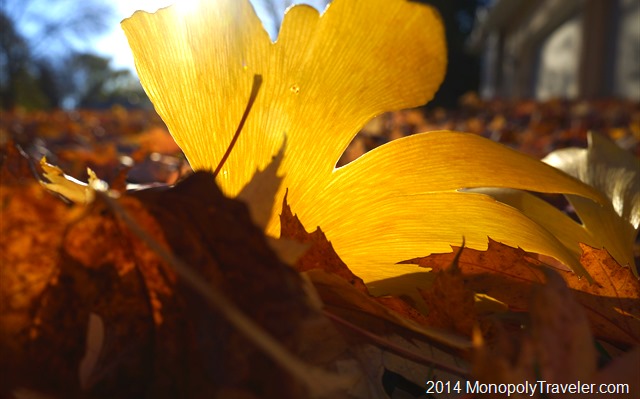
Shining Through

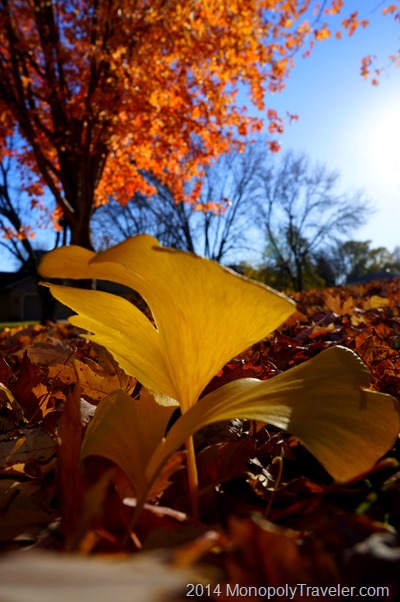
Gold and Orange Leaves

And Then They Were Gone

Blue Mounds Top Pics

Recently I traveled to Southwestern Minnesota to Blue Mounds State Park with two goals for the weekend. First was to get out and enjoy an unseasonably warm weekend with daytime highs of 80 degrees. Second was to practice photography and enjoy taking pictures of whatever I thought would make a good picture with the Milky Way and sunsets/sunrises the top priorities. Since I was mostly interested in nature and wildlife I wanted someplace relatively quiet and this seemed to fit what I was looking for. Both of these goals were accomplished by camping in the park and spending most of my time there with a camera hiking around different areas of the park.

Throughout the weekend there I managed to take over 700 photographs. I wanted to narrow those down and see what I thought the top 1% of those pictures would be so here they are. My decisions would probably change depending on the day and how I’m viewing these pictures but as of this day these are my top 7 photographs from Blue Mounds State Park. All of these pictures are basically unedited other than what the camera does when it converts them to the jpeg format. Taking time to process many of these photographs may alter my top choices but I just wanted to judge my picture taking ability without the post processing.

Sunset over the Blue Mounds

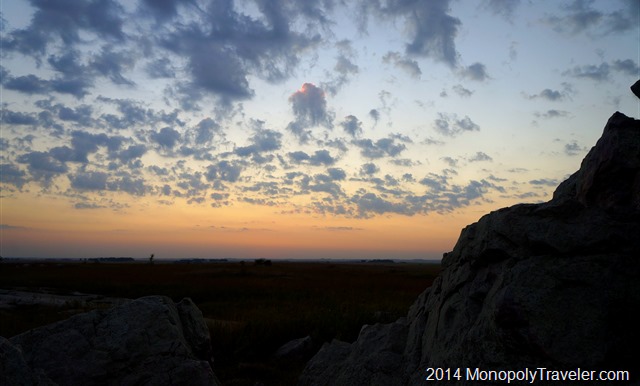
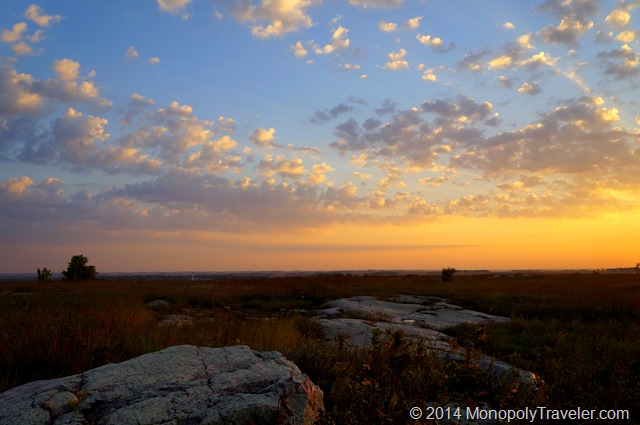
This is the sunset shortly after arriving at Blue Mounds State Park. I chose this picture of the sunset because of the arrangement of the rocks in the foreground combined with the clouds in the sky and colors throughout. The rocks and clouds direct you to the setting sun (which you can’t actually see) which is the focal point of the overall photograph.

The Early Morning Calm

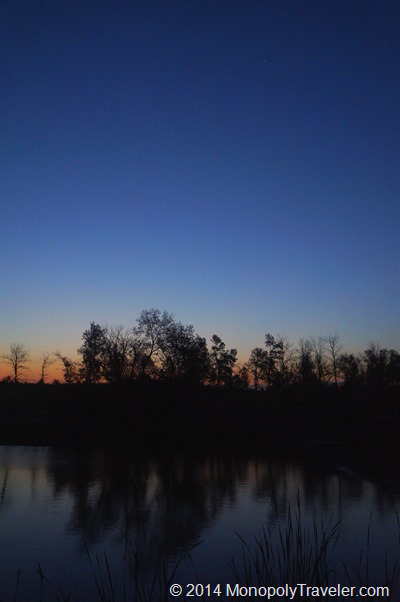
This was the scene near my campsite a few minutes after I woke up. The colors on the horizon transitioning to the darker night sky being reflected in the calm water below are why this photograph is included. There are a few cattails in the foreground barely visible adding to the overall depth of this photograph. It provides a sense of calm reflection to begin the day.

Opening Day

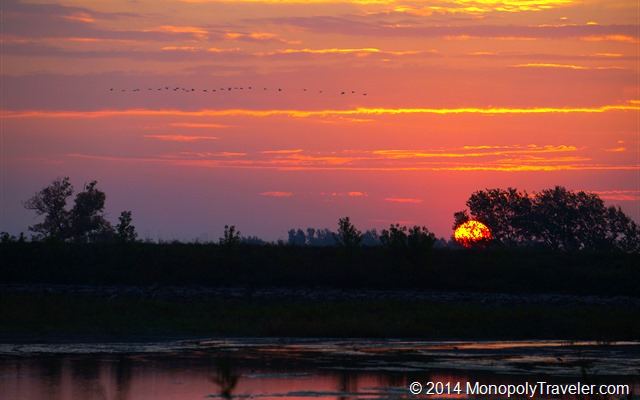
About a half an hour later this photograph was taken. Shortly before this I heard gun shots reminding me that the Minnesota duck opener had begun. I like the position of the rising sun and the colors in the sky being reflected in the water along with the ducks moving across the sky.

_DSC0797

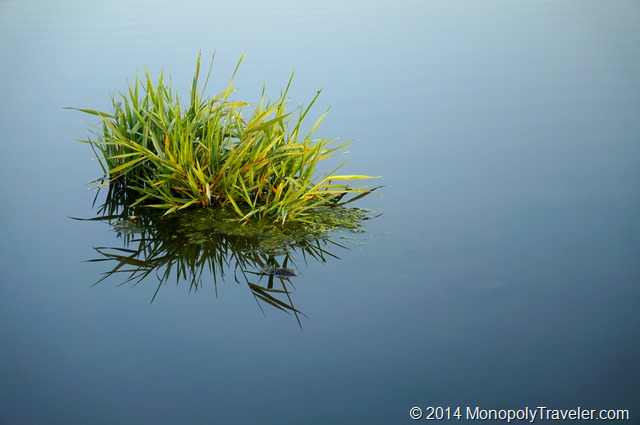
Thirty minutes later I took this photograph. It was chosen because of its simplicity and contrast. Blue water surrounding this little patch of grass with dew drops on each tip. This photograph taught me that timing is really important for some subjects. Had I taken this picture later in the morning or during the afternoon the lighting would not have been good to give me this nice reflection in the water.

Mornings First Light

Minutes later I took this photograph because of the soft, warm glow from the early morning sun on this bright pink flower which was growing on the shore near the water. I debated on whether or not this should be included in the final seven photos but ultimately chose it because of the contrast between this flower and the background in addition to its arrangement within the picture with only the top portion of the flower in focus.

Prairie Breezes

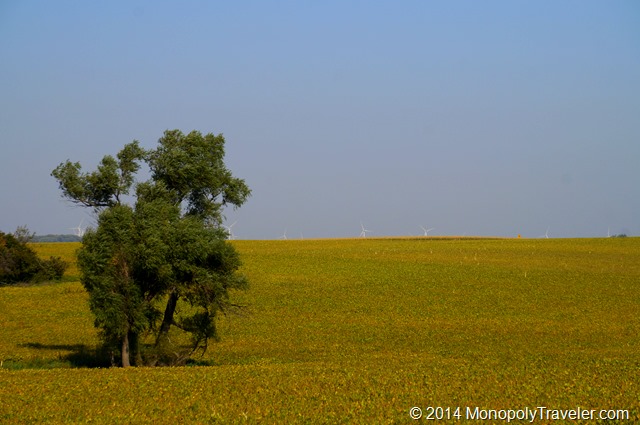
This was a mid-morning photograph that I liked because of the soft wave of the field beginning to change color ahead of harvesting with the tree softened in the picture from the wind accented by the wind turbines on the horizon. Can’t you just feel the prairie breeze?

The Milky Way

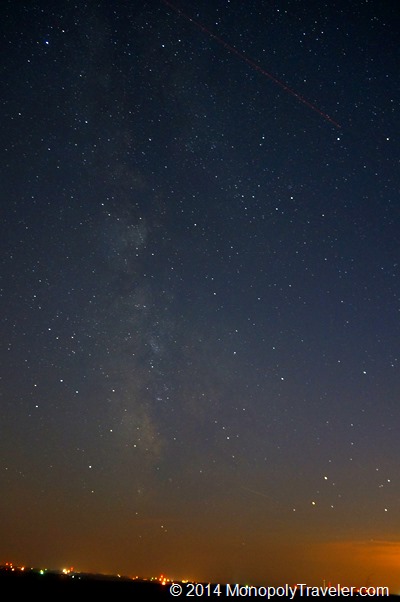
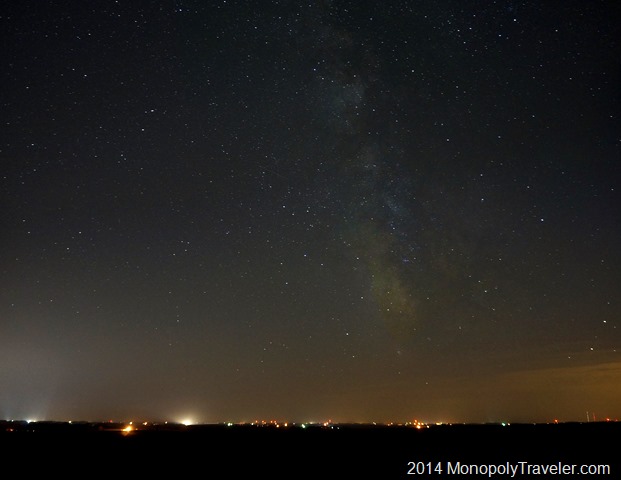
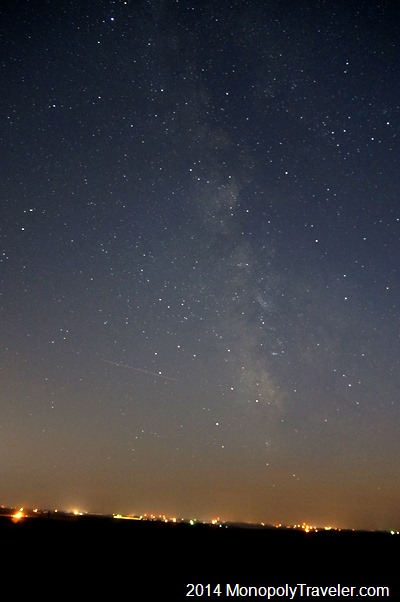
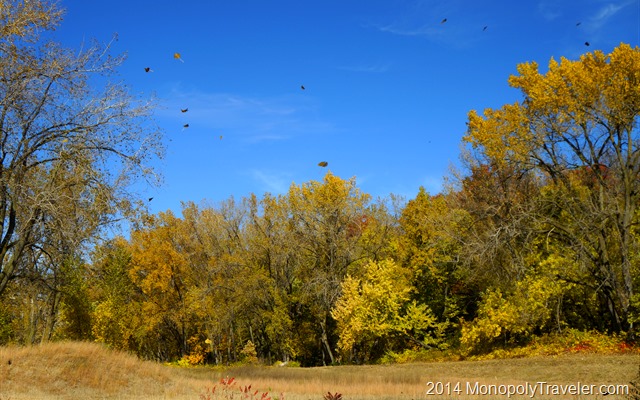
I just realized that six out of the seven top pics where taken on the same day. It was really a productive day that I must have been focused on what I was doing. Ending the day which began before dawn with photographing my main objective – the Milky Way. Even out in rural areas there is still plenty of light pollution making the night sky more challenging to photograph. Regardless I still enjoyed taking these pictures and like the results. There are pictures that show less light pollution but they are also less interesting to me. One of the things that amazed me when looking out at the Milky Way was how close to the horizon you can see it. I’ve always seen it high in the sky and never really noticed how much of the night sky it can cover. This picture is a good reminder to me of the Milky Way reaching for the horizon.
I’d like to read which of these are your favorite. Please leave me a comment and let me know.

Finding More Stars

A Prairie Sunset

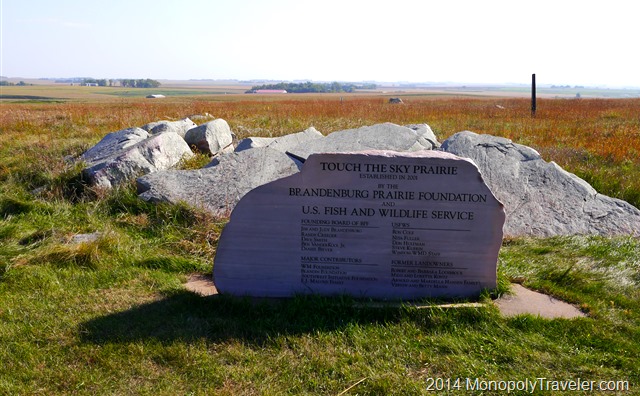
After exploring several miles of Blue Mounds State Park during the morning I wasn’t sure that I wanted to go out in search of the milky way again this night. A nice campfire seemed like a better idea on this gorgeous day and besides, how much different would it be from the same area. As the afternoon progressed there was a nearby national wildlife area close by that I wanted to check out while visiting this area. After checking out the cascading creek I stopped near the top of this Touch the Sky Prairie and gazed out at the horizon. This might actually produce better results as it was several miles west of the nearest town so the light pollution should be less.

A Stone Monument to Touch The Sky Prairie

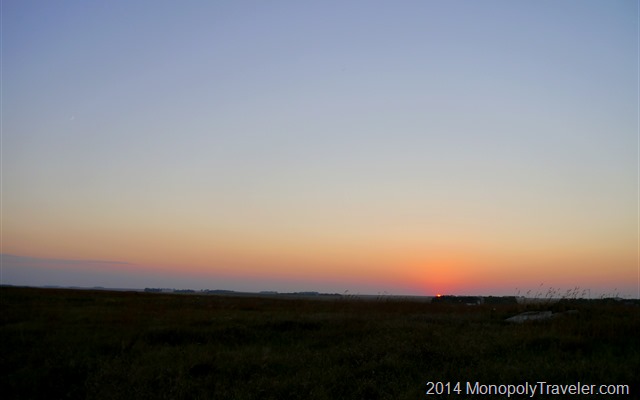
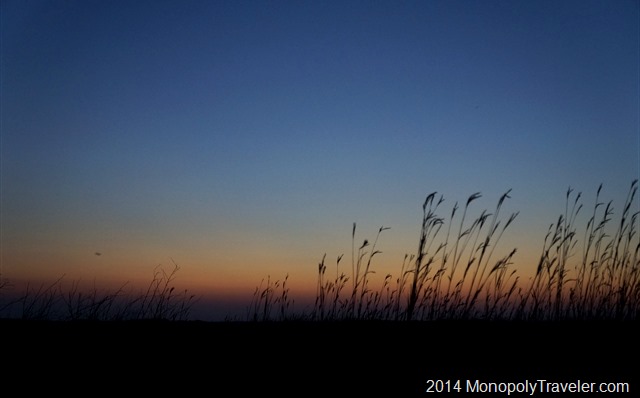
I decided to quickly return to my campsite to get some much needed nourishment before returning to the prairie and foregoing any campfire for the rest of the evening. A quick meal and then hurrying to catch another sunset before setting the cameras to stun. I mean setting them up to capture the night sky. This sunset wasn’t as spectacular but still provided a spiritual event that I was fortunate to witness. While waiting on the stars to shine once again I was working on a second camera that has provided some troubles recently to see if there was a good solution. It’s amazing how busy you can keep by running between two cameras photographing a nearby landscape. Especially when those two cameras are from different camera makers so trying to remember where each setting is kept for each one provided a nice brain teaser.

The Beautiful Twilight on a Praire

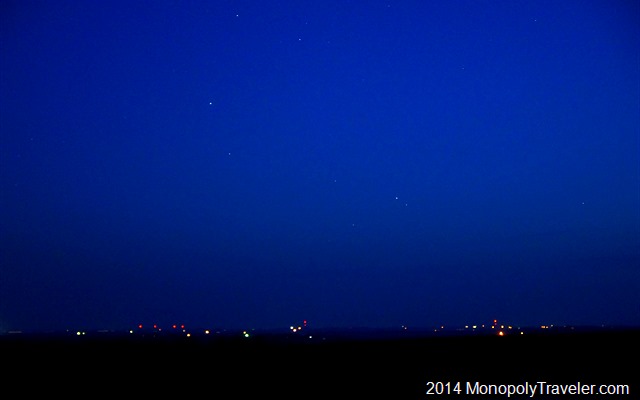
After a short time the stars began to poke through the evening sky challenging the cameras to capture them. This time there was definitely less light on the horizon so maybe this would be the spot to get the milky way added to my increasing collection of photographs. I began testing the camera to make sure the settings and focus where correct to get the best photographs I could and I was ready to begin another evening of astrophotography.

_DSC0979

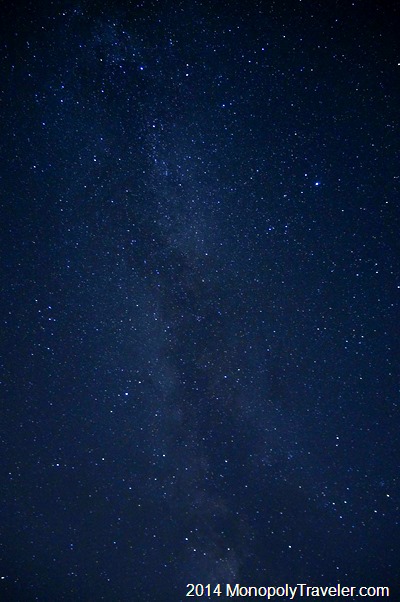
Soon I could see the milky way over head beginning to shine. It definitely looked more brilliant than the night before providing much anticipation of what was yet to appear. As darkness grew so did my excitement at the photographs I appeared to be getting. I know that the screen on the camera does not always show the true look of each photo but taking some time to zoom in on the camera display I had a feeling that things were going well.

The Milky Way Once Again Overhead

Eventually I could see the milky way stretching from one end of the sky to the other. I know I have seen the milky way many times in my life but I had never really looked at it and studied it to see it grace so much of the star filled sky. It was definitely worth skipping a fire to try another night of picture taking. I’m not sure what I enjoyed more – the setting sun or looking up at all these little lights scattered all around me. Finally I accomplished what I had set out to do on this weekend.

The Milky Way Almost Touching the Horizon

How did I find this spot you’re wondering? It took a little bit of research. First I used my Stargazer program to locate the milky way and find out if it was high enough in the northern US skies to get good photographs. After determining this is a great time to photograph it if you can find clear southern skies I started to look for good places to go with less light pollution using DarkSiteFinder.com. Northern Minnesota has some of least amount of light pollution providing for some dark skies so that is where I wanted to go however I was limited by time so distance was an issue. After looking for state parks to camp at I discovered all of the reservable camp sites were booked due to fall color seekers I re-thought where I wanted to go. Being around a lot of people was not my interest for the weekend. Solitude was my desire. Searching state parks I discovered Blue Mounds State Park had very few campsites reserved indicating fewer visitors giving me the quiet I was seeking along with relatively high ground for the possibility of unobstructed photos. Several hours were spent looking for the right place and a couple of stressful days trying to decide if this was what I wanted to do or not. In the end sometimes you just have to pack up and go for a surprise adventure. Sometimes it works out and sometimes it doesn’t.

The Milky Way in the Southern Sky

Looking for Stars


What an Amazing Sunset

The rest of my family went out of town for the weekend. So many things to do and a beautiful weekend to work on my list around the house. But that would be responsible and I know I would spend more time inside than I should and miss too much of this last weekend of summer-like weather (highs in the 80’s and sunny). Camping for the weekend seemed like the perfect way to spend a weekend by myself. I’ve really been itching to get some nice photos of the milky way and light pollution is a problem in many areas near me. After a little searching, I found a state park without the fall color seeking crowds and what appeared to be a perfect place to photograph the night sky as the land was higher than the surrounding area giving me miles of horizon towards the south, where the milky way touches the horizon, without much light pollution.

The Sun Has Set. Time to Wait for the Stars to Show.

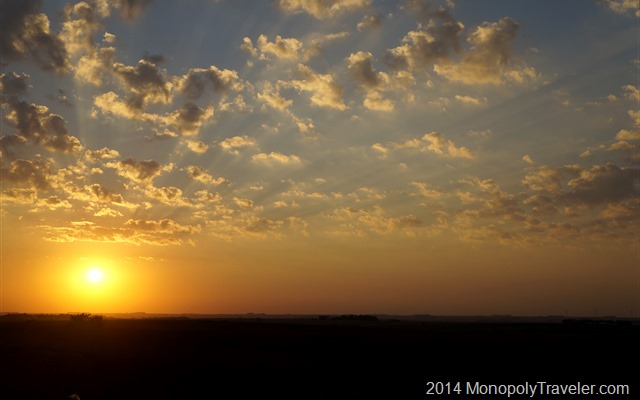
Friday afternoon arrived and so did this last summery weather so I took off from work early and hurried home to pack. Soon after I was on the road for the almost 4 hour drive to Blue Mounds State Park anxious to see the setting sun from this location and look for the milky way to take over the night sky. I arrived at the park just in time to register for my campsite and get to higher ground to prepare for the sun and the stars. It didn’t’ take long for the sun to display it’s breathtaking colors as it neared the horizon prompting me to begin clicking away with the camera. In a very short time I had shot 70 pictures in an attempt to record this beautiful fading display. A few more photos of the twilight and it was time to eat a few snacks I carried with and prepare for my main subject.

The Stars are Starting to be Visible

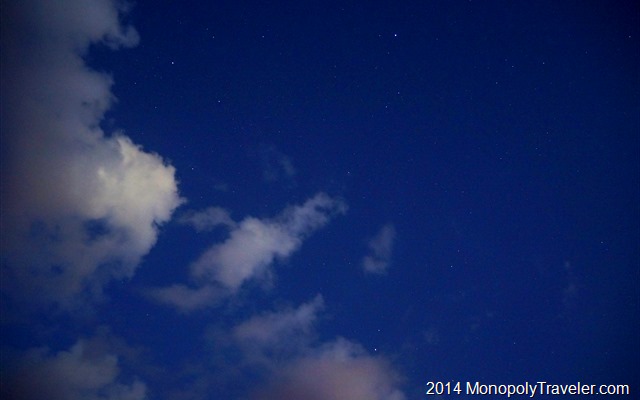
Finally the first stars of the night were visible as the sky continued to darken. I took a few pictures to check the settings on the camera and make sure they were correct for astrophotography. Thankfully I did because a couple of the settings needed adjustment with the most important one being focus. The camera was still on autofocus so I switched it to manual focus and adjusted it for infinity in order to photograph the stars as clearly as possible. After changing the settings I snapped a few more pictures and decided it was set up the way I wanted for the night.

More Stars are Beginning to Show Up

Now that I was ready and just waiting for the darkness to grow I began to realize I was all alone out in this park with all kinds of wildlife. Yes, this is where your mind begins to play with you and make you wonder if this is a good idea and jump at unfamiliar sounds looking for some wild animal to come lunging at you. Searching through the list of animals in this area that would be active at night I realized the most likely animals in this area were coyotes and they were very unlikely to cause any problems. Forcing myself to relax I continued to look upward as the sky light up with its nighttime show. Soon I was once again swinging my camera back and forth on the tripod capturing different scenes as they appeared all around me. Eventually the milky way made an appearance above me and I knew it would be a matter of time until it glowed closer to the horizon.

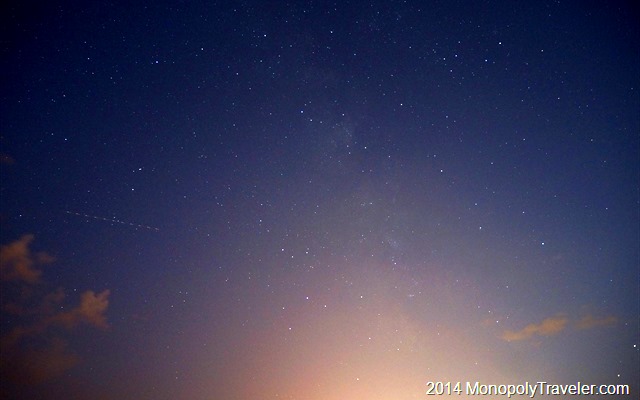
All This Way Only to Blocked by Light Pollution Again.

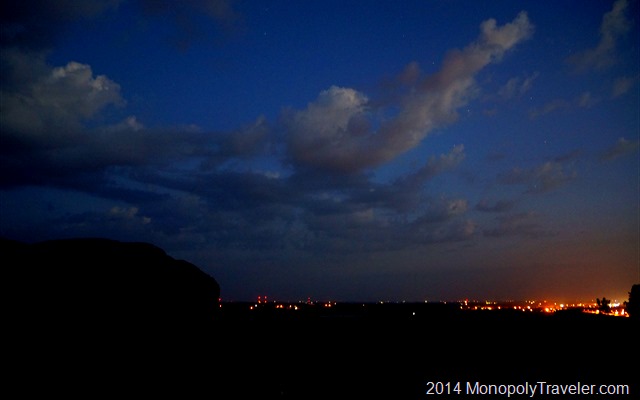
As the night grew darker I soon realized that the milky way would show up right were the nearby town was preventing me from getting the shots I was desperately trying to get. On top of that it was homecoming so the football stadium lights shone bright. All of that time and effort and this was the best picture I could get of near the horizon. Not very impressive however you can still see it. I knew this would be a possibility but hoped for the best. I took the pictures I could and began to vacate my star gazing rock as this part of the park was closing soon. A few photos of the milky way overhead and I was off. Besides it was getting to be a long day and I still needed to set up my tent.
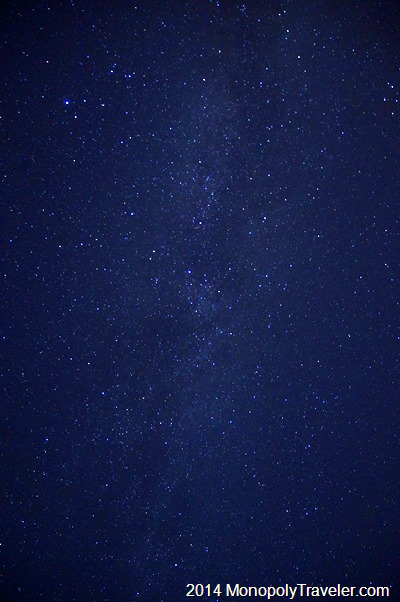
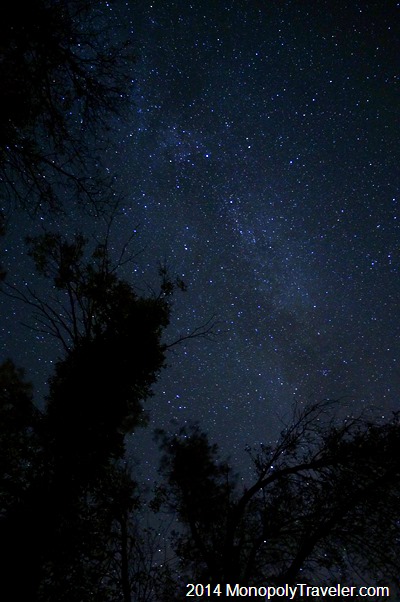
The Milky Way From Overhead

After setting up my tent and sleeping quarters I decided to catch a few photos from this location to cap off my evening of looking for stars. The trees overhead brought a different and interesting composition to all of these bright stars shining down.

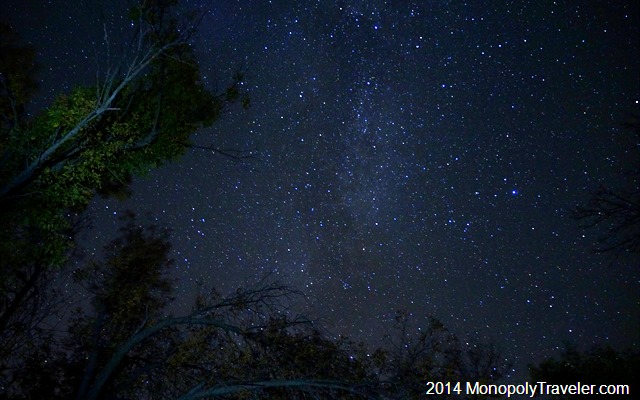
_DSC0705

After a number of pictures I decided to play with my flashlight and began to highlight the trees and see how that looked against all of these stars. It was kind of interesting and something I would have played with more except I had finished my evening beverage and decided it was time to catch a few hours of sleep as I wanted to get up at dawn and photograph the prairie waking up.

Playing With Light Against the Night Sky

I did decide to try again the next night with a little better luck. To continue on click here…

Photography Experiment–Cities

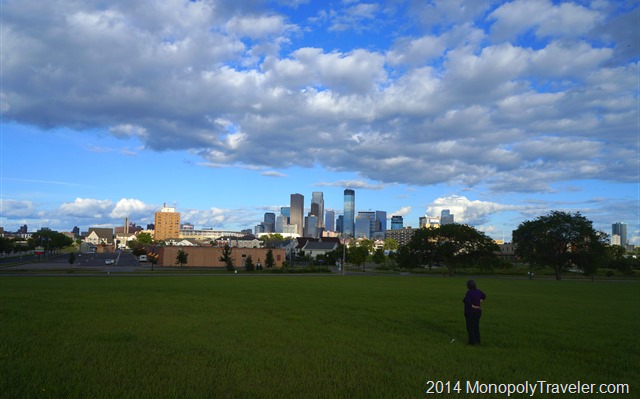
An Early Summer Evening Shot of Minneapolis

Cities are not as interesting for me to photograph as nature and landscapes are but from time to time they catch my attention. Getting some practice and tips will be useful at these times so this experiment is worth taking some time to perform. As luck would have it, I have a nice city to photograph relatively close by too. Some of Peter Carey’s advice includes a little bit of research to determine when and where to photograph which ever city you’re visiting. To read more of his advice about shooting cities with your favorite camera click here…

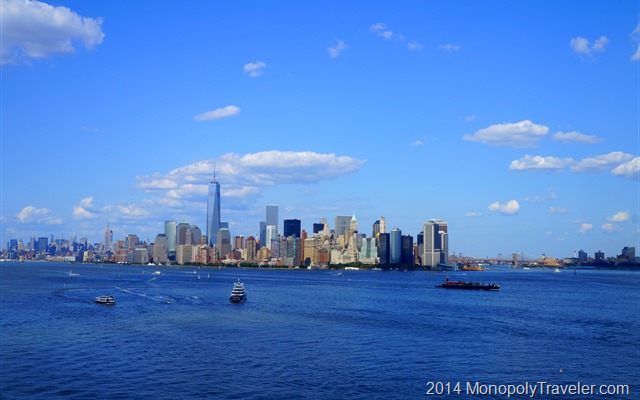
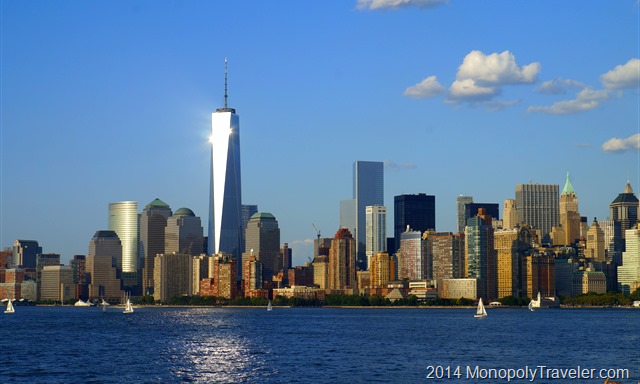
New York During the Late Afternoon

The first tip is to avoid taking pictures of a city during the middle part of the day when the sun is higher in the sky with the most light intensity reflecting off of buildings. I didn’t follow that very well taking pictures of New York this past summer. Using a polarizing filter on this particular picture may have helped even though I don’t think it turned out to bad thanks to a nicely timed cloud blocking some of that sunlight.

The Sun Reflecting Off of the World Trade Center

Here is a good example of why shooting during the middle part of the day may not work out so well because of all the reflections. In this case I did that on purpose because I liked the idea of the new World Trade Center tower appearing as the beacon of New York. It provided a sense of brightness for a city that was horrifically attacked. That is not an effect I would like to have with most cities when trying to photograph them.

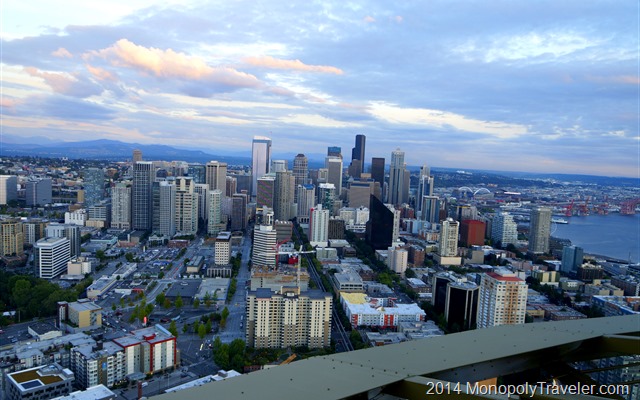
Seattle Near Sunset

This photo of Seattle was taken just before sunset providing a nice opportunity to capture the city towards the end of a day. Direction was less important because of the clouds covering the sun preventing any reflections from the glass but also prevented the warming effect of the setting sun against the buildings. Those same clouds enhance the picture with their shapes and colors though. Since this was taken from the top of the Space Needle it was difficult to put this identifying landmark in the picture.

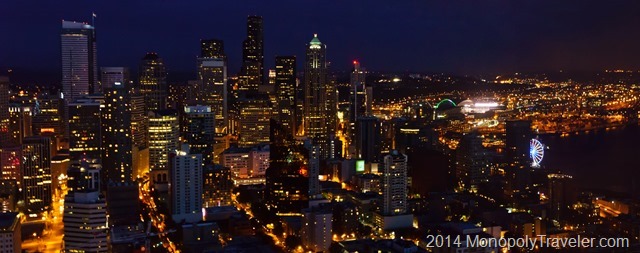
Seattle at Night

Later that evening I had the chance to take this nice panorama of Seattle. That is probably my favorite picture of many cities – the life of a city after dark. This is also the same picture that I don’t often provide time to take.

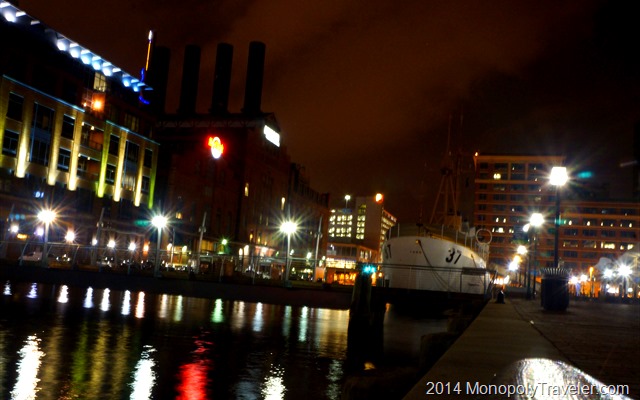
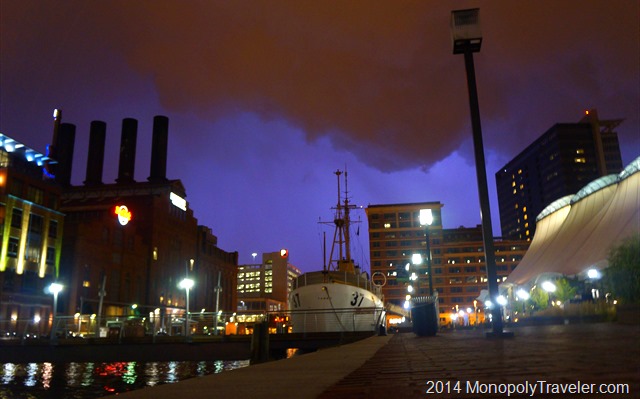
Downtown Baltimore

This is taken from Pier V in downtown Baltimore. I was playing with the aperture settings in order to get the starburst effect on the lights. I think I may have gone a little too far and should have found a more intermediate setting.

Lightning Over Baltimore

My main objective that night was to catch some of the numerous strikes of lightning over Baltimore. There were very few visible bolts of lightning so I had to settle for the sky lighting up. Still, I like the picture even though it does not show the whole downtown area but a small portion of it.
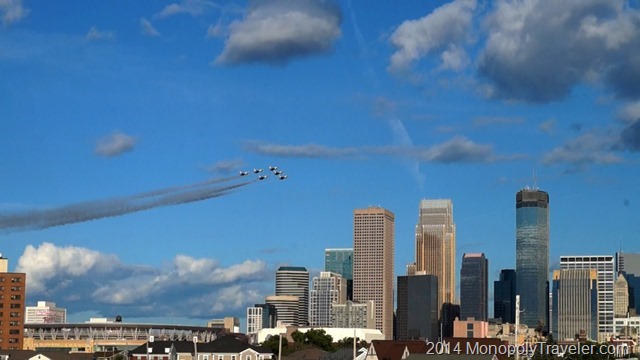
Thunderbirds Over Minneapolis

One final piece I think is worthwhile to photograph are special events occurring in a city. In this case it was the Baseball All-star Game in Minneapolis this past summer. Earlier in the day I heard about a fly over of F-16’s over the stadium before the game. It wasn’t until I arrived at this park to photograph it that I was informed the fly over would be performed by the Thunderbirds. Unfortunately I could only capture this moment with video or still photographs. I chose to use video and this was one frame from that video making it a lower quality picture. Even with that being the case, I saw a picture from a different vantage point on top of one of those taller buildings in the newspaper the next morning. This picture is better than the one in the newspaper simply because of the direction of the sun. I was shooting with the sun at my back while the newspaper photographer had the sun in front of them catching the reflection on the planes washing out most of the color from the picture. I thought taking a picture from the top of a building looking down on the stadium as the Thunderbirds flew over would be great. After seeing it, the picture didn’t work out all because of the placement of the sun. A good learning experience for me in this situation. Had I decided to take still photos I may have had one of the best pictures of this event anywhere all because of the location I chose for this picture.
Rule of Thirds

Thirds

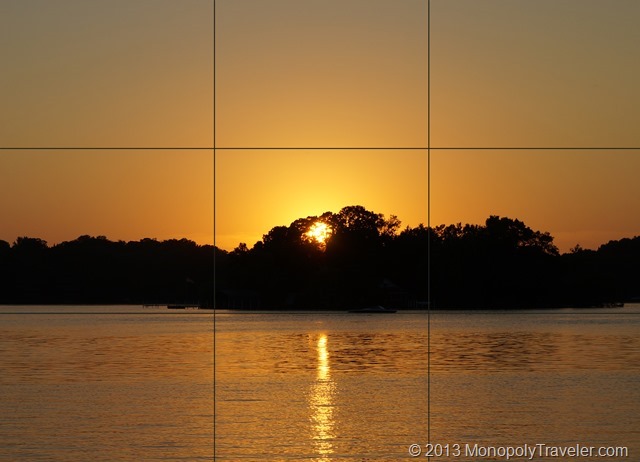
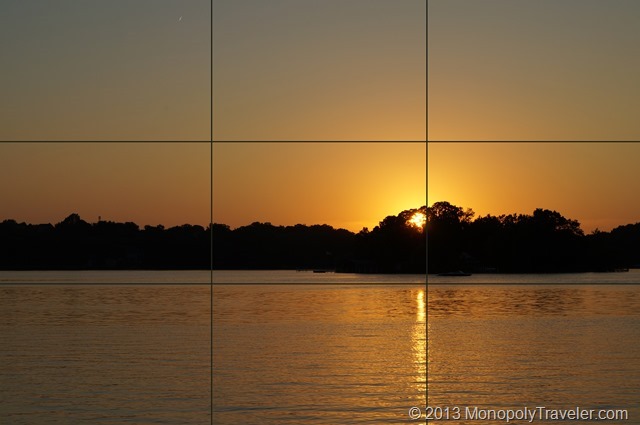
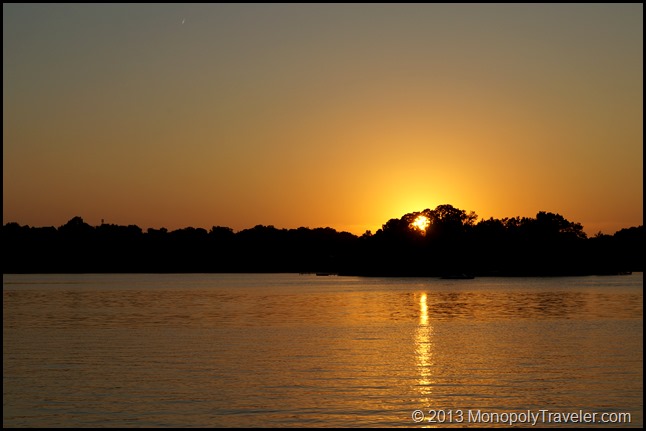
One of the rules of photography is to place focal points or points of interest into a third of the shot. That is a point where the lines intersect on this grid.  For a little more in depth description check this out. The grid above represents a photo divided into sections equaling a third. Many cameras have this grid available for display and I have added this into my display. I enjoy photographing the setting sun (and rising sun if I’m out and about with the camera) so this seemed like a good subject for the thirds experiment. The picture below has the sun centered in the photograph as you can see by the grids. Hmm….interesting.

Setting Sun Centered

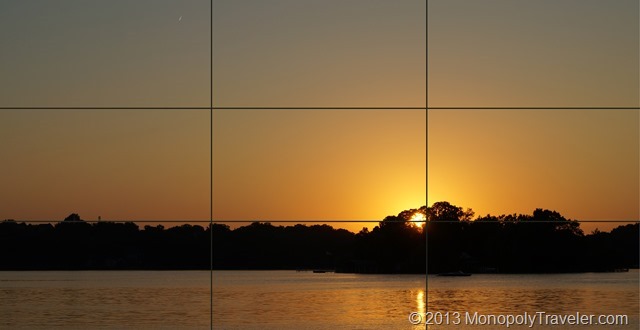
I really don’t think it is all that bad but then again the subject – setting sun over a lake looks good in just about any picture. Now let’s see what this looks like using the thirds rule. After adding the grids you can see that the sun is in the lower, right third of the picture. I definitely like having more of the colorful sky in the picture but in this case the water could really be shown more, especially with the suns reflection. As is stated in Peter’s post, “The Rule Of Thirds is a handy place to start when trying to figure out how to frame a scene. It’s also a great jumping off place for further experimentation.”

Setting Sun on Grid

I do think the sun and it’s reflection in the water look better off to one side or the other so let’s keep that part of the photograph at the thirds line. Adding a little more water to the picture and just a little bit less sky gives me a picture that shows the highlights of what I was enjoying that night – water with the suns reflection in the waves, setting sun with so many beautiful colors, and the silhouettes of the surrounding shore contrasting with the sky and water. Yah, keeping the sun to one third of the picture is better than centering it in my opinion.

Adjusting the Rule of Thirds

For those who would like to see this picture without the grids on it, here it is.

DSC04329

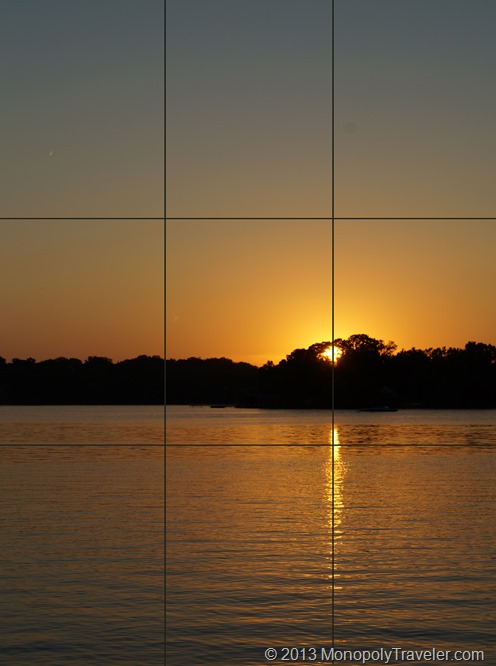
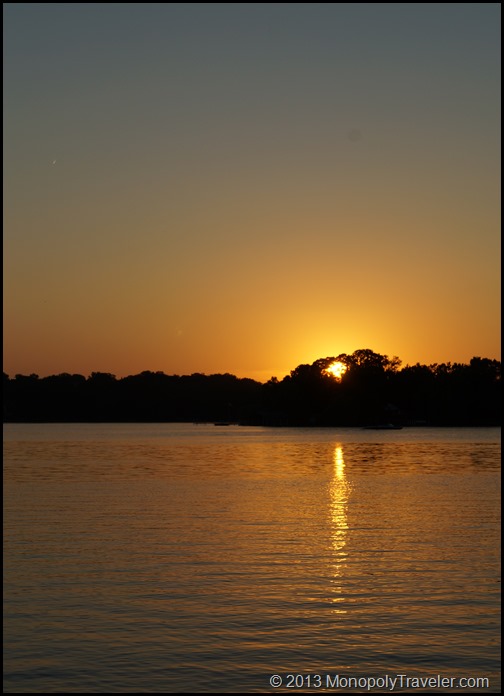
Since I really liked the sun reflecting in the water and the transitioning colors of the sky, changing the orientation of the camera offered the opportunity to capture more of both. I still kept the sun on the right third of the picture as you can see by the grid lines. That did it! this shows all of the sun’s reflection in the water and the colors of the sky transitioning from the reds and yellows to the darker blues of the oncoming night sky.

Verticle with Grids

Once again a chance to look at this picture without the grids. If trying to decide which one of these to frame, I’m not sure which one I would choose. Which one would you choose? Why? It would probably depend on where I would hang it or what I was going to do with it.

DSC04330

Histograms

Without Looking at the Histogram

As I continue to practice with cameras and improve the photos I take, I added the histogram to the rear display to see how the exposure changes with different shots. You may first want to read Peter Carey’s article describing histograms before continuing on with my attempts with it. The photo above was the first picture taken before putting the histogram on the camera display. This was taken using the camera auto settings.

3093 hist

This is the histogram of that photo. The high peak on the left indicates the darks/shadows are being clipped. Ideally the histogram would have the peak towards the center meaning that the sensor was getting as much information as possible. This is a bit of a challenging situation because part of the subject is in the sun while other parts are in the shade which you can see with the over exposed leaves and some dark areas in between the plants. in an effort to maximize the information the sensor is picking up I pointed the camera at the same plants but from different directions as well as changing some of the camera settings.

Adjusting to Optimize the Histogram

Focusing on areas of the plants that are in the sun eliminated the darks/shadows clipping as you can see in the histogram below. There aren’t as many over exposed areas in this photo as in the picture above. Both of these photos are using jpegs as taken by the camera. Because they are jpegs the advantage of the histogram still is not as visible.

3102 hist


To get the most out of the information that the camera sensor picks up a RAW image is useful. RAW images store more data maintaining more of the properties of that picture which becomes important when using photo editing software. The photo below is the exact same picture as above but started in the RAW format and processed with an editor. Because I paid attention to the histogram, the camera sensor was able to get more information almost eliminating the over exposed leaves as well as getting a truer color. Also, the shadows provide a little better sense of depth because they where not clipped when taking the picture.

Another little detail that can really help get better pictures in the right situations.

RAW image corrected with histogram

Metering Modes

Metering modes are not something that I have ever really played around with as I keep this set to pattern on my cameras which is the same as matrix or evaluative in Peter’s article on metering modes. I decided to play around with this a little to see what differences I could find. The different modes are only available with the aperture priority, shutter priority, program, and manual settings. I set the camera in aperture priority and kept the ISO at 1600. The camera was not on a tripod so each shot is slightly different which could account for some of the variation in these pictures. That being noted, here’s a few pictures:

DSC02751_thumb6DSC02752_thumb9

DSC02753_thumb8

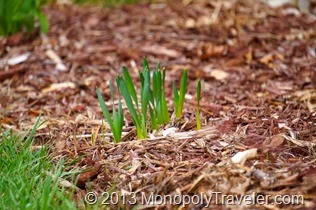
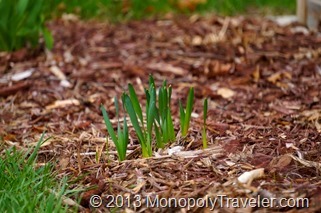
The top left photo used spot metering while the top right photo used center weighted average and the photo to the left used pattern. I don’t see much of a difference in any of these that even at larger sizes. These were taken during the morning on a sunny day at close range possibly negating any difference in modes. These are daffodils emerging from their winter nap.

DSC027587_thumb9DSC027591_thumb3

DSC027601_thumb3

These photos are in the same order as the previous group with spot metering top left, center weighted average top right, and pattern metering on the left. As in the daffodil group above, I don’t see a lot of difference between modes. Again these were taken outside in the sun so the difference may be less noticeable if there is any.


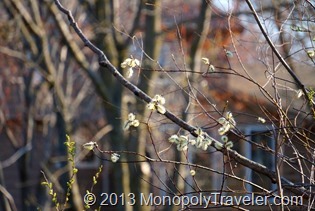
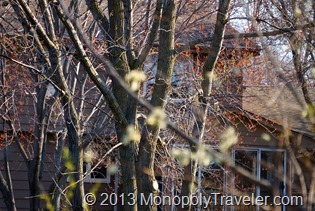
DSC027621_thumb6DSC027631_thumb4

DSC027611_thumb6

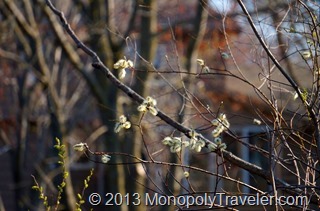
These photos show more of a difference in modes most likely because of the distance between the foreground and background. The order is the same with spot metering top left followed by center weighted top right and pattern to the left. Both the spot and center weighted are focused on the pussy willows while the pattern focuses on the trees in the background. The spot metered picture is a little darker than the others with greater focus on the details of the pussy willow branch. Center weighted obviously let in more light making the whole photo brighter. The pattern photo is the brightest of the three modes due to the whole picture being weighted for light levels by the camera.

I didn’t see a lot of differences by changing the metering modes for photos shot closer to the subject but once you step back and take pictures of a larger area the differences begin to show up. There are plenty of situations to try this in to find the differences. Peter Carey gives a list on his metering modes page for which modes to use in which situations. Time to go learn more about taking photos. Fortunately many of the issues from incorrect metering can also be taken care of if editing with the exception of focus or too high and too low of an exposure.