Tag Archives: Photography Experiment

Histograms

Without Looking at the Histogram

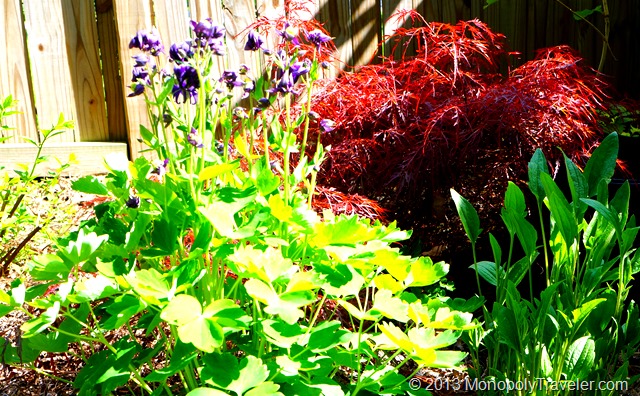
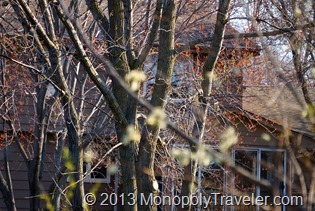
As I continue to practice with cameras and improve the photos I take, I added the histogram to the rear display to see how the exposure changes with different shots. You may first want to read Peter Carey’s article describing histograms before continuing on with my attempts with it. The photo above was the first picture taken before putting the histogram on the camera display. This was taken using the camera auto settings.

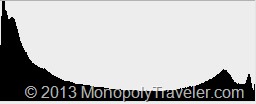
3093 hist

This is the histogram of that photo. The high peak on the left indicates the darks/shadows are being clipped. Ideally the histogram would have the peak towards the center meaning that the sensor was getting as much information as possible. This is a bit of a challenging situation because part of the subject is in the sun while other parts are in the shade which you can see with the over exposed leaves and some dark areas in between the plants. in an effort to maximize the information the sensor is picking up I pointed the camera at the same plants but from different directions as well as changing some of the camera settings.

Adjusting to Optimize the Histogram

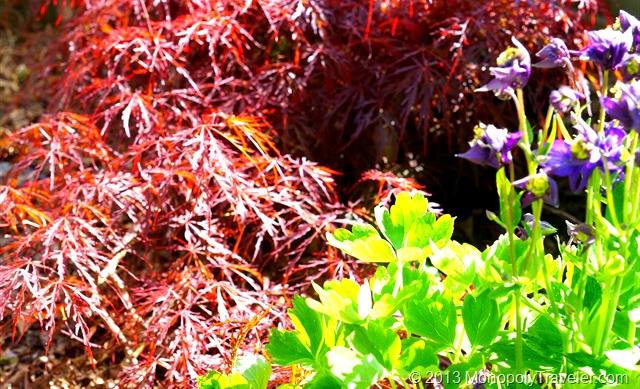
Focusing on areas of the plants that are in the sun eliminated the darks/shadows clipping as you can see in the histogram below. There aren’t as many over exposed areas in this photo as in the picture above. Both of these photos are using jpegs as taken by the camera. Because they are jpegs the advantage of the histogram still is not as visible.

3102 hist


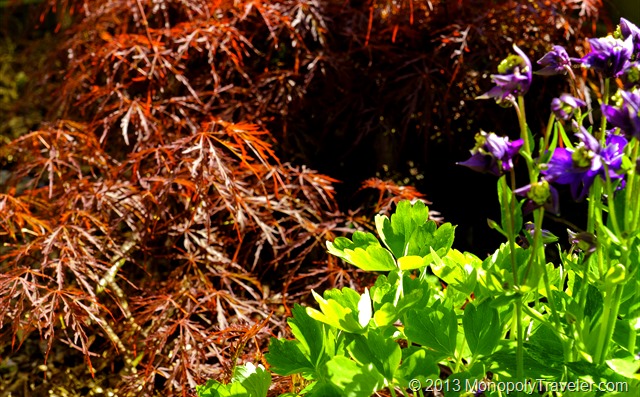
To get the most out of the information that the camera sensor picks up a RAW image is useful. RAW images store more data maintaining more of the properties of that picture which becomes important when using photo editing software. The photo below is the exact same picture as above but started in the RAW format and processed with an editor. Because I paid attention to the histogram, the camera sensor was able to get more information almost eliminating the over exposed leaves as well as getting a truer color. Also, the shadows provide a little better sense of depth because they where not clipped when taking the picture.

Another little detail that can really help get better pictures in the right situations.

RAW image corrected with histogram

Metering Modes

Metering modes are not something that I have ever really played around with as I keep this set to pattern on my cameras which is the same as matrix or evaluative in Peter’s article on metering modes. I decided to play around with this a little to see what differences I could find. The different modes are only available with the aperture priority, shutter priority, program, and manual settings. I set the camera in aperture priority and kept the ISO at 1600. The camera was not on a tripod so each shot is slightly different which could account for some of the variation in these pictures. That being noted, here’s a few pictures:

DSC02751_thumb6DSC02752_thumb9

DSC02753_thumb8

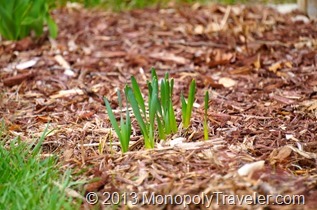
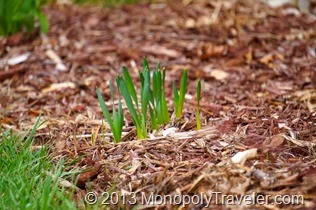
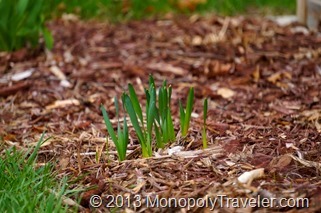
The top left photo used spot metering while the top right photo used center weighted average and the photo to the left used pattern. I don’t see much of a difference in any of these that even at larger sizes. These were taken during the morning on a sunny day at close range possibly negating any difference in modes. These are daffodils emerging from their winter nap.

DSC027587_thumb9DSC027591_thumb3

DSC027601_thumb3

These photos are in the same order as the previous group with spot metering top left, center weighted average top right, and pattern metering on the left. As in the daffodil group above, I don’t see a lot of difference between modes. Again these were taken outside in the sun so the difference may be less noticeable if there is any.


DSC027621_thumb6DSC027631_thumb4

DSC027611_thumb6

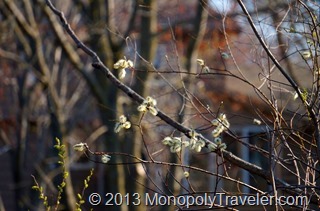
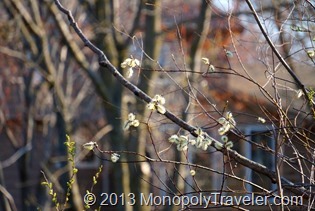
These photos show more of a difference in modes most likely because of the distance between the foreground and background. The order is the same with spot metering top left followed by center weighted top right and pattern to the left. Both the spot and center weighted are focused on the pussy willows while the pattern focuses on the trees in the background. The spot metered picture is a little darker than the others with greater focus on the details of the pussy willow branch. Center weighted obviously let in more light making the whole photo brighter. The pattern photo is the brightest of the three modes due to the whole picture being weighted for light levels by the camera.

I didn’t see a lot of differences by changing the metering modes for photos shot closer to the subject but once you step back and take pictures of a larger area the differences begin to show up. There are plenty of situations to try this in to find the differences. Peter Carey gives a list on his metering modes page for which modes to use in which situations. Time to go learn more about taking photos. Fortunately many of the issues from incorrect metering can also be taken care of if editing with the exception of focus or too high and too low of an exposure.

Time-lapse Photography

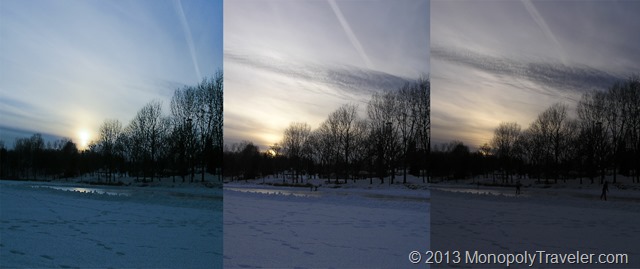
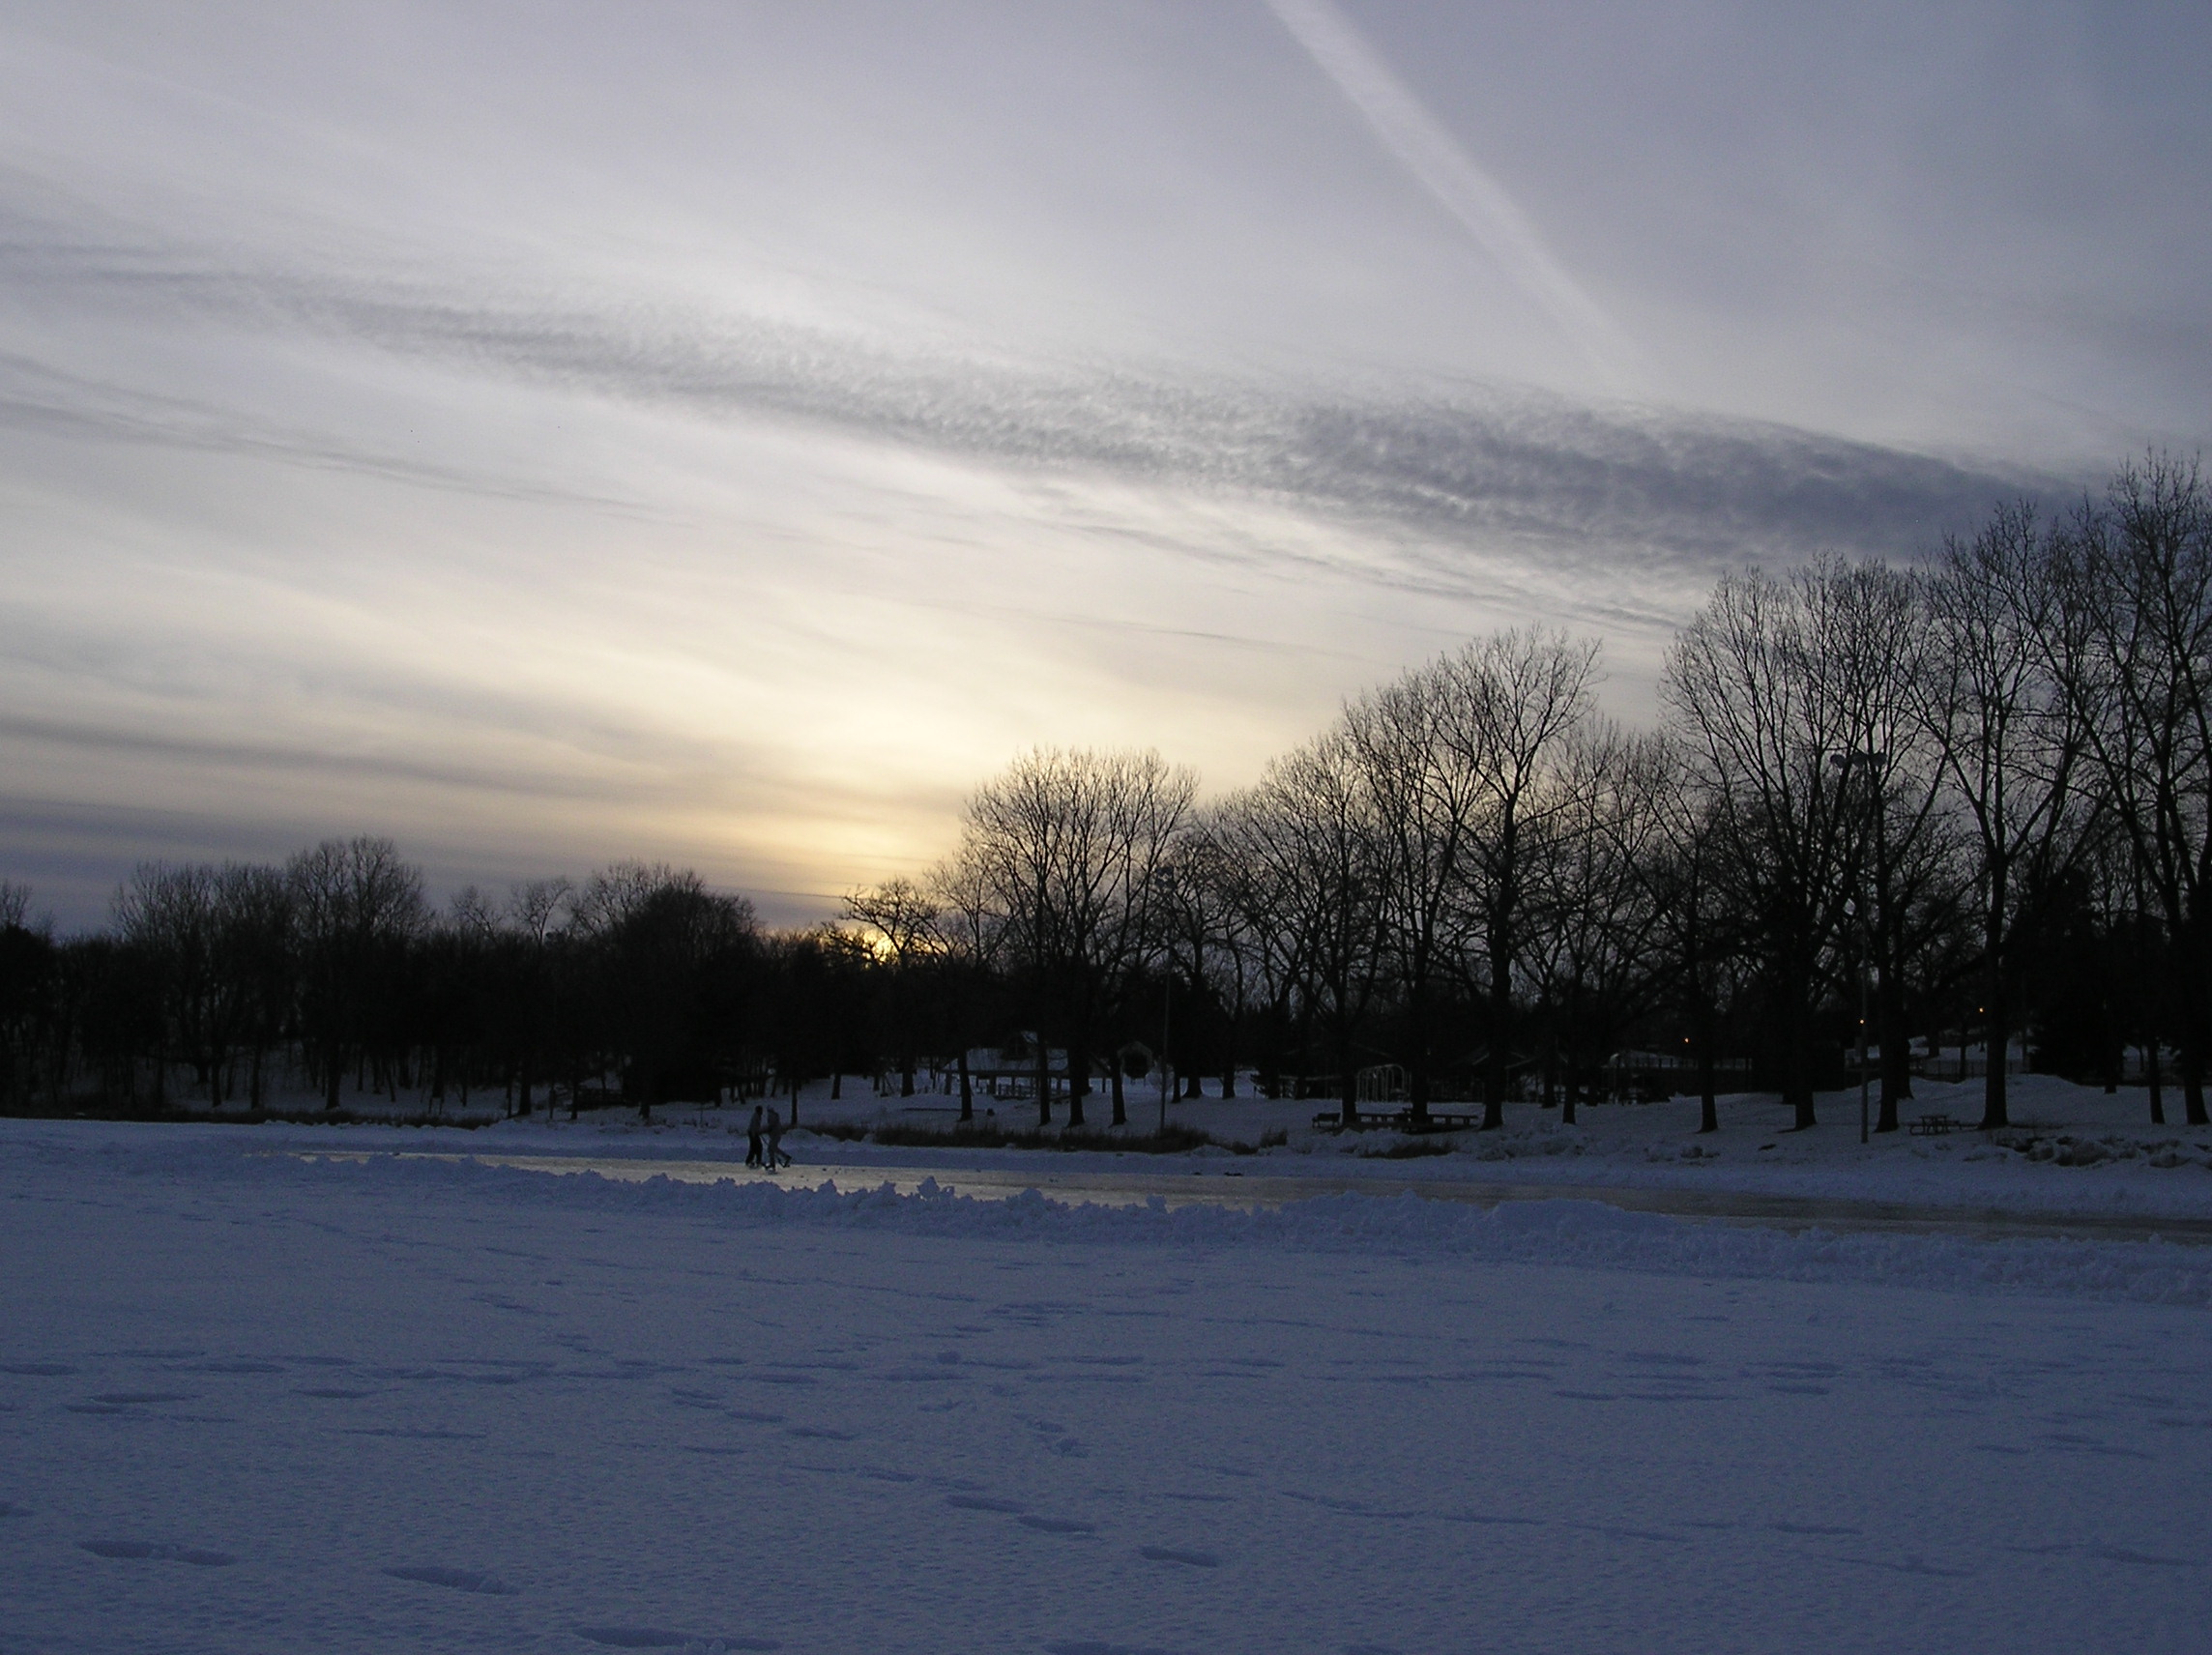
Ice Skating Time Lapse

Well, it’s been a few weeks since I’ve put together a post so what have I been doing? Other than taxes? Ya, that takes a little time, along with shredding documents that have accumulated over the past year that don’t need to be saved. I’ve been going through a few more properties on the photography experiment board such as Shutter Speed, Aperture, ISO, and Photography Jargon as well as reading a book or two on photography. The photography jargon helped explain a few terms for me so I can understand them better. A worth while post to read. I couldn’t think of anything to write about regarding these and I’ve already completed the experiment recommended by Peter Carey covering these topics so there haven’t been any post recently.

One thing I’ve been thinking about lately is how to take time lapse photos. Using my point and shoot camera which was recently fixed, you can see that post here…, I tried it out just using the remote that came with the camera taking a photo as soon as the camera was finished processing each shot. There ended up being over 300 pictures taken over 30 minutes which ended up providing a 10 second time-lapse video. That was fun but how can I make a 4-5 minute time-lapse video using this technique? Through some research I found the Tempus time-lapse remote to take pictures every few seconds. Problem solved, let’s order one.

video
play-sharp-fill

Wait a minute! That will work for my point and shoot but what about the new Sony Nex 3 which does not have remote functions. When I purchased this camera I didn’t think the remote was very important since up to this point I never used it on other cameras. What that ever a wrong assumption now that I have a camera capable of shooting good nighttime photos. Who knew? Well, Tempus also comes with a mechanical trigger but at a much higher cost. Could there be another way? Through more time and research I came across ways to build my own mechanical time-lapse trigger which was a little more adjustable and would work on all of my cameras with considerably less cost.

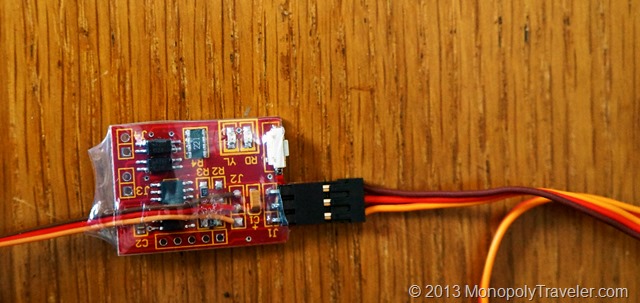
Shutterbug Pro Circuit Board

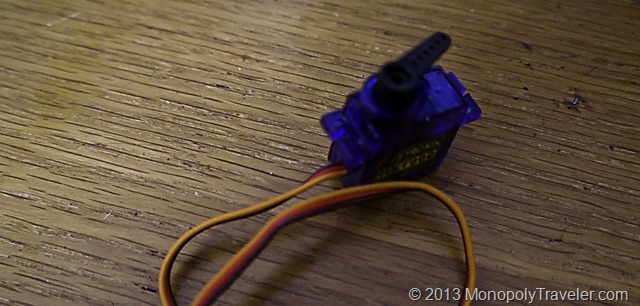
Finally I settled on the Shutterbug Pro which combined with a servo will take pictures at set time intervals. This is able to take extended photos in the bulb setting on dSLR cameras in order to capture light trails and star movement over time which I do want to try. Also, I get to build something and learn how to use things I’ve never used before. Learning is usually the best part for me and successfully using that knowledge. More new experiences!

Hobby Servo

I’ll put up another post explaining how I did this later. To see that post click here….

To see the video created from this project click here….

The Exposure Triangle

Smallest Aperture

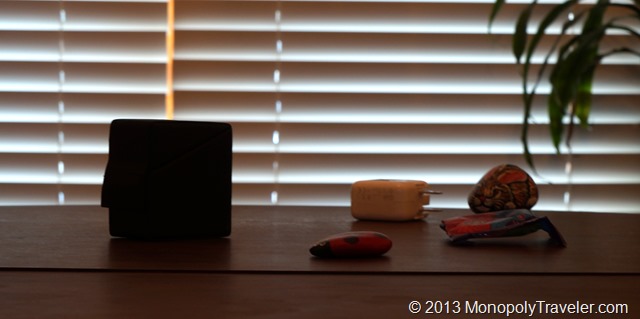
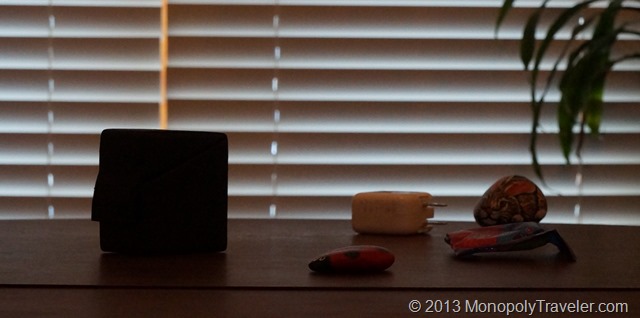
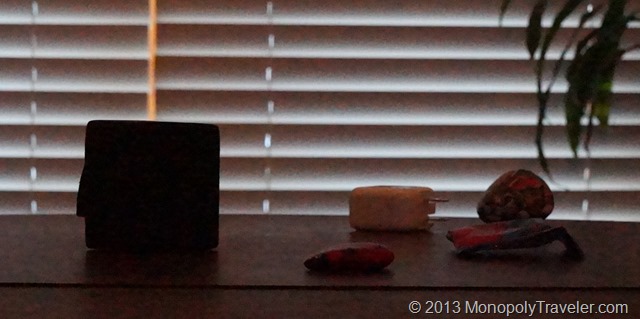
Continuing on with my determination to learn how to better use my camera, I took on a few experiments recommended by Peter Carey in his post about Exposure. The first one involves changing Aperture from the lowest aperture to the highest. On my camera that involved 6 different photos. My apologies as the lighting is not great for these photos but the basic idea still comes through.

Middle Aperture

In the top photo the background is completed blurry and the shutter speed was the slowest. As I progressed through each level I noticed two things happening. First, the shutter speed decreased as I moved the aperture higher. This is in response to the camera letting in less light (larger aperture) requiring a longer exposure to capture the elements in the photo to offset the smaller opening. Second, more and more of the background came into focus. You can see the difference in focus from the top photo to the bottom one. This must be what they call depth of field and what is meant by losing depth of field as the aperture increases. Nice experiment Peter!

highest aperture

The next experiment was with ISO. Keep aperture steady and increase ISO and see what happens. This took 8 photos for me to run through the available ISO range on my camera ranging from 200 to 16,000.

Lowest ISO

In the top photo the clarity is pretty good as this photo is magnified somewhat. Again as the ISO is increased the shutter speed changed. The higher the ISO the faster the shutter opened and closed to compensate for the sensitivity to light as affected by the changing ISO. As I moved to the middle of the ISO range you can see the graininess appear more in the picture below.

Middle ISO

Moving to the lower picture the graininess is really noticeable, especially on the white and black objects. Before understanding how the exposure, aperture, and ISO work together better, I used the exposure setting on my camera to change the picture not realizing that all that was doing was changing one or more of these settings. I thought it was a separate setting altogether. I’m gaining a clearer idea of how each of these can be used to change the look of a photo. A few thousand more photos changing the exposure settings and I should start to get a feel for which to adjust in different situations.
DSC01911

31+ Days to Better Photography

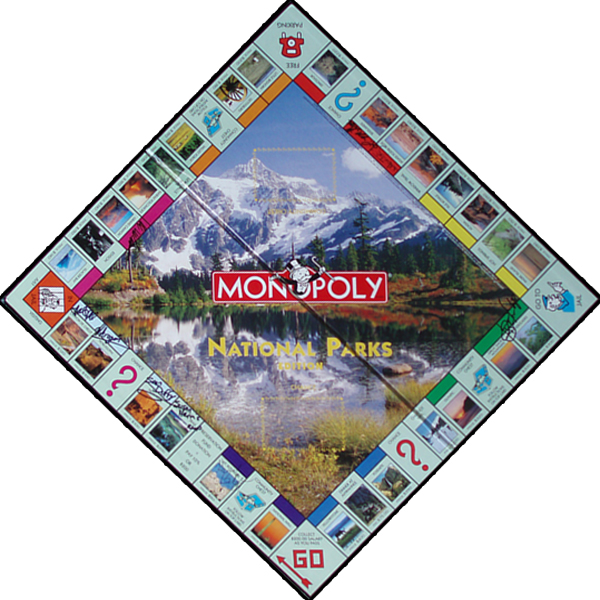
Monopoly-Board-31-Days

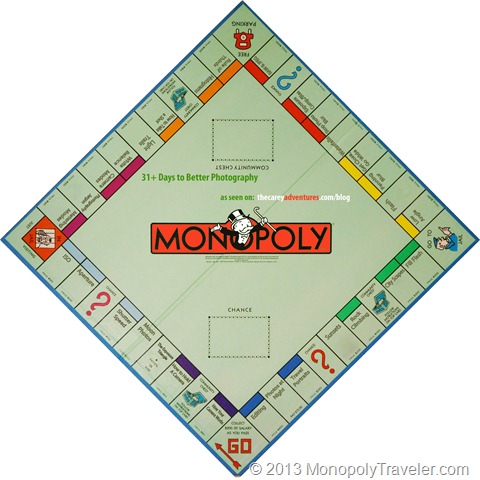
For 2013 one of my goals is to complete this Monopoly© 2012 Hasbro board to better photography. This idea came from the posts on the Carey Adventures website on ways to improve your photography. Each location on this board refers to one of Peter Carey’s posts. My goal is to take at least 100 photos for each topic and identify what I’ve learned and how it improves my photography. The cost is mostly just time and the results are almost instantaneous to do this as we don’t have to develop film any longer. In some cases I expect that 100 photos will not be enough and in others it may be a challenge to take that many pictures on the journey to completing this board.

I’m not trying nor do I expect to become a professional photographer by completing this. My goal is only to improve the shots I take so I can share them here for others to enjoy and share in the experiences of traveling to different national parks. Thanks to Peter for sharing these tips with others. In this day and age as taking pictures gets more and more affordable and easier to do, the quality can be so much better than even a decade ago. Unfortunately not all of the topics on this board have been written about on Peter’s website. If those topics are not added to during 2013 I will have to either research these topics from other places or choose different topics to work on. During 2012 I have played with some of these settings but look forward to taking more time to experiment and learn in greater detail in 2013.

To check on my progress throughout the year click here to go to the Photography Experiment page.