Category Archives: Travel Blogs

Edison

_DSC9256

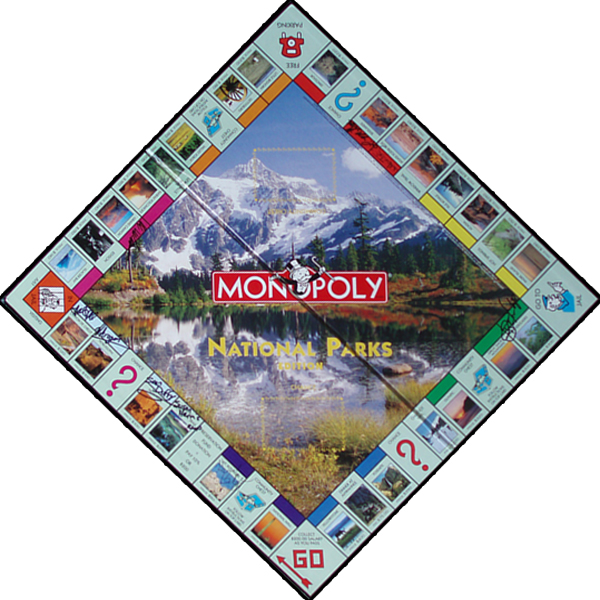
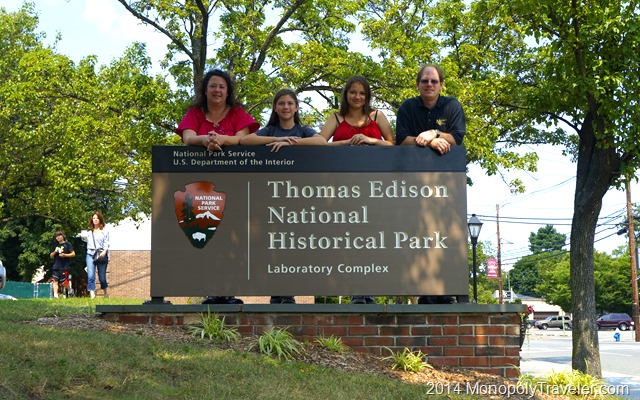
One of the stops on our National Parks Monopoly Board was to Thomas Edison National Historical Park in New Jersey. When I first saw this place on the board I thought it would be interesting to see where the light bulb came from. Little did I know that Thomas Edison was responsible for so much more. He is credited with inventing ways to move electricity, of course the light bulb, the phonograph, motion pictures, motion picture cameras, and so many other things that are an important part of our lives now. After learning more about Edison it made sense why there are so many Edison Electric companies.

Edison's Laboratory Complex

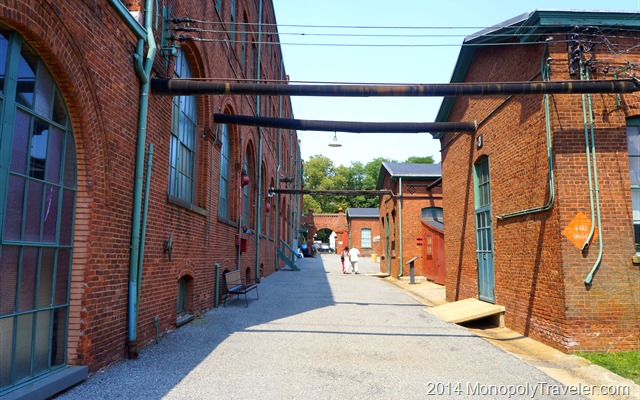
Arriving at the laboratory complex about mid-morning gave us the opportunity to explore Thomas’s different workshops for at least half the day. A stop at the visitor center allows you to get passes to see Edison’s home along with an introductory film about Thomas and his inventions. There are 5 different lab buildings to explore along with the Black Maria built for creating motion pictures and Glenmont Estate where his home is located. Our first building was the chemical lab.

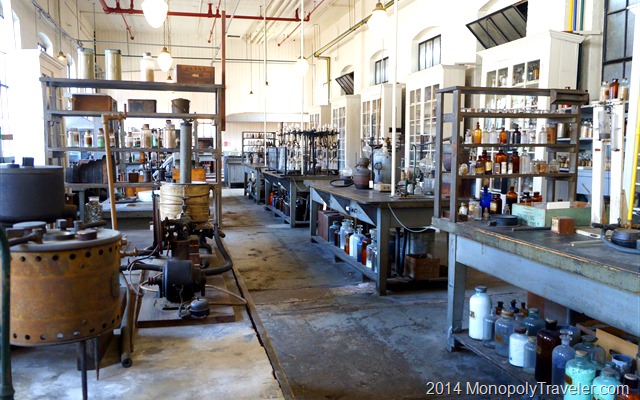
Inside the Chemical Lab

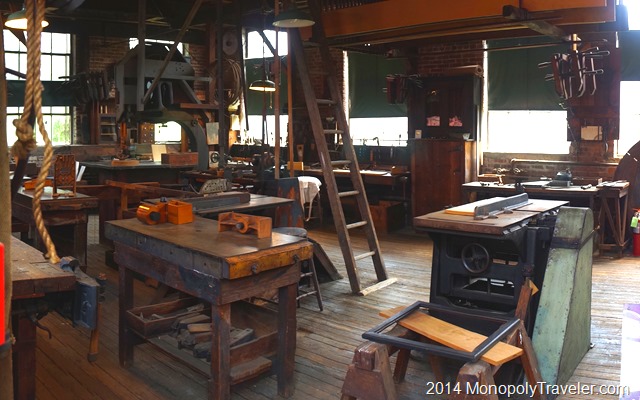
This is where we began to realize how many different inventions that Thomas Edison was a part of. There is a building for chemicals, metals, woodworking, and physics that worked together to create things such as records for the phonographs, batteries for cars, portland cement. While in the chemical lab we were showed some different things being worked on such as a plastic record for recording sounds and a rubber based on plant sap instead of using oil that could be used for manufacturing tires. It was also here that we learned about batteries being created to power cars. That was incredibly enlightening to understand that electric cars could have been around in 1910 and we are now just started to embrace this type of technology today.

The Metallurgical Lab

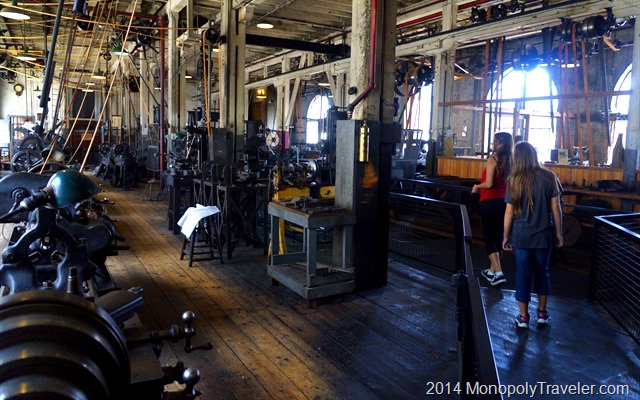
After a quick look inside the metal lab, we moved on to the main laboratory which was a much larger area with multiple floors able to build more inventions. There are a lot of machines in this building all running off of belts. I can only imagine how much noise there was when this building was in use. Amazing how this was all set up to run by connecting belts together. I’m sure people working here had to watch their step or a belt would cause a quick and painful injury as fast as they were probably running.

Inside One of the Floors of the Main Lab

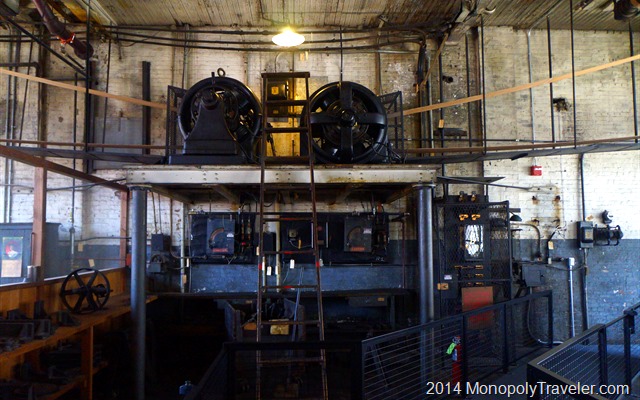
There were two motors to run all of these machines, one for each side of the laboratory.

The Two Main Motors That Ran Everything on the Floor

The most incredible piece to this whole complex to me is how advanced this all seems for late 1800’s and early 1900’s. I’m sure at that time, while it was advanced technology, it didn’t seem nearly as advanced as I believe it to be. Of course I get to view the advancements from 60 plus years in a matter of hours and know what they have led to today instead of the years and years it likely took to create many of these inventions. Having done some woodwork along with my horticultural education which requires some chemical knowledge with fertilizers and pesticides helped me to really appreciate what it must have been like working in these labs attempting to create new things.

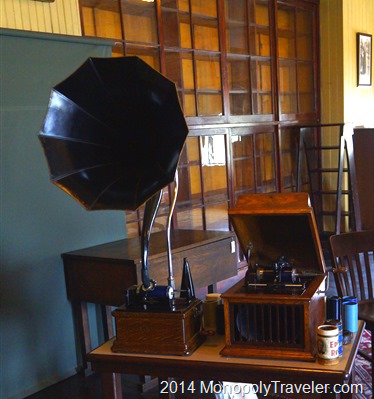
One of the First Phonographs Which Still Works, We Actually Heard it Play

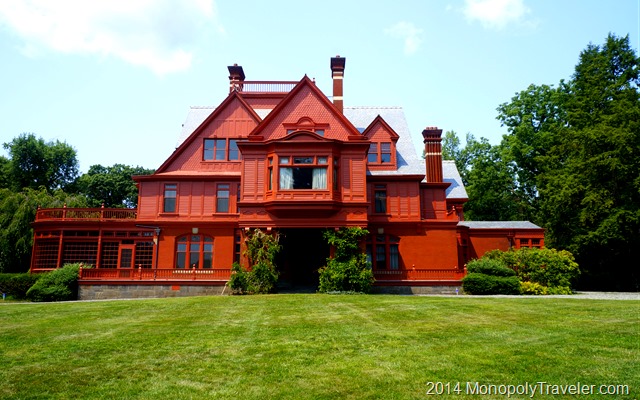
After going through most of these laboratories, we headed up to Glenmont Estate to tour Thomas Edison’s house. It was a very nice house that was well furnished but didn’t appear as extravagant as a home that I’m sure he could have had. There were a number of rooms well decorated with wall hangings, rugs, and intricate woodwork to show the expense put into his home. He showcased a number of his inventions here and had certain rooms solely for entertaining people and having business dealings. There were separate areas for the servants including their own kitchen, bathroom, and  stairwell to reach each of the three floors. While I’m sure this home was enjoyed, I didn’t feel overly comfortable inside to want to live in a place such as this. The rooms felt small and closed off to me probably due to the darkness of the interior from the heavy décor and woodwork. Just my personal feelings. No pictures are allowed inside so I can’t look back on them to confirm and show why I felt this way.

The Edison Home

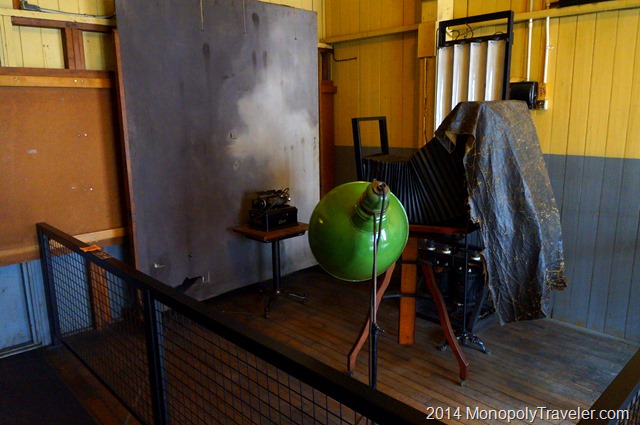
Returning to the lab complex we finished up exploring the motion picture creations. I never realized that Edison created motion picture cameras, a way to view them, and a studio designed to make them. It must have been amazing to create and watch the first motion picture. I know a lot of people still like to make and watch them today only they are considered stop motion or time lapse videos now but basically the same concept used to invent the first movie. We enjoy watching how things happen over time or even slowing time down in the case of an explosion or other fast event. I’m sure it was the same idea then.

Setup to Create the First Motion Pictures

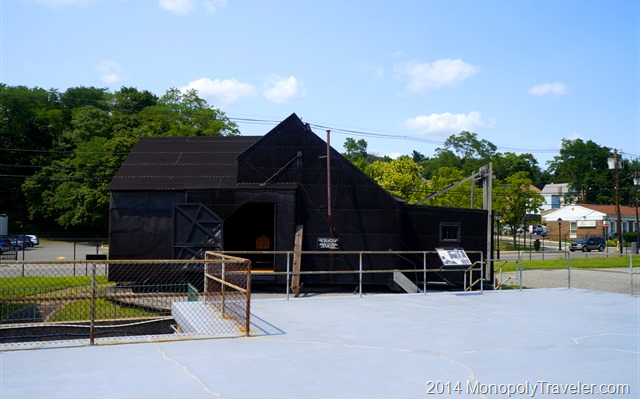
Once the motion picture was created than it was time to figure out better ways to photograph them. Thus the need for Black Maria which was built for the first motion picture studio. The purpose of the studio was to control light. Light could be blocked out or let in with opening doors in different places or turning the entire studio to a different direction by rotating it on the tracks much like railroad tracks it was built on. Adding sound to these motion pictures was the next step and made sense with their creation of the phonograph and motion picture. It took almost 30 years to make sound work correctly with motion pictures.

Black Maria - the First Motion Picture Studio

I left this historical park truly amazed at the contributions Thomas Edison made to our lives today. Many of his inventions may have still been created but they would have taken longer and would not be as advanced as they are today without him. Well deserving of a National Park designation. Another place we would not have known about or visited without our Monopoly travels. It does make me wonder what else do we not know about and are missing?

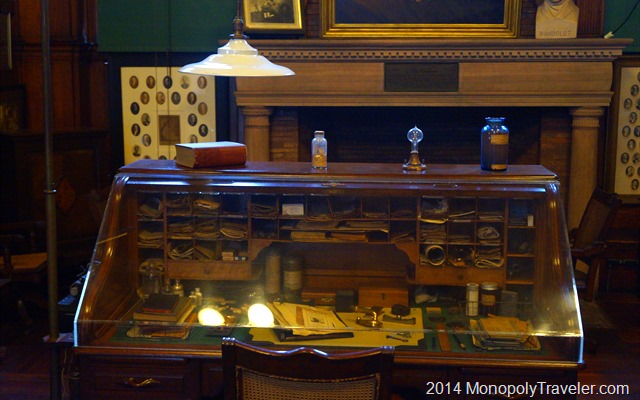
The Desk of a Great Inventor

Photography Experiment–Editing

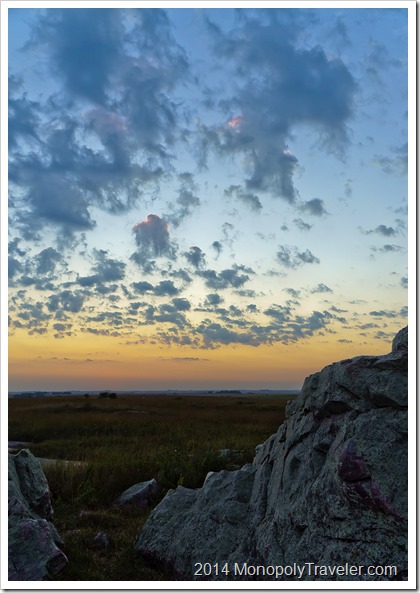
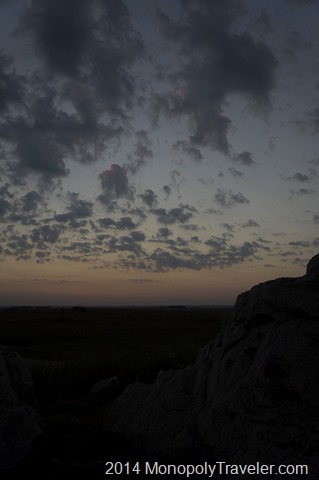
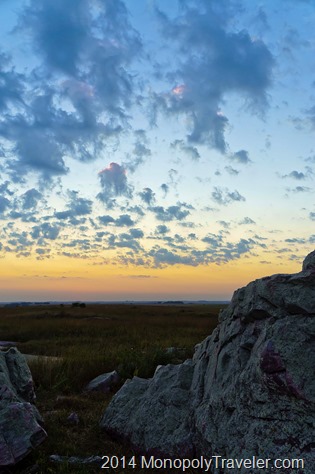
Sunset Over the Blue Mounds

Nearing the end of the photography experiment Monopoly Board, I have been practicing with editing my photographs. Here is a beginners guide to photo editing by Peter Carey which is the basis for my photography experiment board. Photo editing seems to have a negative connotation to some as they think it means photo manipulation which I consider to mean adding or subtracting elements in a photograph to produce a final picture that is not the actual scene. For me photo editing is the equivalent to photo processing which has been done throughout the history of photography. We just use computer programs now instead of dark rooms.

To accomplish this I have used information from books, videos, and webpages to increase my learning on how to edit a photograph. The difficult and simple part is that everyone seems to have their own preference and style on how to edit a photograph. This makes it difficult because there is no one correct way to achieve an  amazing final photograph. The simple part is you can process your photos in a program of your choosing to create a final picture as you remember how it looked when you took it. I choose a picture I took at Blue Mounds State Park back in September for this post. Let’s see how it turns out.

My first program of choice is Adobe Camera Raw because it works with a number of their programs and edits a picture without permanently changing it. I tend to shoot most of my pictures in both JPEG and RAW so in order to get started I have to convert the RAW image into a DNG using Adobe DNG Converter which then can be opened in Adobe Camera Raw. Both Adobe DNG Converter and Adobe Camera Raw are free downloads if you already have purchased one of their other photo editing programs such as Adobe Lightroom which is used by many photographers or Adobe Photoshop Elements or Adobe Photoshop which is the ultimate photo editing tool but is also the most expensive. On to my photograph.

_DSC0596-2

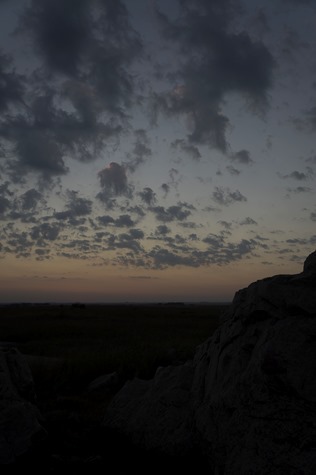
Here is my photograph without any adjustments made so it is as Camera Raw opened it after changing the default settings back to zero. Camera Raw automatically adjusts the blacks, contrast, and brightness by default. Below you can see how it looks inside Camera Raw. As you look at the histogram in the upper right corner you can see that all of the colors are showing up without being clipped by the black triangles in each corner of the histogram. If there were a color being clipped one or both of those triangles would show up with a color other than black.

Starting Image

My first adjustment is to the white balance. By default it is set to ‘As Shot’. Usually I prefer a different white balance setting. In this case I selected between Daylight, Shade, and Cloudy. You can see each of those below. You can adjust the white balance to custom but I find this does not produce better results much of the time but I do use it on occasion.

Daylight  Cloudy  Shade

Daylight which is the first picture was the one I chose. It seemed the most accurate to what I remember the scene looking like when I took the photo. Next I move over to the lens correction tab and check the box next to enable lens profile corrections. I’ve already entered the lens I was using so it automatically makes distortion and vignette adjustments. These are pretty small adjustments for the lens I was using.

Changing Lens Profile

Comparing these two pictures you probably won’t notice much if any change but there was a mild adjustment to the distortion.

No Lens Correctin  With Lens Correction

My next adjustment is in the camera calibration tab. By default this is set to have the camera calibration as Adobe Standard. Standard is not what I had in mind when I took this picture so I change this to camera vivid most of the time.

Changing Camera Profile

You can see the comparison between standard and vivid in the photos below.

Adobe Standard  Camera Vivid

Now it’s time to move back to the basics tab and bring out scene to the best of my abilities. Instead of going through each step and making this post excruciatingly long, here are all of the adjustments I made in the basics tab. Exposure +0.50, Recovery 60, Fill Light 65, Blacks 5 which is the default setting, Brightness +25 which is a default setting, Contrast +50 which is a default setting, Clarity +91, and Vibrance +41. I didn’t automatically come to those settings. There was some back and forth because as you adjust one of those settings it affects the others so you have to go back and change other settings. After playing around with these adjustments for awhile you begin to get an idea of how to make the adjustments in order to create a photograph that is pleasing to you. That is the difficult part of photo processing.

Basic Adjustments

Here are the before basic adjustments and after. Now it looks closer to what I remember seeing the night I was taking these pictures with the rocks visible and the colors in the sky showing up more vibrantly.

Before Basic Adjustments  After Basic Adjustments

One final piece to this picture is the sharpness. in the detail tab I increased the sharping by 114 with a radius of 2.0, detail of 35, and masking of 50. This brought the clouds and rocks into a little more detail. Of course while doing this I realized the noise was beginning to climb so I adjusted the luminance to 36 to take out some of the noise.

Sharpening

A comparison of these is below. There may not be much of a noticeable difference as viewed on this post but there would be a difference in printed photographs.

Before Sharpening  After Sharpening

I’m still not sure that the exposure is high enough. Other than that, I’m happy with how this photograph looks. Let’s see how it looks by increasing the exposure or brightness a little.

A Few More Basic Adjustments

After increasing the exposure I decided to increase the exposure to +0.70 and the brightness to +46 because I decided to increase the contrast a little more to +70 and add a touch more vibrance +60. Let’s see how they compare now.

Before Final Adjustments  After Final Adjustments

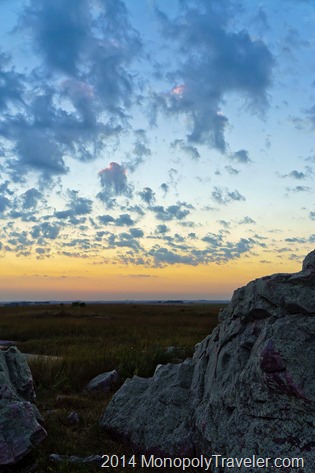
I do like both of these but the increased brightness, contrast, and exposure are preferred when finally printing out a picture to display. My choice in vibrance level is debatable. So, let’s go back and compare the beginning picture to the final picture. I think the recovery should be increased to take some of the highlights out of the sky.

Starting Photograph  Final Photograph

Here it is with the recovery increased to 95. I think that does it. Now let’s take a look a a minor cropping.Increased Recovery

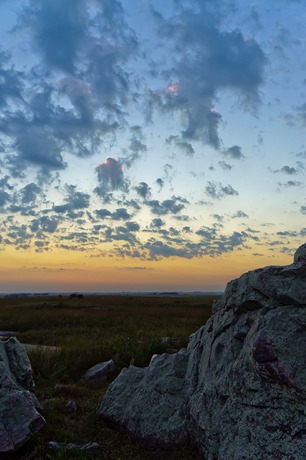
I probably should have started with cropping but now that the rocks are visible let’s see if a little cropping would improve this picture. I think that helps put more of the focus on the sky which is what I was trying to do in the first place because of the colors and interesting clouds. The rocks help to add interest because of the irregular patterns and add some sense of perspective overall. I think this gives a good example of how photo processing takes some time and requires multiple adjustments to give you a great final photograph.

Before Cropping  After Cropping

Driving in New York

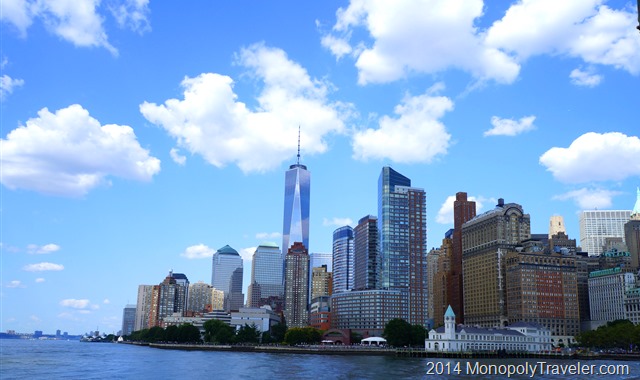
Lower Manhattan

Driving in New York, specifically Manhattan, is an experience all of its own. There are people everywhere. In the street – crossing the street. When doing research about getting around Manhattan when visiting you come up with the same advice over and over again – use public transportation. That’s great advice for a couple of reason. First, you’ll get to where you want to go faster. Second, less stress. And finally you don’t have to worry about a place to park. But where else will you get to experience this unique type of adventure?

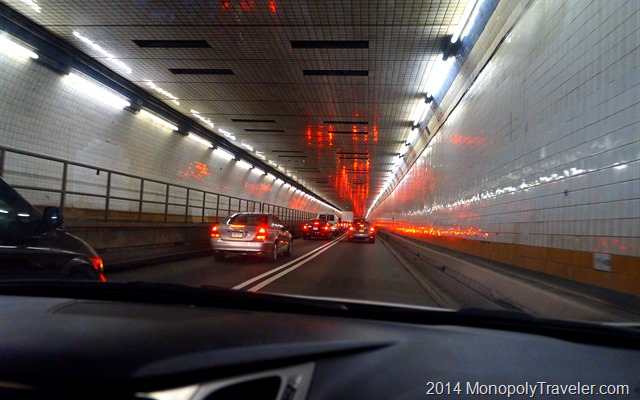
An adventure it is if you’re not a usual driver in New York. Vehicles everywhere going in different directions faster than you can determine which lane you need to be in. No other driver is going to just let you change lanes or take a moment to figure out if you’re going the right way or if there is an available parking spot. Being an aggressive driver is required in order to get around in Manhattan. Being aggressive does not mean being stupid. The other drivers are watching out for you whether you realize it or not but there is a catch – you need to watch out for them too.

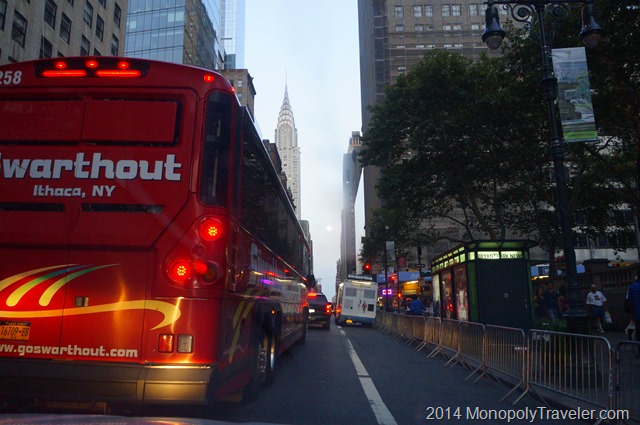
Vehicles Everywhere

I decided to go against all of the advice and drive in Manhattan as a tourist. There was a car full of people and using our rental car, paying tolls, and paying for parking was slightly more economical than using public transportation. In addition, theoretically we could visit more sights in less time by relying on our own vehicle going from Lower Manhattan to Mid Manhattan. After driving for a short time it became obvious that using our own car was not going to make getting from one area to another faster.

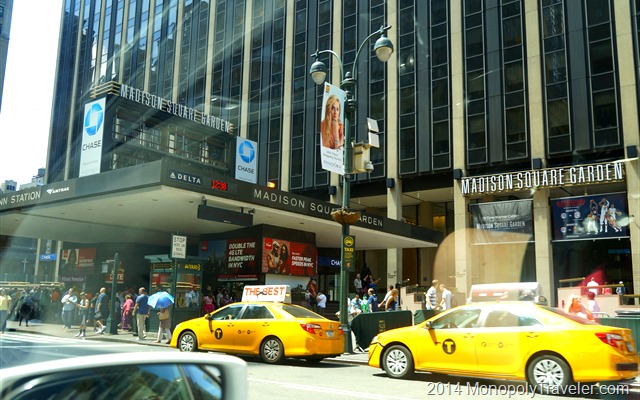
The streets seem tighter, the parking areas are smaller, and staying focused on driving is a challenge as there are recognizable sights all around trying to take away from that focus that is required to keep from crashing into someone or something else. Every block is stressful and requires a lot of energy to get where you are going without incident. After 45 minutes of driving in Manhattan I had mixed feelings about the experience. On one hand it was exhausting. On the other hand, it was fun. Driving in New York is unlike driving anywhere else.

One of the Many Distractions

Prior to being in New York I’ve had the privilege to drive in Los Angeles, Las Vegas, Miami, Chicago, Washington D.C., Philadelphia, and several less populated cities. In fact I drive in Minneapolis on a regular basis. Minneapolis may not be as intense as other cities but it does provide larger city experience. None of these cities compares to New York.

Streets packed full of cars that feel as though they are all honking at you and traveling at 60 miles per hour if they are going 20. After some time you begin to realize that all the honking may actually be in an effort to help instead of nagging and distracting making you feel like you have no idea how to drive. Many of the honking sounds were just an announcement that another car was going to be moving over a lane behind you or in front of you. The warning actually becomes helpful after figuring out what they mean.

If you need to move over a lane because there is a bus or truck stopped in your lane a block ahead or construction has closed down a lane or two in your direction you just have to use the blinker and go. Most of the time the cars around you will make room rather quickly. When we left Manhattan for the last time I was completely surprised we made it through without a single ding in the rental vehicle. I was very nervous every time we entered a parking garage because the ramps and spaces were all very tight. I thought I was going to hit the wall or pillar in each place. It feels like an accomplishment to have successfully driven in Manhattan on multiple occasions without crashing. Those that drive trucks and buses in downtown amaze me. Those individuals have earned my respect. They also make me question their sanity. What’s next? London, Paris?!

Driving a Bus in Manhattan?

Exploring Louisville Kentucky

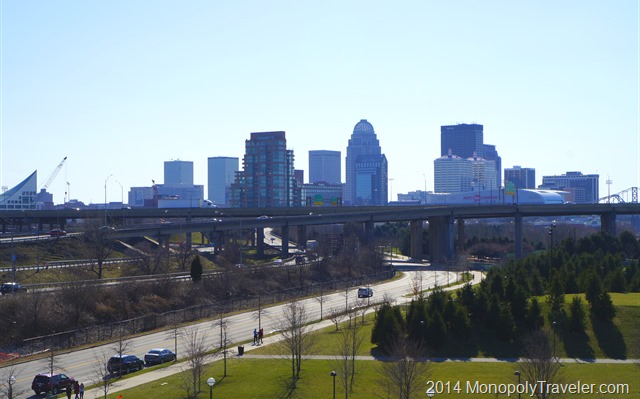
Louisville Kentucky

At first thought, Louisville Kentucky is not in a lot of peoples list of places to go. That is except for one day a year – The Kentucky Derby! We took a weeklong trip recently and once we started looking at what there is to do, we found plenty to keep us busy. The number one attraction on TripAdvisor is the Mega Cavern. This was certainly on our list but we never did make it. If you’re looking for a unique adventure, this would appear to be it with underground ziplines and ropes course. For sports enthusiasts there is the Louisville Slugger Museum and factory. That was something I forgot about until getting to Louisville and seeing signs with the bat on it.

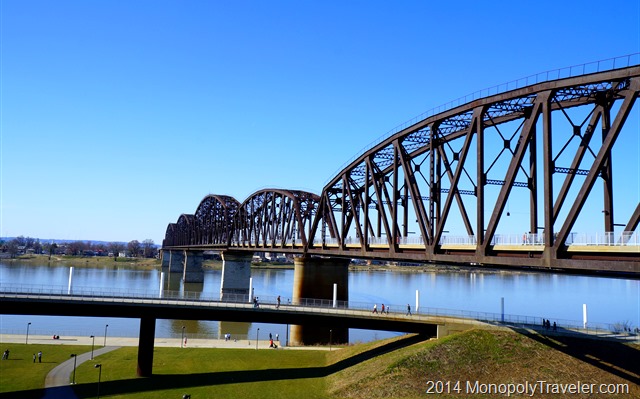
Walking Bridge Over the Ohio River Connecting Kentucky and Indiana

Moving on to areas to explore that we personally experienced. In the past few years Louisville has put quite a bit of emphasis on rebuilding their riverfront and they have done a great job providing a place to relax and get out and enjoy an afternoon or sunset along the Ohio River. Currently they are still working on improvements to make it an even better experience. You can walk across the river on an old rail bridge and go from Kentucky on one side to Indiana on the other. It’s a great bridge to enjoy the sights with the beautiful Louisville skyline in the background. The only thing that would have made it a little better would be to have a Kentucky State sign on one end and an Indiana State sign on the other. There really isn’t a good place to take your picture by state signs as the entrances to the states are over a river.

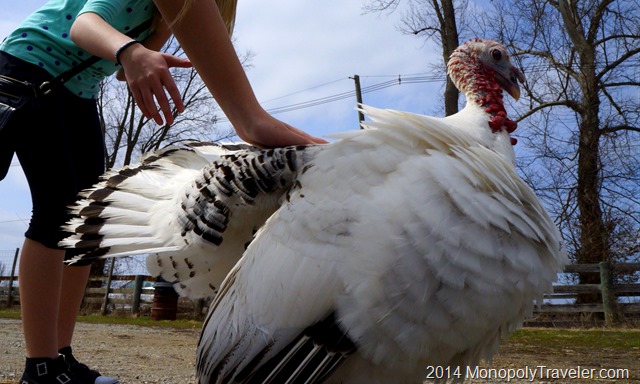
Henry's Ark Tour Guide

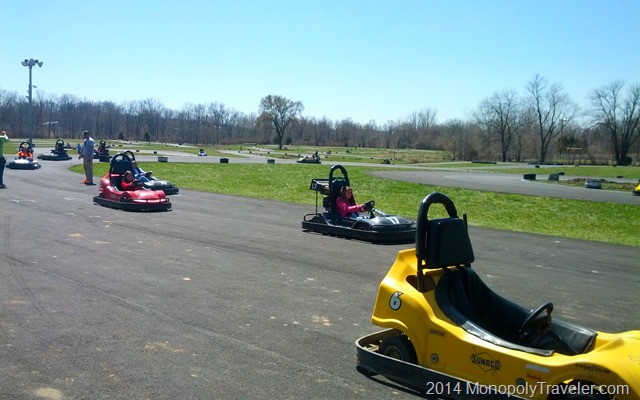
If you like animals, Henry’s Ark in a Louisville suburb is a nice place to spend a couple of hours. This is a nice place especially if you have kids. For our tour we had a special tour guide that the kids really enjoyed – one of the resident turkey’s. For a little faster paced adventure there is the largest go cart track in the world at Kart Kountry. Their track is 1.5 miles long and quite challenging. They offer two different types of go carts. Most are the average cart while you can upgrade to their Thunderbolts and pass many of the other drivers on the track. Warning: you have to have a driver’s license to upgrade as these definitely go faster and you need to know how and when to pass the other carts. We all enjoyed the challenges this track offers.

Kart Kountry

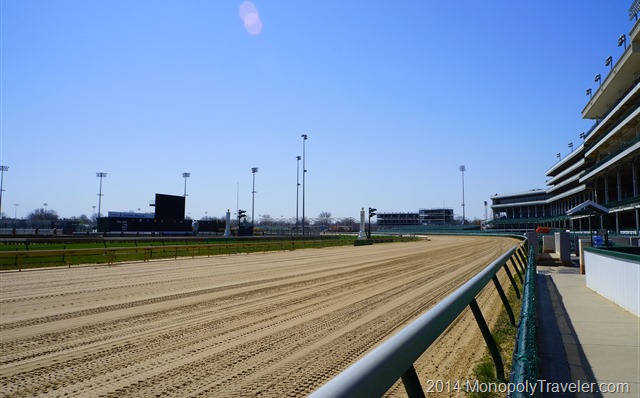
While in the area, a visit to Churchill Downs should be on your list if for no other reason than the historic nature of this place. There are tours offered throughout the week with visits to different areas of the racetrack. I couldn’t believe the amount of money horse racing is worth. I’m not a big horse racing fan but there was much to learn about the sport at the museum. We were able to pet one of the retired race horses at the completion of our tour making this more interesting and fun for the younger people. Along with the numerous education displays there is an area in the museum where you can practice betting on taped races and even a game area where you can get on a simulated race horse, select your type of horse and race against others. After a visit, watching the Kentucky Derby (or watching Secretariat) will be more fun and interesting since you’ve seen this place in person.

Churchill Downs

For those older explorers, there is another item Kentucky is famous for – Bourbon. There is the bourbon tour if you are willing to travel to many different distilleries. Louisville is considered the gateway to this tour with many distilleries requiring quite a bit of travel. There are 10 places to stop on this tour to complete the bourbon tour and is recommended to take all these in over 3 days or more. Apparently at the end of the tour there is a free gift with a completed passport. We didn’t get the opportunity to experience this first hand but looks interesting if we get the opportunity again.

Mammoth Cave

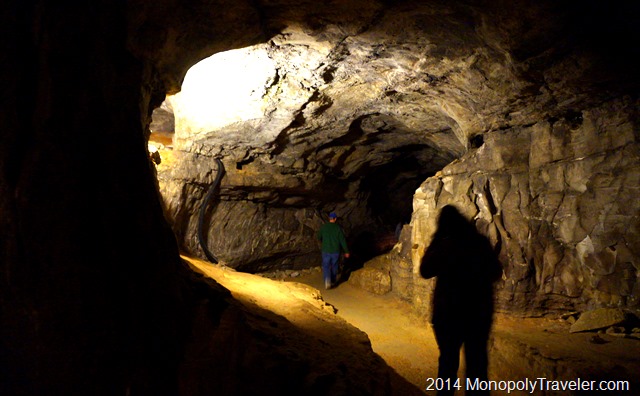
For natural wonder seekers, a few hours away resides Mammoth Cave National Park. You can read about our adventure here…..

Touring Washington D.C.–The Monuments

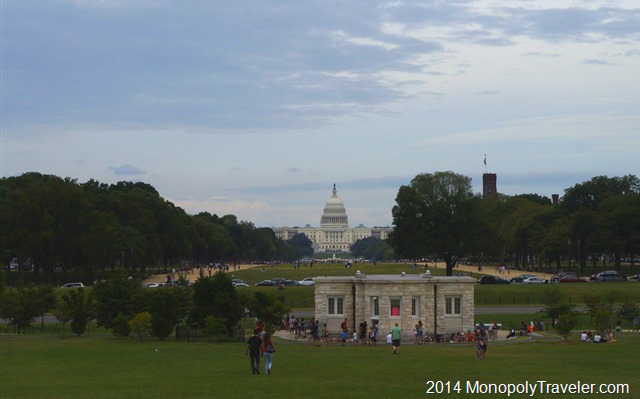
The US Capital

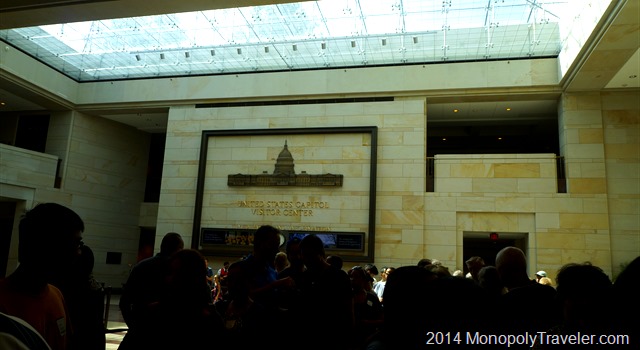
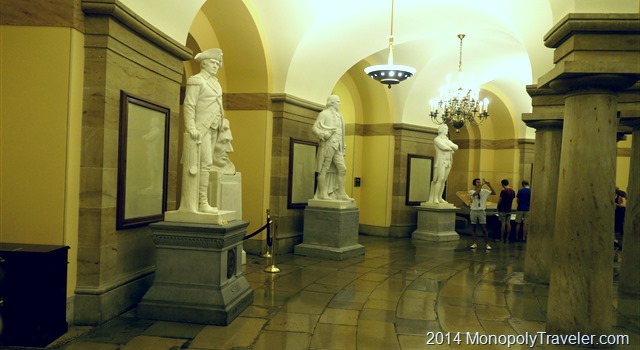
Our first stop was to get the rental car and head towards the National Mall. We wanted to go up in the Washington Monument so the first thing to do was get tickets which prior research suggested that they are gone by mid-morning. I dropped off my wife close to the ticket window and drove off to go around the mall and pick her back up. After getting some of the last tickets available we headed towards the capital with reservations for morning tour. The United States Capital Visitor’s Center is quite impressive once you find it under the Capital Plaza. Your tour begins with a short film about the Capital and then a tour of the Rotunda area. I was a little disappointed that was all the tour covered as the last time I toured the Capital Building we were able to find our Congressman’s office. That was pre 9-11 and much has changed regarding security so it is understandable.

The US Capital Visitor's Center

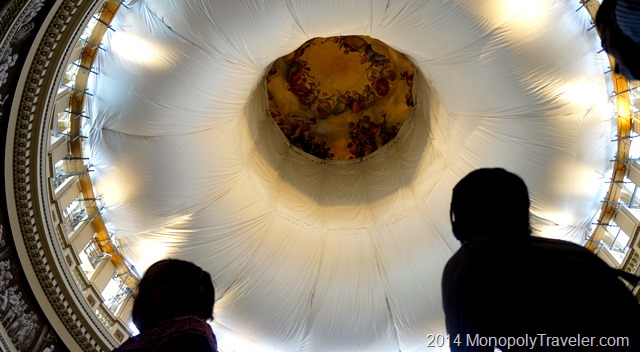
Under the Rotunda

The Rotunda Under Maintenance

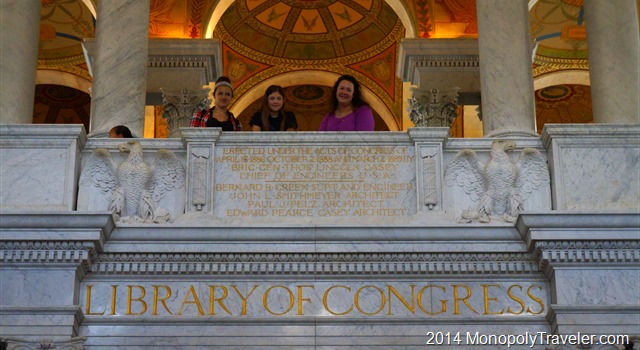
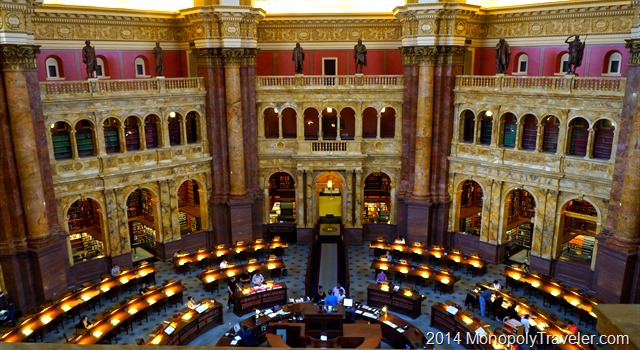
After the Capital, the kids wanted to see the Library of Congress as it was difficult to imagine a building that can house all of these books. Most of the collection is kept behind locked doors so there isn’t as many books to see as they had hoped. A brief walk around the lobby which is quite ornate and then a quick view into the research area which resembles most libraries with shelf upon shelf of books. This area is protected with glass surrounding you as you walk through the observation balcony. There are a number of exhibits to see highlighting music and movies as well.

Visiting the Library of Congress

The Research Center of the Library of Congress

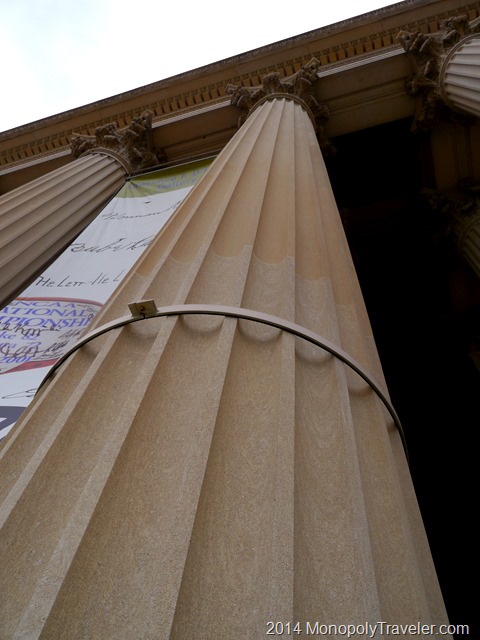
Being satisfied with exploring this library we decided to continue on to our next destination which was the National Archives. Getting something to eat from one of the nearby food trucks we stopped briefly before entering the line waiting to go in this building. At first there really didn’t appear to be much of a wait until we reached the entrance area. After finding the back of the line we weren’t sure if we should wait as it looked like it could take an hour or more to get in. Fortunately we stuck it out because the line moved fairly quick and we got to see the Constitution, Bill of Rights, and Declaration of Independence as intended for our Constitution Tour. Time to head back to the hotel for an hour of relaxing before heading back towards the mall for more exploring. The National Archives

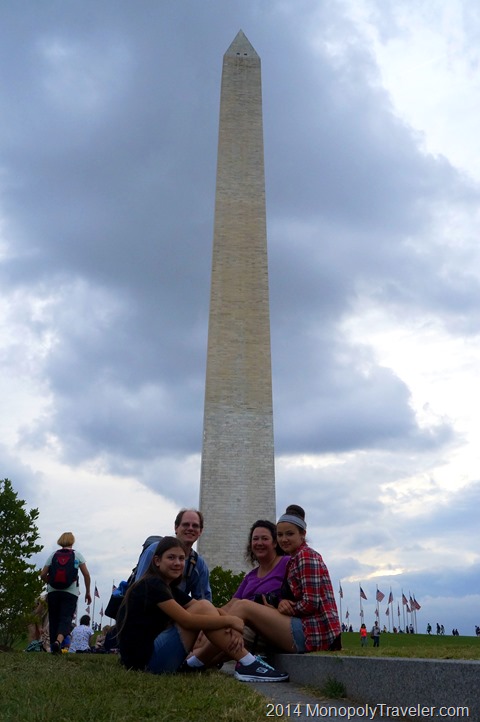
Upon returning the the National Mall, we grabbed a quick bite from one of the numerous food trucks lining the streets and hurried to the Washington Monument for our chance to ride the elevators to the top and look out over Washington D.C. Just a reminder of you go to tour Washington D.C., there is a security check at most of the sights so don’t plan on bringing a lot with you. Through security and it was up to the top to view this area from the highest point in Washington D.C..  We enjoyed seeing so many historic buildings and monuments from this centrally located observation area giving a different perspective on the layout of this city. After spending time looking out in each direction and taking in the views from this point we descended and moved on to the night walking tour of the monuments ranger program.

Visiting the Washington Monument

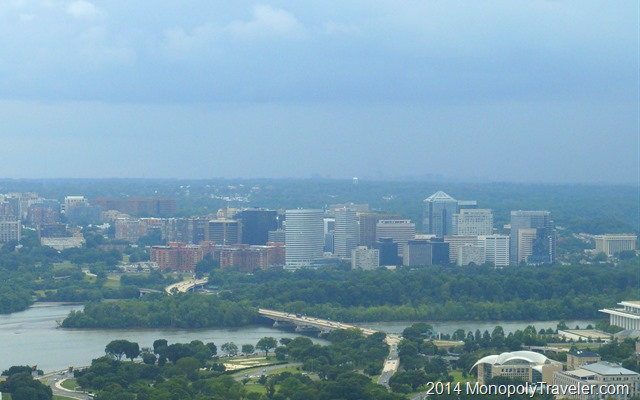
North East South West

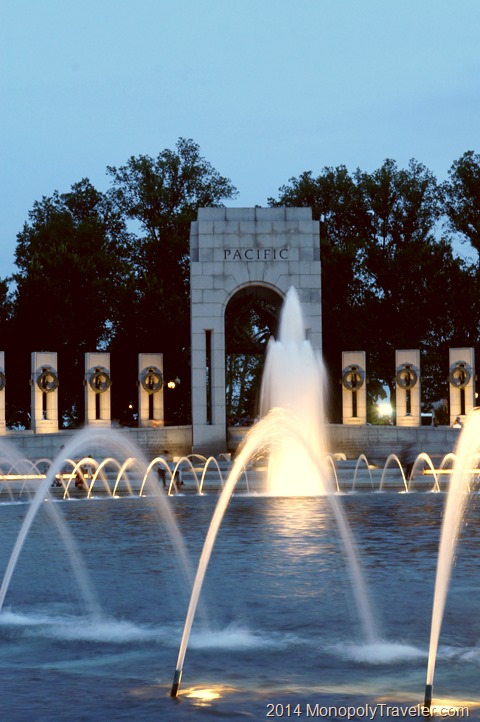
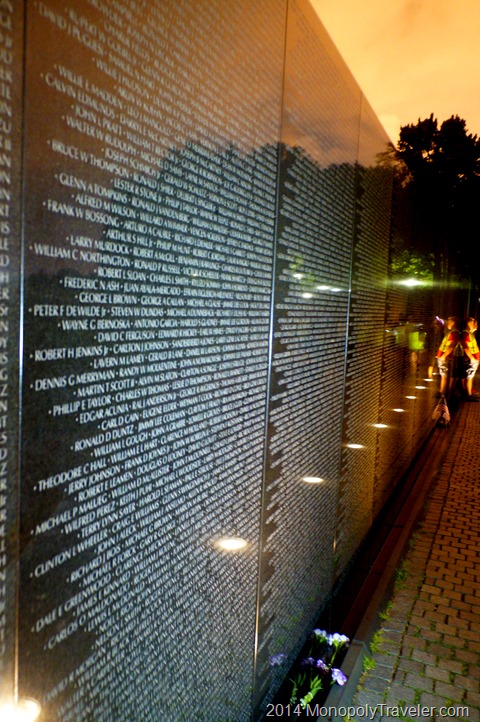
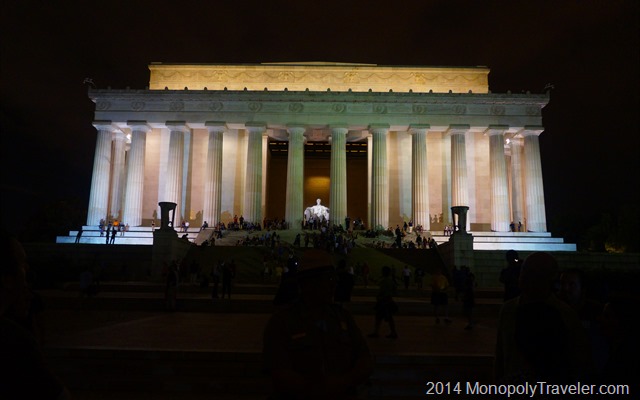
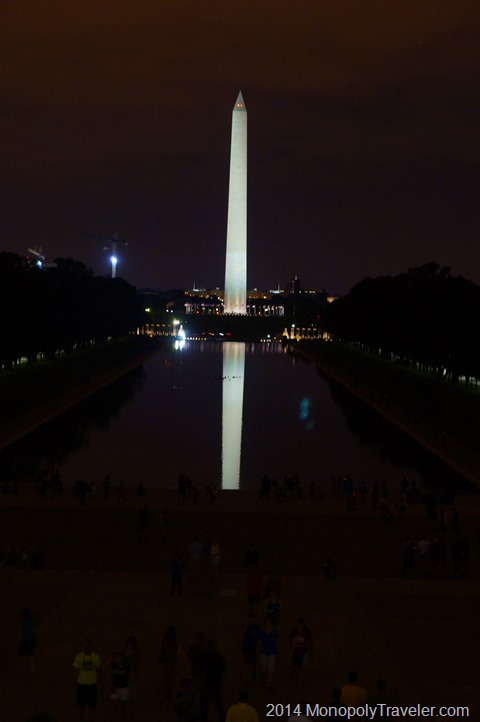
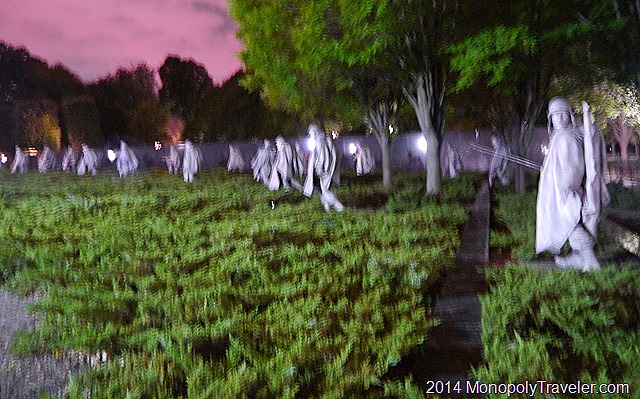
Our night tour began at the World War II Memorial which is relatively new. This was the first time I’ve seen it as it did not exist on my last visit to Washington D.C.. It is definitely a beautiful and peaceful memorial enhancing a solemn atmosphere surrounding it. As darkness continued to fall we approached the Vietnam Memorial which has added to the original memorial to honor those that served in Vietnam even though they may not have died during combat since I was last here. One of my uncles is named on this wall adding to its’ significance to me personally and has a profound impact on me each time I’m here. Our next stop on this walking tour  was the Lincoln Memorial. This is an impressive memorial just because of the shear size of it. Adding in the reflection pool and the Washington Monument in the background almost insists that you sit for awhile to contemplate our history that each of these monuments stands for. The last memorial on our night tour of the monuments was the Korean War Memorial. Another relatively new memorial that was being constructed on my last visit making this the first time I’ve seen it. During the day it captures imagines these soldiers endured but at night it looks quite different. I think the impact is higher when viewed at night because of the lighting and reflections that lighting creates.

World War II Memorial

Vietnam Veterans Memorial

Lincoln Memorial

Reflection Pool at the Base of the Lincoln Memorial

Korean War Memorial

That concluded our one long day of touring Washington D.C.. There are so many other sites to take in that one day is not nearly enough time to take in all that is offered here. Again, our purpose was not to see everything possible but merely to get a taste of what’s to see. Also, there were plans to return for anther day or two later in our East Coast adventure.

Going to See the Fall Colors

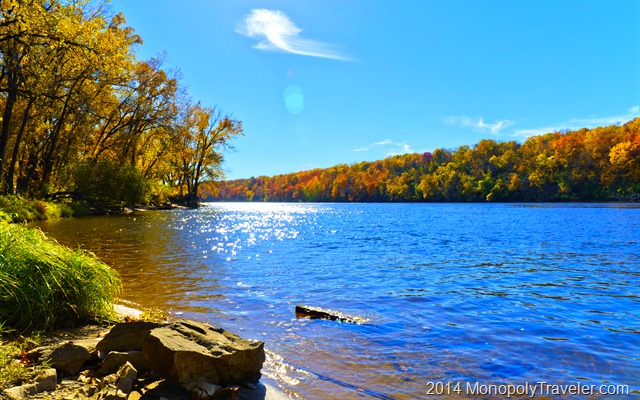
Fall Colors Along the Mississippi River

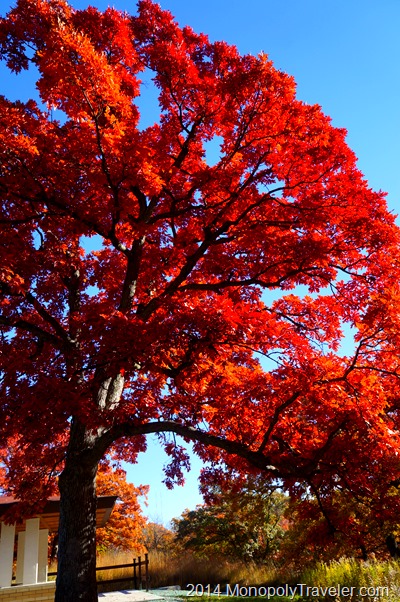
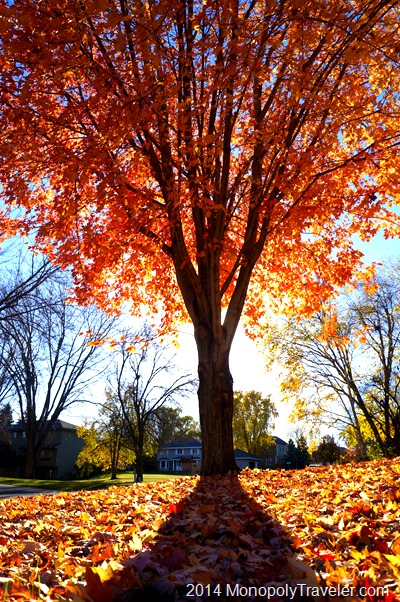
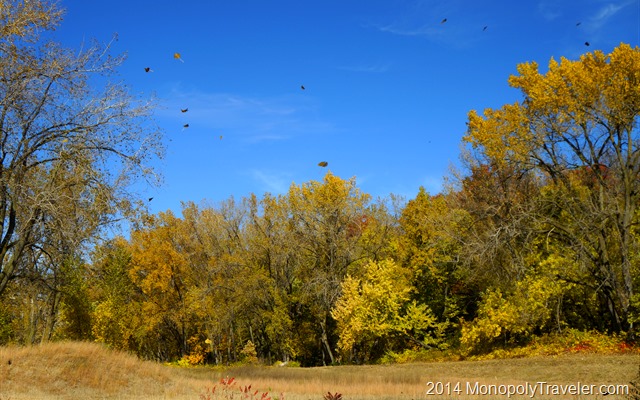
Hopefully you’ve been able to take in some of the amazing fall colors in recent weeks. They seem to be more vibrant this year compared to the last couple of years in many areas. Taking in the fall colors can take many forms from a weekend getaway to a camping trip or for many, a simple walk around a lake or area park. There seems to be one catch with these incredible fall colors this year:  you have to take them in quickly because they’re peaking and than just as quickly being blown off the trees or changing to a brown color. It seems as though the colors peak and then two days later have begun to fade.

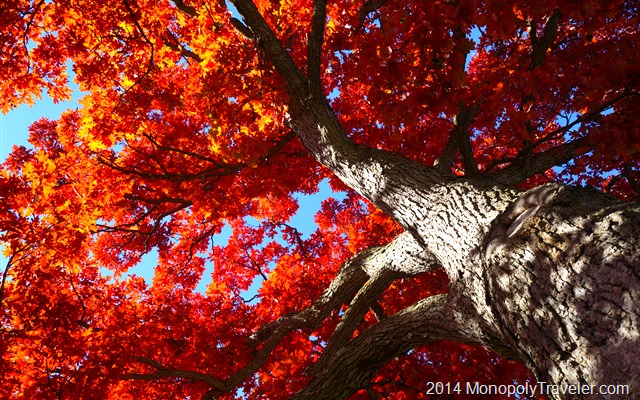
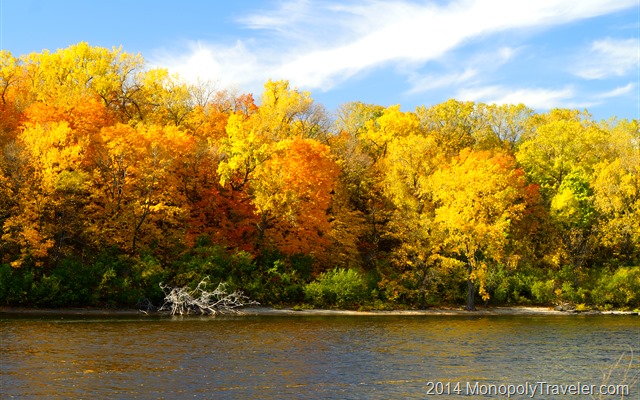
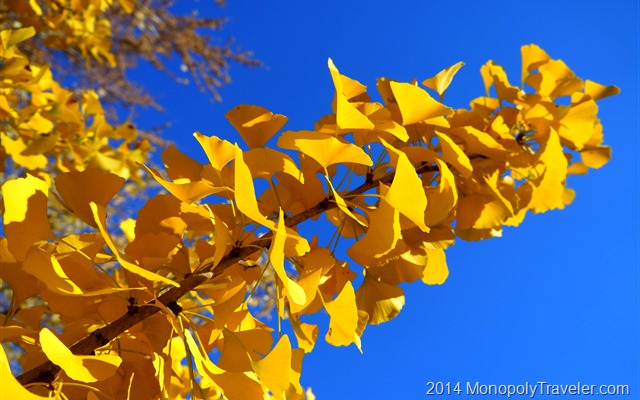
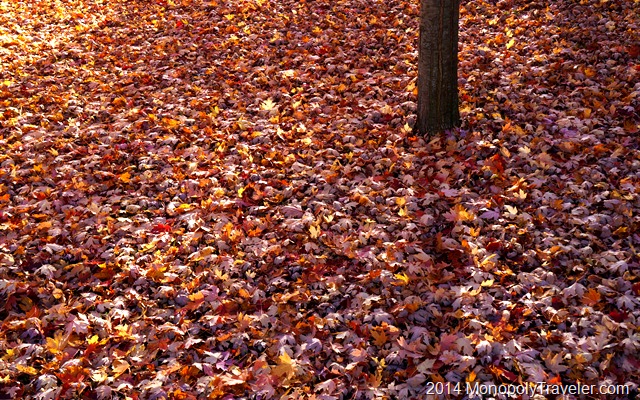
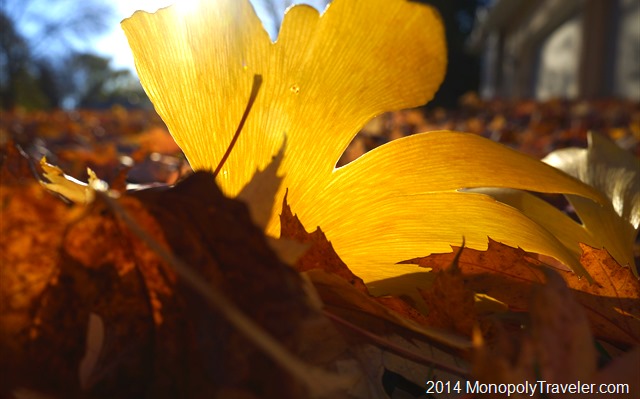
If you are unable to get out to see the colors or just want to have a reminder of their vibrancy, here are a few pictures from the past few weeks.

A Red Oak at Peak Color

Enjoying a Beautiful Fall Afternooon Under a Red Oak

Amazing Maple Fall Colors Along the Water

Brilliant Red Colors of a Maple

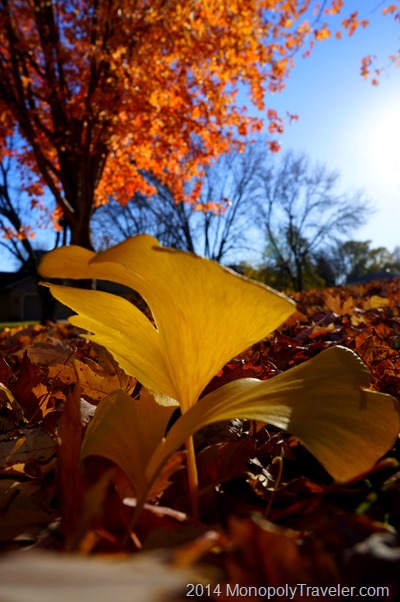
The Gold of Ginkgo Leaves

The Ground Under a Maple Tree

Shining Through

Gold and Orange Leaves

And Then They Were Gone

Touring Washington D.C.–Arriving in Arlington

Arlington Virgina

What’s the first thing that comes to mind when you think of Washington D.C.? For many it is the US Capital. So of course that is where our journey started. Well, kind of. Let me go back to the previous night when we arrived. Our East Coast Adventure began after a full day of work on a Friday. After working most of a day we hurried home, gathered our luggage, and rushed to the airport for what seemed like a short flight of only a couple of hours to Reagan National Airport. We arrived as the sun was setting allowing us to look out over Washington at night. It was exciting to see the monuments all lit up from the sky signifying our arrival to this historic city and the beginning of another Monopoly Travel.

This was the most difficult portion of our board travels for me to get excited for. There are several reasons all of which include lots and lots of people. I tend to like quieter destinations with less traffic and parking issues. With such a popular area it meant that costs where going to be higher and traveling around the city and East Coast where going to be more challenging. Still, now here we where and the excitement to experience our nations capital and share that with our children for the first time had found us again.

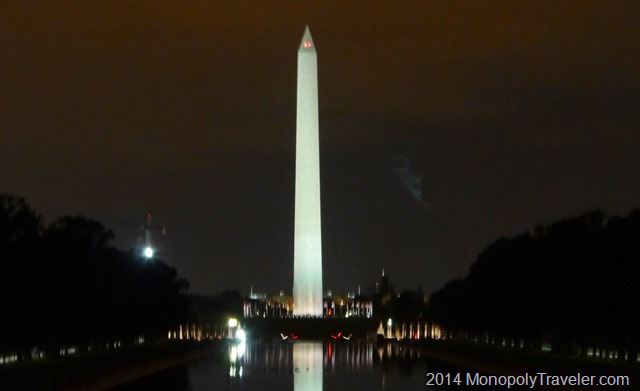
The Washington Monument at Night

One unrelated reason this Monopoly adventure was a little more difficult to get excited for was that we are over half way done with our board and each trip brings us closer to the end of adventures that I love and don’t want to end. It’s almost like I created this great way to share experiences with my family that is beginning to cause some sadness and resentment. Why? Because I know that after our last trip our oldest daughter will be graduating from high school and our family will be changing after that. These adventures together will be harder to continue as the children go off in their own directions and that causes some sadness. All the more reason to take in as much as I can while I still have the chance and that reminder had to surface a few times on this East Coast Adventure.

Back to arriving in Arlington. Why Arlington? That’s where our hotel was located. Just a few blocks from the Iwo Jima Memorial. While waiting for our baggage we discussed our best options to get to the hotel. We could take a taxi which would be the easiest and also the most expensive or we could take the train which had a stop a few blocks from our hotel. Let’s go for the train since using public transportation in this part of the country is highly recommended. What a better time to figure out how to use it. In case it isn’t obvious at this point, I don’t use a lot of public transit. While we waited for the luggage I went to the station to get tickets and see which train we needed. That took about 10 minutes and I was back with the rest of the family waiting for our luggage. So, we found all of our luggage and continued towards the train, getting on the right line after calling the hotel to confirm which train we needed. Easy enough.

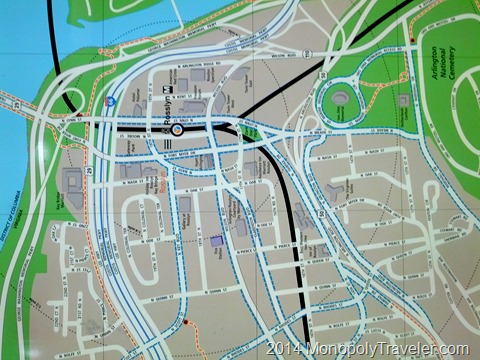
Arlington Map

Arriving at our stop we got off of the train and headed towards the exit taking a minute to look over a map to make sure we headed in the right direction. At the suggestion of our daughter, I took a picture of the map with my phone in case we needed to revisit it while walking to the hotel. Confident in where we needed to go we headed outside where it was completely dark and no way of knowing north, south, east, or west to get a baring of where we were. Use the phone GPS you say. Of course that would make sense. Hmm.. all of our phones are pretty much dead. Brilliant! I decided to save what little battery I had to look at the map from time to time and began to navigate the dimly lit streets of Arlington. After walking a few blocks I re-examined the map only to determine this wasn’t the correct direction. Not a good situation with a family of exhausted people hauling around all of our luggage up and down the hills of this city. Ok, back up the hill we just came down to the other side of this hill. After passing the train station again we found our way relatively quickly and got to the hotel in a few minutes more. What a relief! Bed is going to feel good tonight.

Blue Mounds Top Pics

Recently I traveled to Southwestern Minnesota to Blue Mounds State Park with two goals for the weekend. First was to get out and enjoy an unseasonably warm weekend with daytime highs of 80 degrees. Second was to practice photography and enjoy taking pictures of whatever I thought would make a good picture with the Milky Way and sunsets/sunrises the top priorities. Since I was mostly interested in nature and wildlife I wanted someplace relatively quiet and this seemed to fit what I was looking for. Both of these goals were accomplished by camping in the park and spending most of my time there with a camera hiking around different areas of the park.

Throughout the weekend there I managed to take over 700 photographs. I wanted to narrow those down and see what I thought the top 1% of those pictures would be so here they are. My decisions would probably change depending on the day and how I’m viewing these pictures but as of this day these are my top 7 photographs from Blue Mounds State Park. All of these pictures are basically unedited other than what the camera does when it converts them to the jpeg format. Taking time to process many of these photographs may alter my top choices but I just wanted to judge my picture taking ability without the post processing.

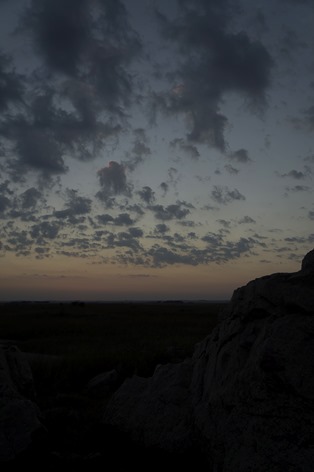
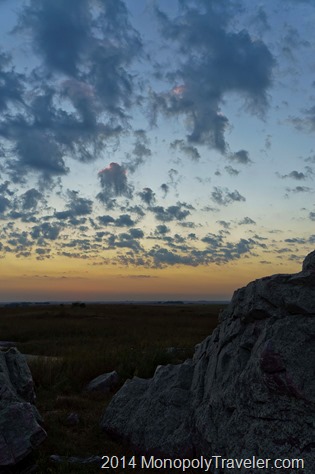
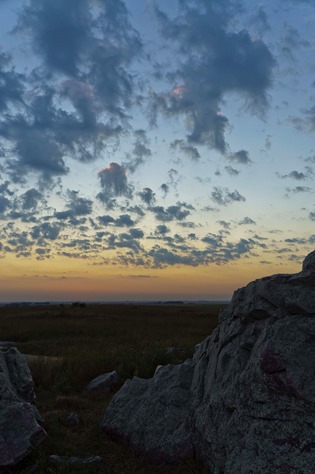
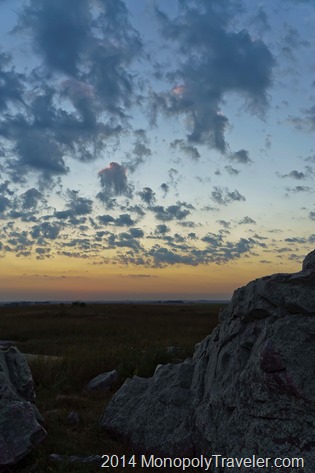
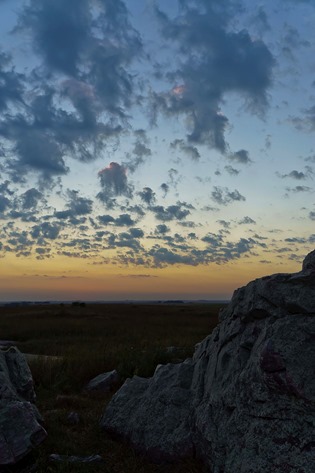
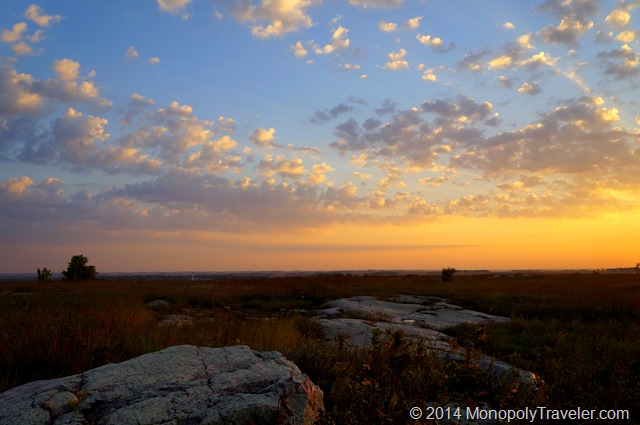
Sunset over the Blue Mounds

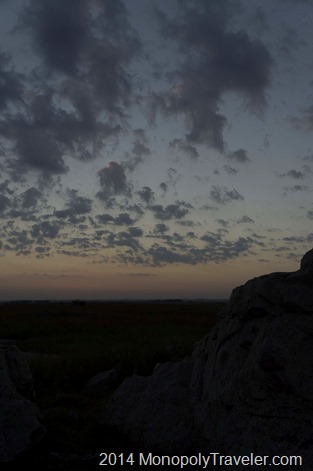
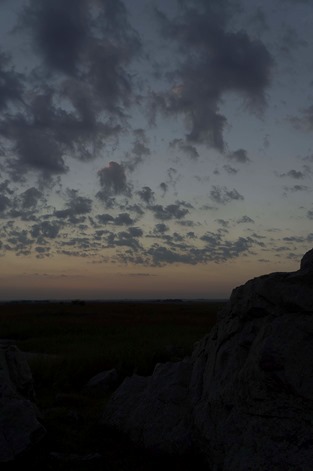
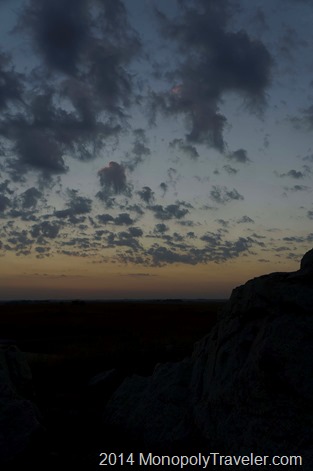
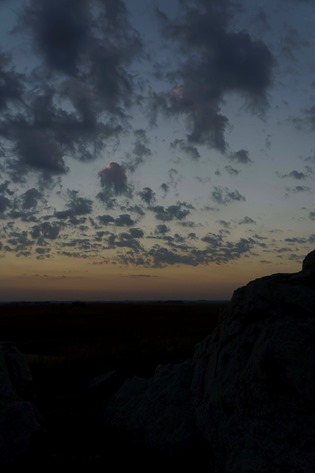
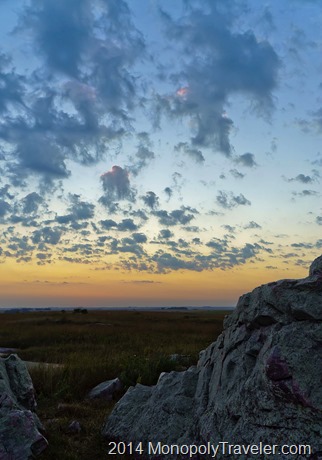
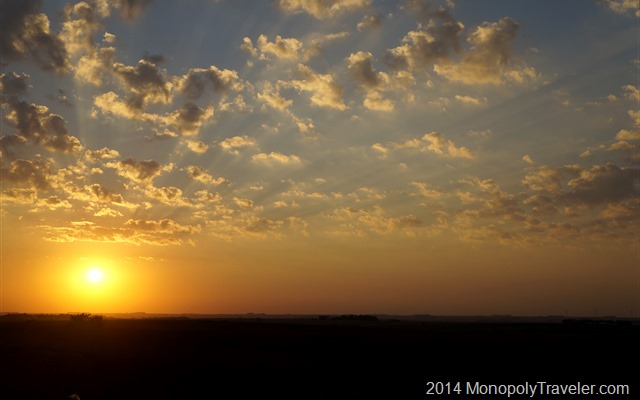
This is the sunset shortly after arriving at Blue Mounds State Park. I chose this picture of the sunset because of the arrangement of the rocks in the foreground combined with the clouds in the sky and colors throughout. The rocks and clouds direct you to the setting sun (which you can’t actually see) which is the focal point of the overall photograph.

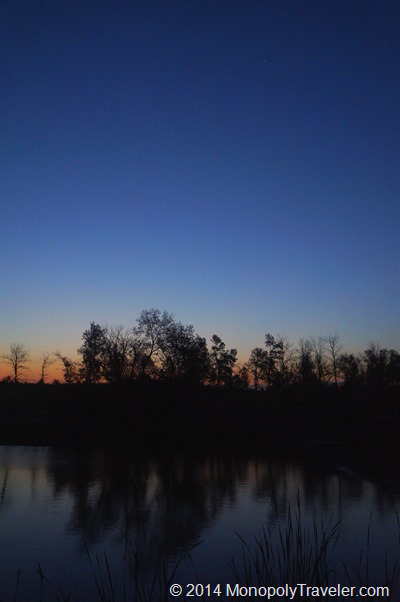
The Early Morning Calm

This was the scene near my campsite a few minutes after I woke up. The colors on the horizon transitioning to the darker night sky being reflected in the calm water below are why this photograph is included. There are a few cattails in the foreground barely visible adding to the overall depth of this photograph. It provides a sense of calm reflection to begin the day.

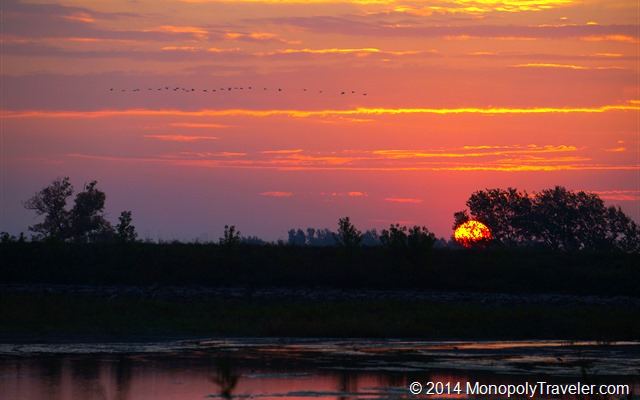
Opening Day

About a half an hour later this photograph was taken. Shortly before this I heard gun shots reminding me that the Minnesota duck opener had begun. I like the position of the rising sun and the colors in the sky being reflected in the water along with the ducks moving across the sky.

_DSC0797

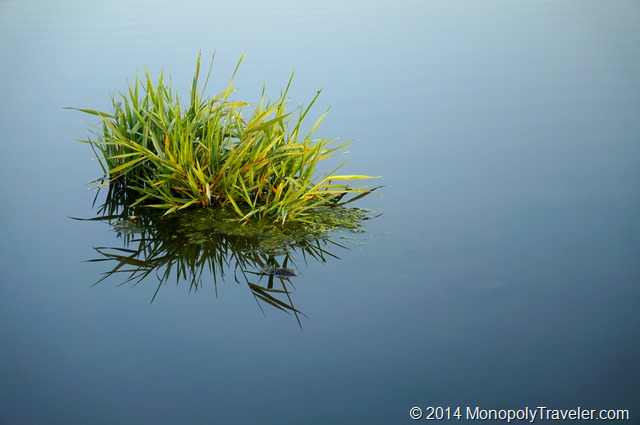
Thirty minutes later I took this photograph. It was chosen because of its simplicity and contrast. Blue water surrounding this little patch of grass with dew drops on each tip. This photograph taught me that timing is really important for some subjects. Had I taken this picture later in the morning or during the afternoon the lighting would not have been good to give me this nice reflection in the water.

Mornings First Light

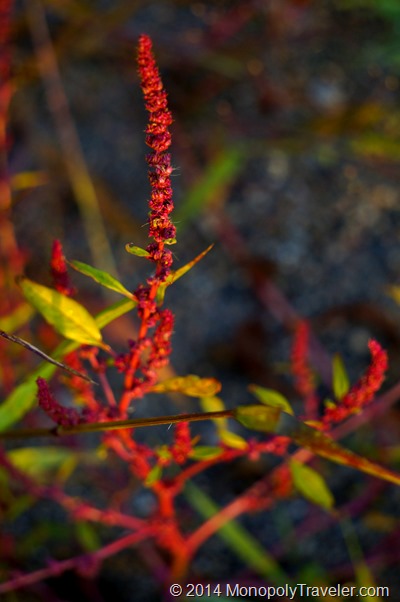
Minutes later I took this photograph because of the soft, warm glow from the early morning sun on this bright pink flower which was growing on the shore near the water. I debated on whether or not this should be included in the final seven photos but ultimately chose it because of the contrast between this flower and the background in addition to its arrangement within the picture with only the top portion of the flower in focus.

Prairie Breezes

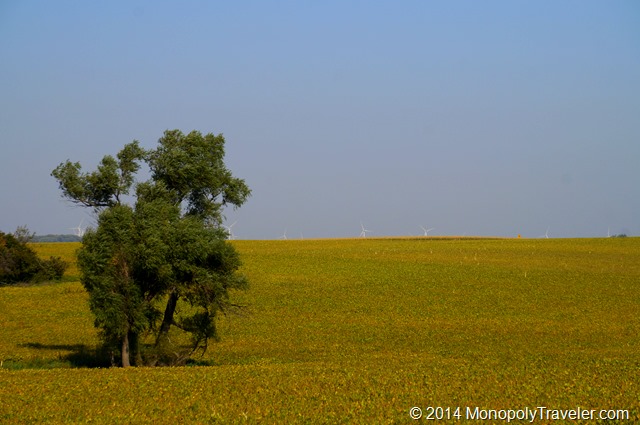
This was a mid-morning photograph that I liked because of the soft wave of the field beginning to change color ahead of harvesting with the tree softened in the picture from the wind accented by the wind turbines on the horizon. Can’t you just feel the prairie breeze?

The Milky Way

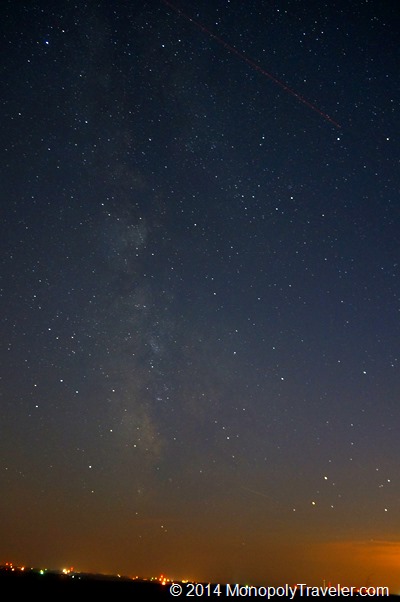
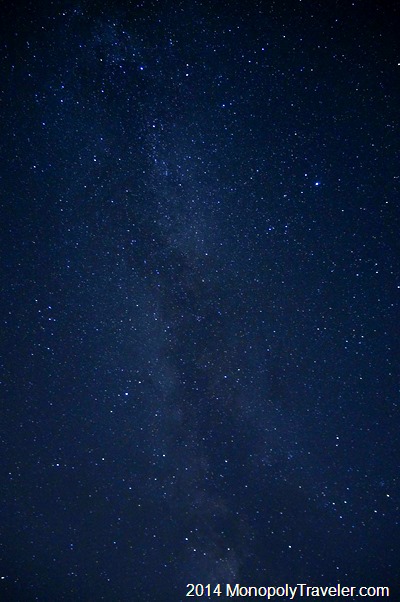
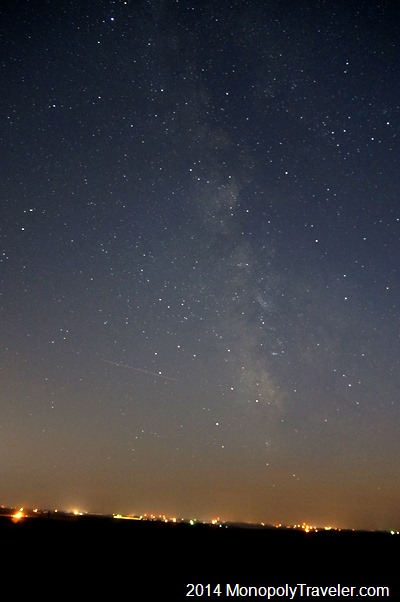
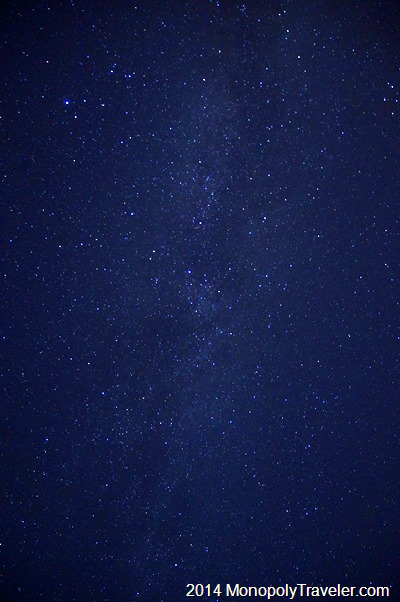
I just realized that six out of the seven top pics where taken on the same day. It was really a productive day that I must have been focused on what I was doing. Ending the day which began before dawn with photographing my main objective – the Milky Way. Even out in rural areas there is still plenty of light pollution making the night sky more challenging to photograph. Regardless I still enjoyed taking these pictures and like the results. There are pictures that show less light pollution but they are also less interesting to me. One of the things that amazed me when looking out at the Milky Way was how close to the horizon you can see it. I’ve always seen it high in the sky and never really noticed how much of the night sky it can cover. This picture is a good reminder to me of the Milky Way reaching for the horizon.

I’d like to read which of these are your favorite. Please leave me a comment and let me know.

Finding More Stars

A Prairie Sunset

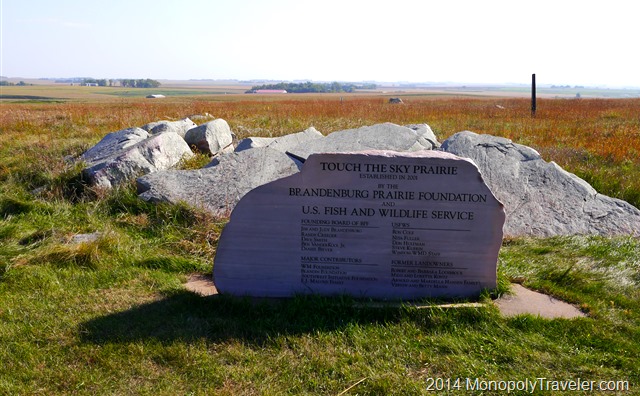
After exploring several miles of Blue Mounds State Park during the morning I wasn’t sure that I wanted to go out in search of the milky way again this night. A nice campfire seemed like a better idea on this gorgeous day and besides, how much different would it be from the same area. As the afternoon progressed there was a nearby national wildlife area close by that I wanted to check out while visiting this area. After checking out the cascading creek I stopped near the top of this Touch the Sky Prairie and gazed out at the horizon. This might actually produce better results as it was several miles west of the nearest town so the light pollution should be less.

A Stone Monument to Touch The Sky Prairie

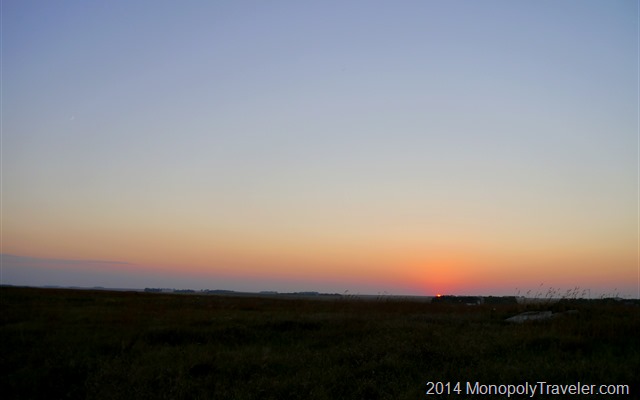
I decided to quickly return to my campsite to get some much needed nourishment before returning to the prairie and foregoing any campfire for the rest of the evening. A quick meal and then hurrying to catch another sunset before setting the cameras to stun. I mean setting them up to capture the night sky. This sunset wasn’t as spectacular but still provided a spiritual event that I was fortunate to witness. While waiting on the stars to shine once again I was working on a second camera that has provided some troubles recently to see if there was a good solution. It’s amazing how busy you can keep by running between two cameras photographing a nearby landscape. Especially when those two cameras are from different camera makers so trying to remember where each setting is kept for each one provided a nice brain teaser.

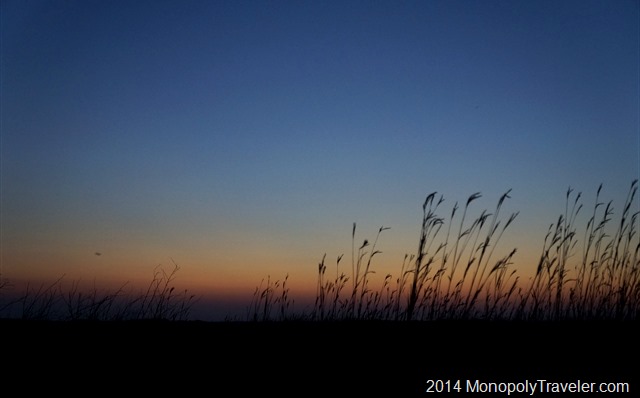
The Beautiful Twilight on a Praire

After a short time the stars began to poke through the evening sky challenging the cameras to capture them. This time there was definitely less light on the horizon so maybe this would be the spot to get the milky way added to my increasing collection of photographs. I began testing the camera to make sure the settings and focus where correct to get the best photographs I could and I was ready to begin another evening of astrophotography.

_DSC0979

Soon I could see the milky way over head beginning to shine. It definitely looked more brilliant than the night before providing much anticipation of what was yet to appear. As darkness grew so did my excitement at the photographs I appeared to be getting. I know that the screen on the camera does not always show the true look of each photo but taking some time to zoom in on the camera display I had a feeling that things were going well.

The Milky Way Once Again Overhead

Eventually I could see the milky way stretching from one end of the sky to the other. I know I have seen the milky way many times in my life but I had never really looked at it and studied it to see it grace so much of the star filled sky. It was definitely worth skipping a fire to try another night of picture taking. I’m not sure what I enjoyed more – the setting sun or looking up at all these little lights scattered all around me. Finally I accomplished what I had set out to do on this weekend.

The Milky Way Almost Touching the Horizon

How did I find this spot you’re wondering? It took a little bit of research. First I used my Stargazer program to locate the milky way and find out if it was high enough in the northern US skies to get good photographs. After determining this is a great time to photograph it if you can find clear southern skies I started to look for good places to go with less light pollution using DarkSiteFinder.com. Northern Minnesota has some of least amount of light pollution providing for some dark skies so that is where I wanted to go however I was limited by time so distance was an issue. After looking for state parks to camp at I discovered all of the reservable camp sites were booked due to fall color seekers I re-thought where I wanted to go. Being around a lot of people was not my interest for the weekend. Solitude was my desire. Searching state parks I discovered Blue Mounds State Park had very few campsites reserved indicating fewer visitors giving me the quiet I was seeking along with relatively high ground for the possibility of unobstructed photos. Several hours were spent looking for the right place and a couple of stressful days trying to decide if this was what I wanted to do or not. In the end sometimes you just have to pack up and go for a surprise adventure. Sometimes it works out and sometimes it doesn’t.
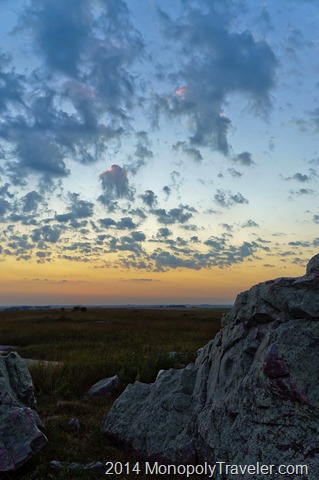
The Milky Way in the Southern Sky

Looking for Stars


What an Amazing Sunset

The rest of my family went out of town for the weekend. So many things to do and a beautiful weekend to work on my list around the house. But that would be responsible and I know I would spend more time inside than I should and miss too much of this last weekend of summer-like weather (highs in the 80’s and sunny). Camping for the weekend seemed like the perfect way to spend a weekend by myself. I’ve really been itching to get some nice photos of the milky way and light pollution is a problem in many areas near me. After a little searching, I found a state park without the fall color seeking crowds and what appeared to be a perfect place to photograph the night sky as the land was higher than the surrounding area giving me miles of horizon towards the south, where the milky way touches the horizon, without much light pollution.

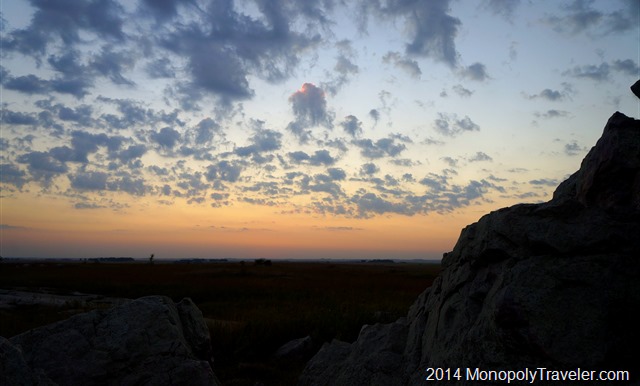
The Sun Has Set. Time to Wait for the Stars to Show.

Friday afternoon arrived and so did this last summery weather so I took off from work early and hurried home to pack. Soon after I was on the road for the almost 4 hour drive to Blue Mounds State Park anxious to see the setting sun from this location and look for the milky way to take over the night sky. I arrived at the park just in time to register for my campsite and get to higher ground to prepare for the sun and the stars. It didn’t’ take long for the sun to display it’s breathtaking colors as it neared the horizon prompting me to begin clicking away with the camera. In a very short time I had shot 70 pictures in an attempt to record this beautiful fading display. A few more photos of the twilight and it was time to eat a few snacks I carried with and prepare for my main subject.

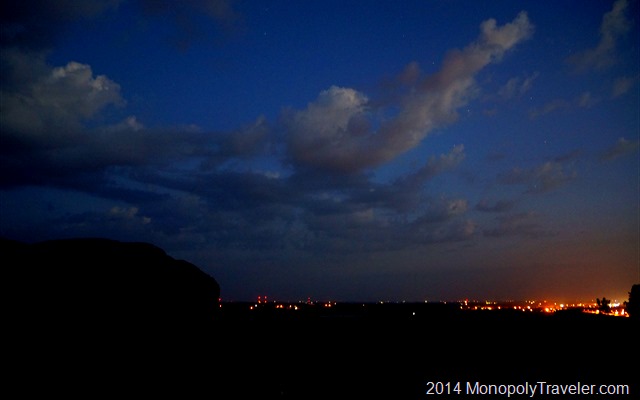
The Stars are Starting to be Visible

Finally the first stars of the night were visible as the sky continued to darken. I took a few pictures to check the settings on the camera and make sure they were correct for astrophotography. Thankfully I did because a couple of the settings needed adjustment with the most important one being focus. The camera was still on autofocus so I switched it to manual focus and adjusted it for infinity in order to photograph the stars as clearly as possible. After changing the settings I snapped a few more pictures and decided it was set up the way I wanted for the night.

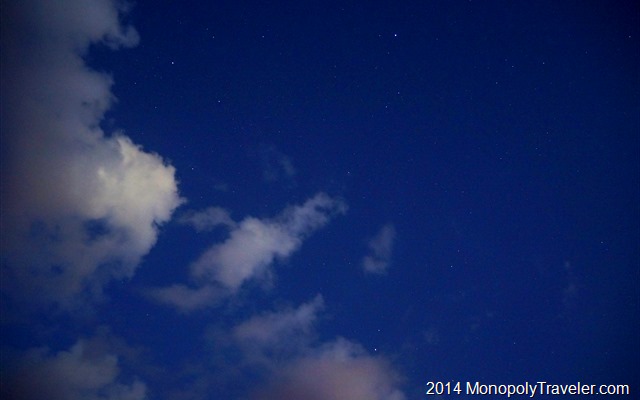
More Stars are Beginning to Show Up

Now that I was ready and just waiting for the darkness to grow I began to realize I was all alone out in this park with all kinds of wildlife. Yes, this is where your mind begins to play with you and make you wonder if this is a good idea and jump at unfamiliar sounds looking for some wild animal to come lunging at you. Searching through the list of animals in this area that would be active at night I realized the most likely animals in this area were coyotes and they were very unlikely to cause any problems. Forcing myself to relax I continued to look upward as the sky light up with its nighttime show. Soon I was once again swinging my camera back and forth on the tripod capturing different scenes as they appeared all around me. Eventually the milky way made an appearance above me and I knew it would be a matter of time until it glowed closer to the horizon.

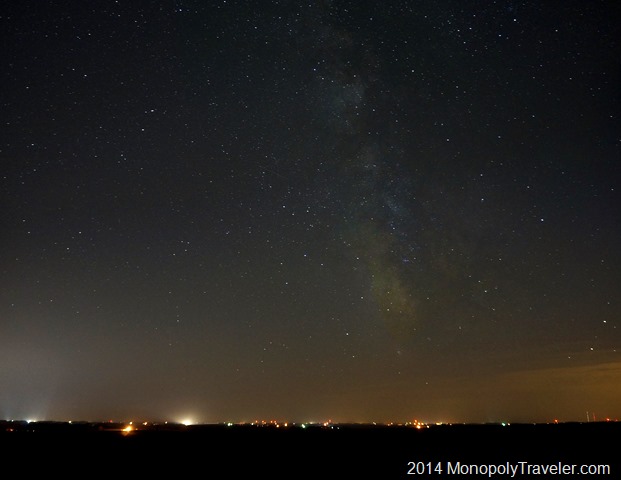
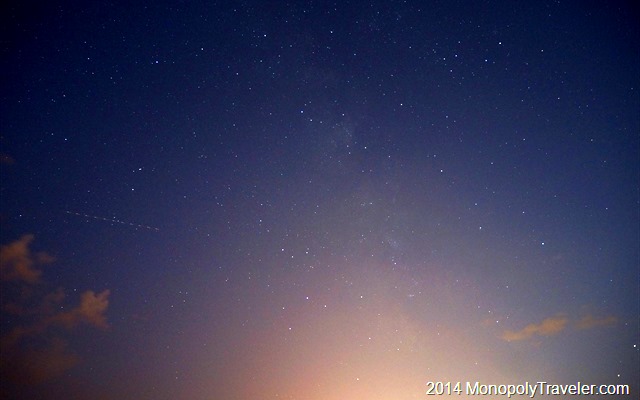
All This Way Only to Blocked by Light Pollution Again.

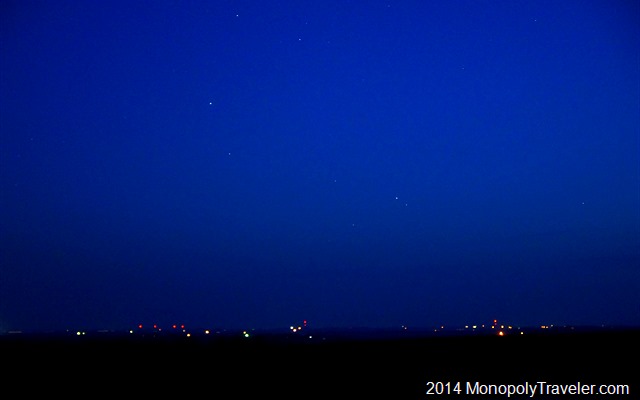
As the night grew darker I soon realized that the milky way would show up right were the nearby town was preventing me from getting the shots I was desperately trying to get. On top of that it was homecoming so the football stadium lights shone bright. All of that time and effort and this was the best picture I could get of near the horizon. Not very impressive however you can still see it. I knew this would be a possibility but hoped for the best. I took the pictures I could and began to vacate my star gazing rock as this part of the park was closing soon. A few photos of the milky way overhead and I was off. Besides it was getting to be a long day and I still needed to set up my tent.

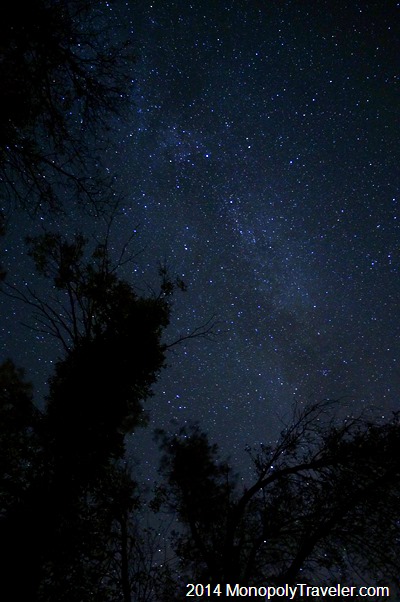
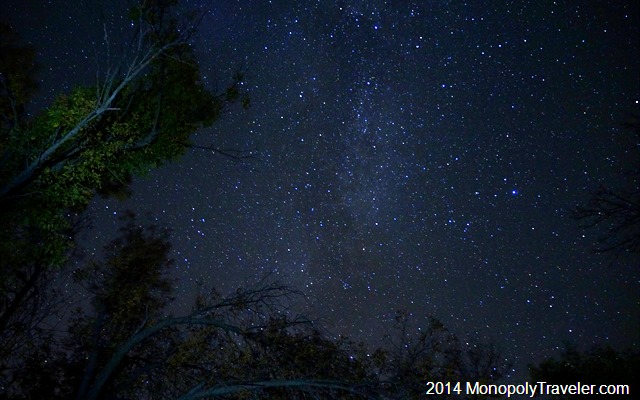
The Milky Way From Overhead

After setting up my tent and sleeping quarters I decided to catch a few photos from this location to cap off my evening of looking for stars. The trees overhead brought a different and interesting composition to all of these bright stars shining down.

_DSC0705

After a number of pictures I decided to play with my flashlight and began to highlight the trees and see how that looked against all of these stars. It was kind of interesting and something I would have played with more except I had finished my evening beverage and decided it was time to catch a few hours of sleep as I wanted to get up at dawn and photograph the prairie waking up.

Playing With Light Against the Night Sky

I did decide to try again the next night with a little better luck. To continue on click here…