Category Archives: Photos

Taking Time-Lapse Photos

Getting Setup to Take the Photos

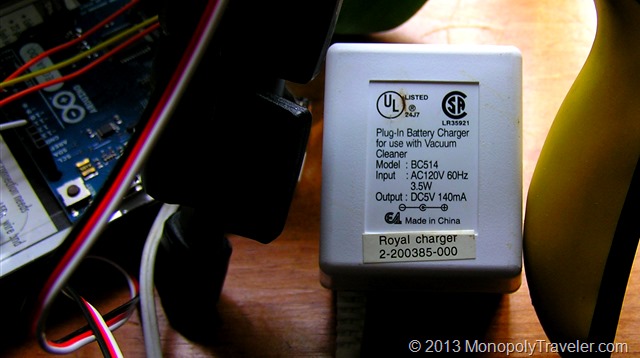
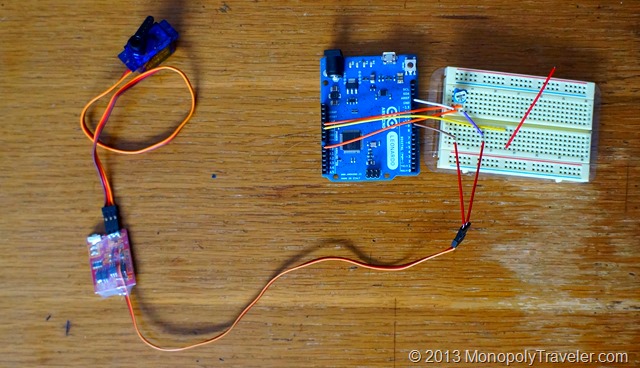
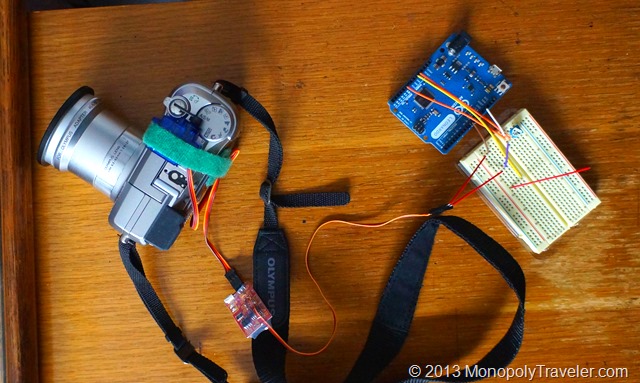
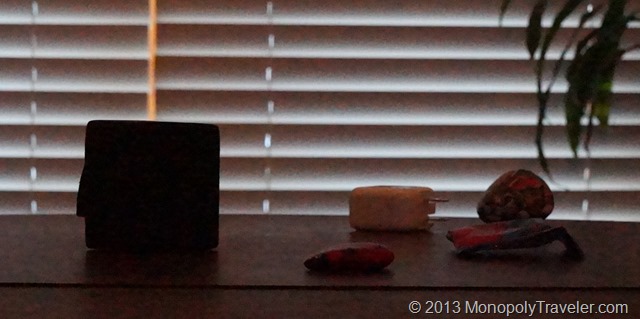
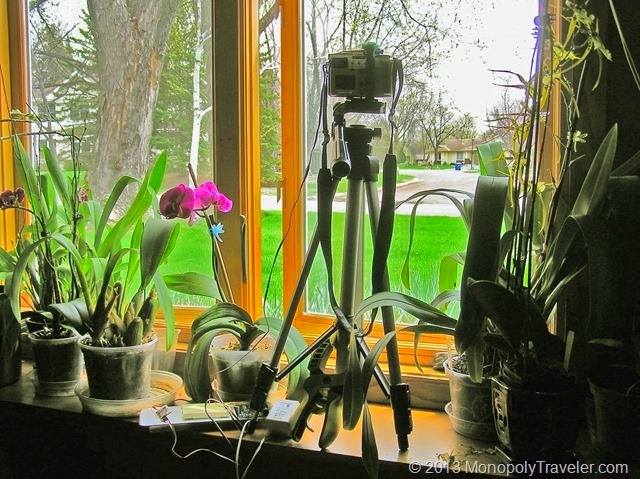
This is how I set everything up to shoot a time lapse video before the snow started falling for one of our April snow storms. I plugged in the Arduino which is connected to a prototype board with the potentiometer on it which is connected the the shutterbug pro which is connected to the servo on top of the camera set to take pictures. I found an AC adapter around the house ( I knew I saved these things for a reason) that puts out 5 volts DC current which is perfect to power all of the boards and the servo. As a bonus the plug fits perfectly into the port on the Arduino board. Should be all ready to go now.

The AC Adapter

The next thing is to adjust the camera for taking the pictures. If it was left in automatic mode it would re-focus each time and set different shutter, aperture, and ISO for each shot. This takes time, energy, and changes how each picture looks so that there is a flicker appearance in a time-lapse. To help avoid this I set the camera on aperture priority with a setting of f2.8 so I could get as much light to the senor as possible because it was darker than normal with the heavy cloud cover and snowfall along with the day transitioning to night during the shooting time of over 8 hours. Also, the focus was set to manual and adjusted for further away. This saves power since the camera doesn’t have to focus for each picture and prevents it from transitioning the focus from the street to the glass in the window as night arrives since this all took place through the window. Here is the final video which lasts 24 seconds but taken over 8+ hours in time.
video
play-sharp-fill

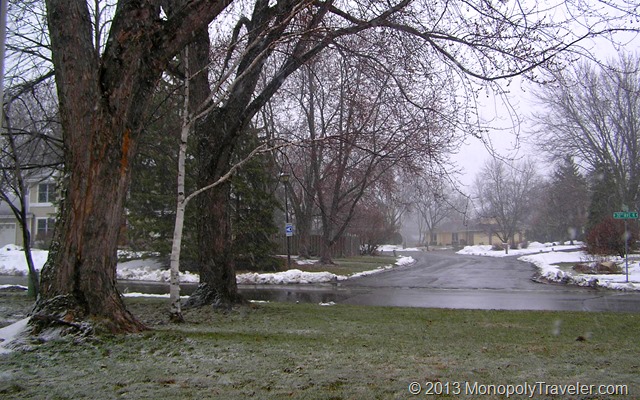
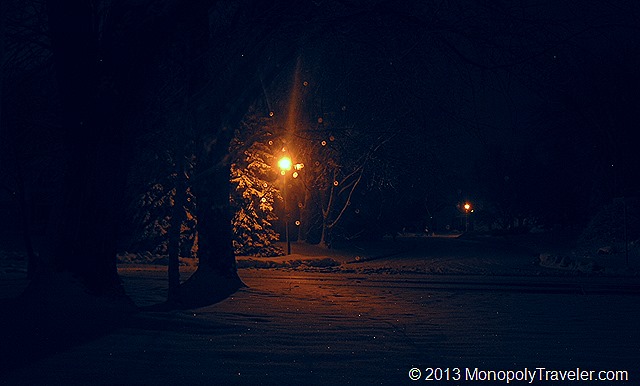
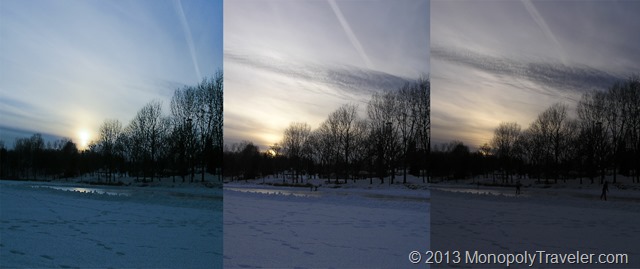
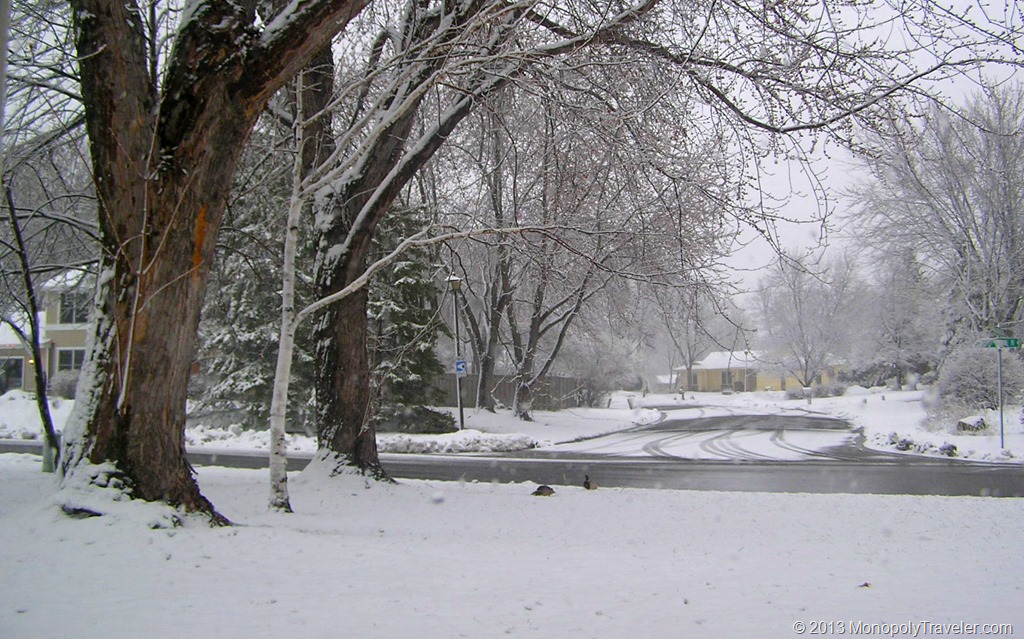
Some points of interest. First, at about 5 seconds, if you’re lucky, you can see a pair of ducks venture into different yards for a few frames. Second, I used 25 frames per second which means that for every second of video there are 25 pictures. Calculating that out you get 600 pictures taken over the 8+hours which is 1 picture every 50 seconds. I used 8 hours because that’s how long the batteries lasted in the camera. Below are the first and last photo so you can compare the difference in light throughout this project.

First Photo of Time Lapse


Last Photo of Time Lapse

More Time-lapse Fun

Arduino with Shutterbug and Servo

While spending way too much time researching mechanical intervalometers (the device that takes pictures at a set interval) I came across a video that shows a shutterbug pro pre-built circuit board used to control a servo which mechanically presses the shutter button on any camera. While looking through the parts list and how this all works I came across a problem. You need another device to set the servo positions so shutterbug can operate the servo to those precise positions. The company that sells the shutterbug pro also sells a signal emulator which can position the servo. Do I really want to use something once that really has no other uses?

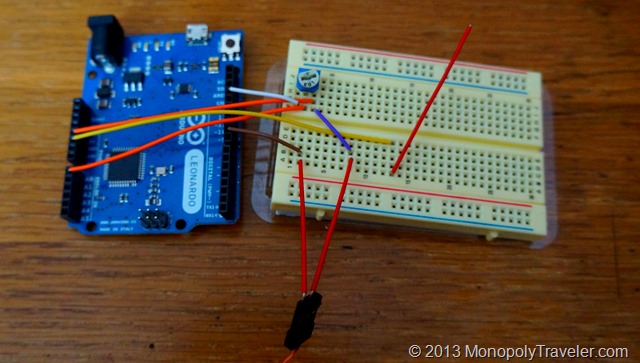
The Arduino with a Prototype Board

Of course not! Spending even more time I came across another video that shows how to use an Arduino micro computer and potentiometer to adjust the servo. In addition, once I’m done using it to set the servo positions for the shutterbug, I can learn simple programming to make the Arduino do other things if so desired. In addition I use the Arduino as a voltage regulator to the shutterbug. Are there a lot of terms here that are unfamiliar? I had that issue as well. I never really knew what a potentiometer was or how a servo works until researching it more just to do time lapse photography.

Everything Hooked up to the Camera

I do also want to try long exposures to capture star trails at some point which the shutterbug can do with some (suppose to be) simple programming. Although I have run into issues trying to re-program this board from time to time for different interval shooting and to change it to hold for long exposures. With enough messing around I do eventually get it to do what I want. Make sure everything is working well before the desired photography session begins. It has taken me up to 30 minutes to get the board and servo set up. In addition, it takes some tinkering to get the servo to consistently push the shutter button on the camera.

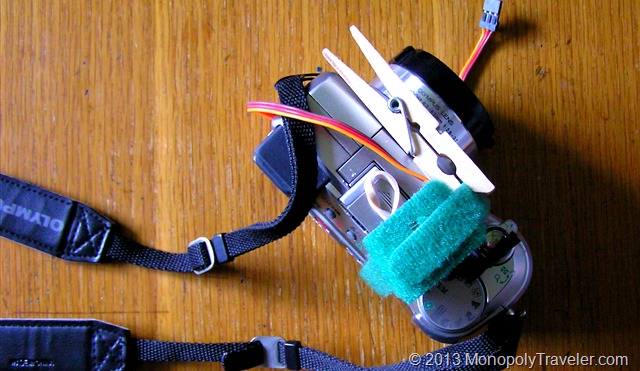
Some of the Tinkering

As you can see in the photo above I needed to add some extra equipment to make this work flawlessly. I have the servo attached to the camera with a velcro strap. Just this didn’t work well because I could not get it tight enough to actually push down the button on the camera. That’s where the close pin comes in. I use one or two to make the velcro tight enough to get the servo to press the button depending on how tight I get the velcro to start with. Also, I added a rubber band to the servo because it kept sliding around on top of the camera over time preventing it from taking photos after awhile. One last modification was the addition of electrical tape to the servo arm as it would scratch the button after a number of pictures.

Next up….. taking the actual pictures.

Time-lapse Photography

Ice Skating Time Lapse

Well, it’s been a few weeks since I’ve put together a post so what have I been doing? Other than taxes? Ya, that takes a little time, along with shredding documents that have accumulated over the past year that don’t need to be saved. I’ve been going through a few more properties on the photography experiment board such as Shutter Speed, Aperture, ISO, and Photography Jargon as well as reading a book or two on photography. The photography jargon helped explain a few terms for me so I can understand them better. A worth while post to read. I couldn’t think of anything to write about regarding these and I’ve already completed the experiment recommended by Peter Carey covering these topics so there haven’t been any post recently.

One thing I’ve been thinking about lately is how to take time lapse photos. Using my point and shoot camera which was recently fixed, you can see that post here…, I tried it out just using the remote that came with the camera taking a photo as soon as the camera was finished processing each shot. There ended up being over 300 pictures taken over 30 minutes which ended up providing a 10 second time-lapse video. That was fun but how can I make a 4-5 minute time-lapse video using this technique? Through some research I found the Tempus time-lapse remote to take pictures every few seconds. Problem solved, let’s order one.

video
play-sharp-fill

Wait a minute! That will work for my point and shoot but what about the new Sony Nex 3 which does not have remote functions. When I purchased this camera I didn’t think the remote was very important since up to this point I never used it on other cameras. What that ever a wrong assumption now that I have a camera capable of shooting good nighttime photos. Who knew? Well, Tempus also comes with a mechanical trigger but at a much higher cost. Could there be another way? Through more time and research I came across ways to build my own mechanical time-lapse trigger which was a little more adjustable and would work on all of my cameras with considerably less cost.

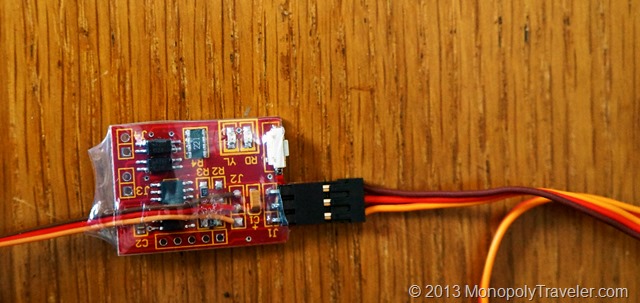
Shutterbug Pro Circuit Board

Finally I settled on the Shutterbug Pro which combined with a servo will take pictures at set time intervals. This is able to take extended photos in the bulb setting on dSLR cameras in order to capture light trails and star movement over time which I do want to try. Also, I get to build something and learn how to use things I’ve never used before. Learning is usually the best part for me and successfully using that knowledge. More new experiences!

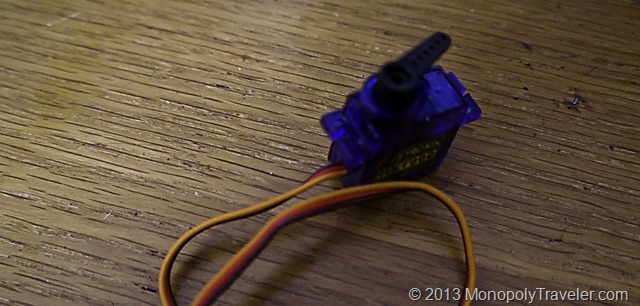
Hobby Servo

I’ll put up another post explaining how I did this later. To see that post click here….

To see the video created from this project click here….

The Exposure Triangle

Smallest Aperture

Continuing on with my determination to learn how to better use my camera, I took on a few experiments recommended by Peter Carey in his post about Exposure. The first one involves changing Aperture from the lowest aperture to the highest. On my camera that involved 6 different photos. My apologies as the lighting is not great for these photos but the basic idea still comes through.

Middle Aperture

In the top photo the background is completed blurry and the shutter speed was the slowest. As I progressed through each level I noticed two things happening. First, the shutter speed decreased as I moved the aperture higher. This is in response to the camera letting in less light (larger aperture) requiring a longer exposure to capture the elements in the photo to offset the smaller opening. Second, more and more of the background came into focus. You can see the difference in focus from the top photo to the bottom one. This must be what they call depth of field and what is meant by losing depth of field as the aperture increases. Nice experiment Peter!

highest aperture

The next experiment was with ISO. Keep aperture steady and increase ISO and see what happens. This took 8 photos for me to run through the available ISO range on my camera ranging from 200 to 16,000.

Lowest ISO

In the top photo the clarity is pretty good as this photo is magnified somewhat. Again as the ISO is increased the shutter speed changed. The higher the ISO the faster the shutter opened and closed to compensate for the sensitivity to light as affected by the changing ISO. As I moved to the middle of the ISO range you can see the graininess appear more in the picture below.

Middle ISO

Moving to the lower picture the graininess is really noticeable, especially on the white and black objects. Before understanding how the exposure, aperture, and ISO work together better, I used the exposure setting on my camera to change the picture not realizing that all that was doing was changing one or more of these settings. I thought it was a separate setting altogether. I’m gaining a clearer idea of how each of these can be used to change the look of a photo. A few thousand more photos changing the exposure settings and I should start to get a feel for which to adjust in different situations.

DSC01911

How to Hold a Camera

Drying Tomatoes

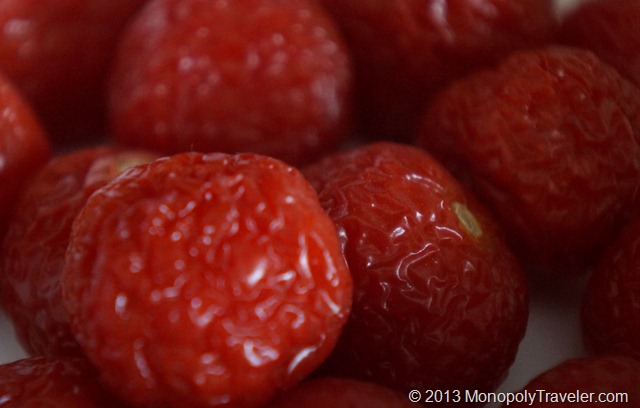
There’s not a lot of exciting things to say or show regarding holding your camera. One of the things I did learn about how I hold my camera is my arm position. According to Peter’s video (found here), holding your arm at you side can produce slightly less shaking. I naturally hold my arms slightly away from my body while shooting photos so this is one area I will continue to work on correcting.

An Orchid Flower

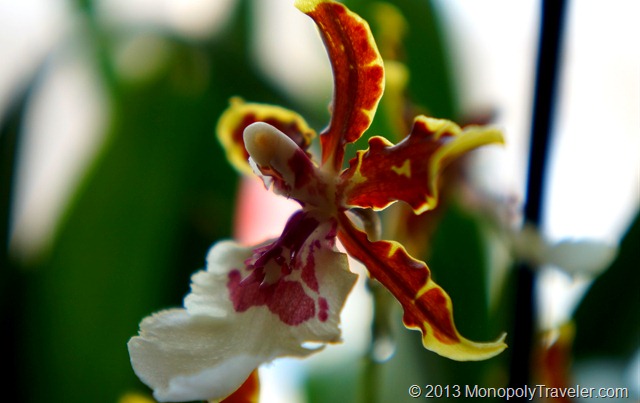
While practicing I decided to also practice with my macro lens so these shots are all close ups. I decided this because I attempted to use this macro lens a few weeks ago and realized I was using it incorrectly. Amazing how much better the photos look when using a lens the right way. How was I using it incorrectly you ask, simple: I was trying to use it as a wide angle lens. I know, what kind of moron would confuse a macro lens with a wide angle lens? Apparently me that’s who.

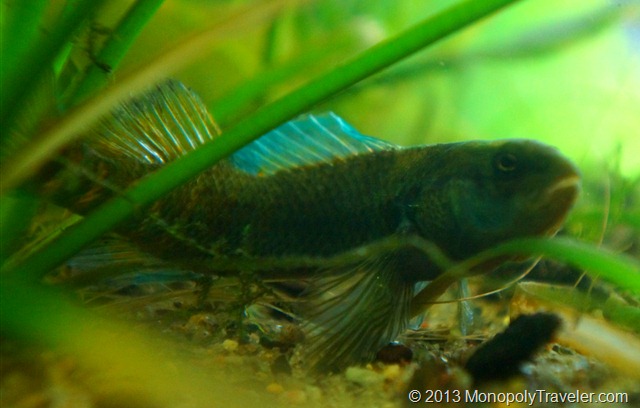
One of my Rainbow Darters

After noticing the photos where turning out blurry on the edges I searched how to use a macro and realized my idiotic mistake. Kind of feel stupid now. Error learned and shouldn’t happen again. Now I want to look at wide angle lenses as well.

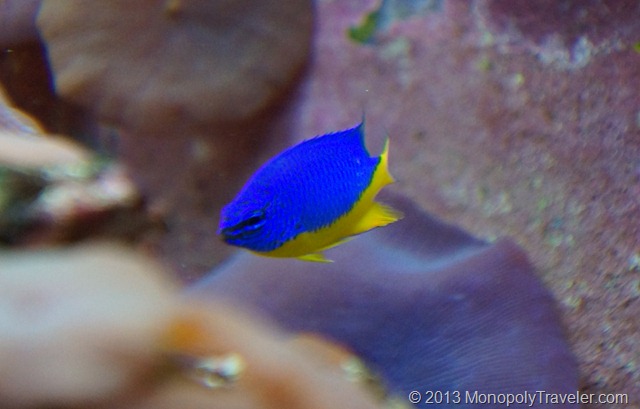
Blue Devil Damsel

Since I’m a horticulturalist I tend to photo landscapes, plants, and animals. I may be more of a naturalist but have a horticulturalist degree. Is that enough “ist’s” for you?

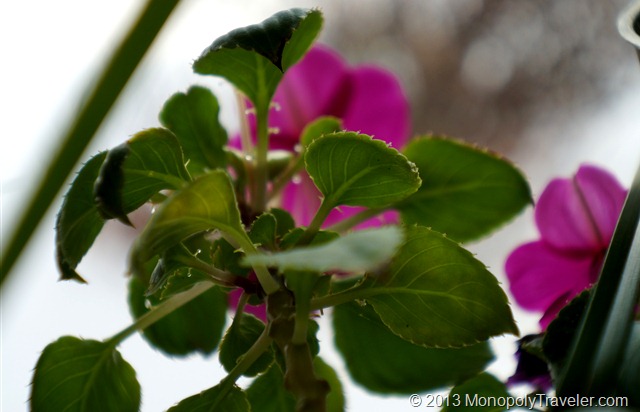
An Impatiens Plant in Flower

Apparently I found another use for a macro lense when plants are concerned. When looking at this photo on the computer I realized this plant has spider mites which you may be able to see on the lower right leaves. This plant was immediately treated after seeing this photo.

How Your Camera Works

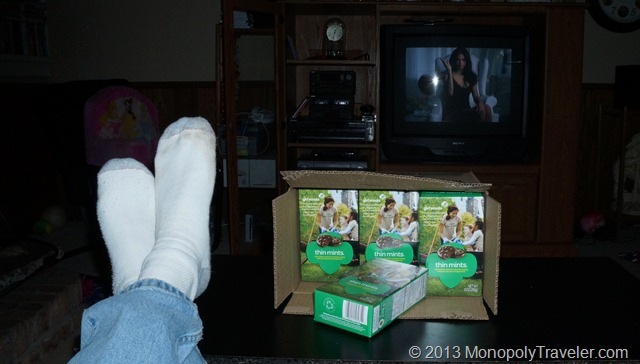
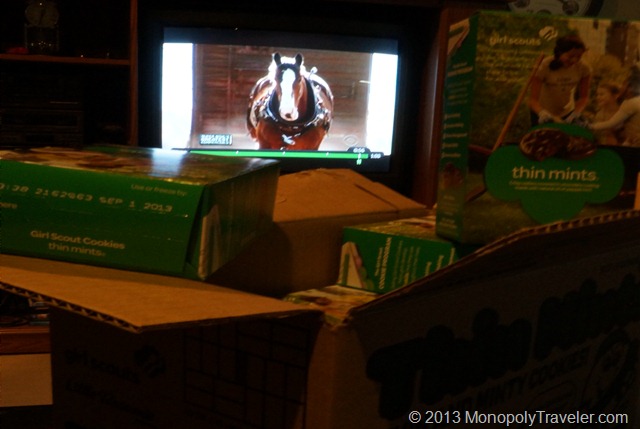
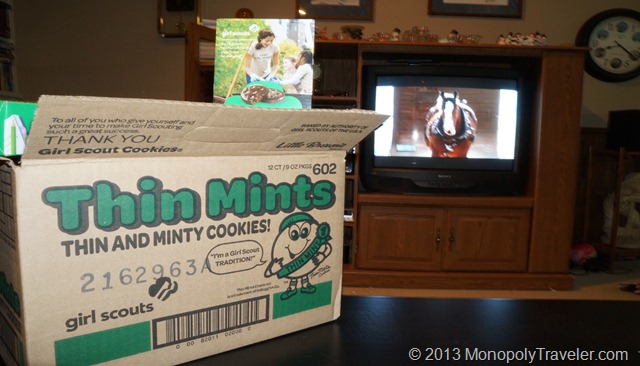
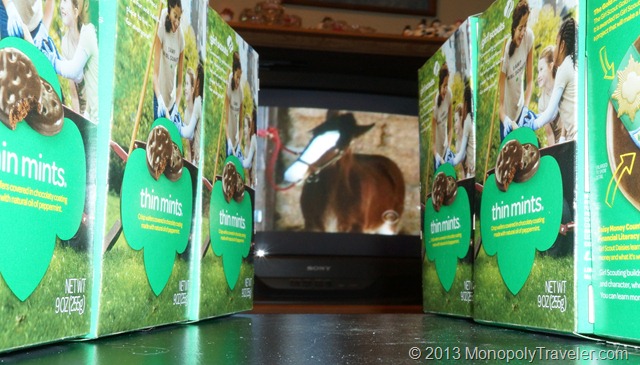
While thinking about adventures in the Rockies or Isle Royale and dreaming of exploring the U.S. Virgin Islands for a week during the winter I decided to start the photography experiment.  The first spot on the board is How Your Camera Works. As luck has it, girl scout cookies are now available and since I have two girl scouts I thought this was a great opportunity to use a few thin mints as photo subjects. In addition, is there a better treat during the football game of all games – the Super Bowl?

One of the experiments listed on this post by Peter Carey is to take 10 photos of one object and make each one different in some way. So here ya go:

Cracking Open a Case of Thin Mints

Without the Flash The lighting while taking these was not great so I had   the opportunity to play with the flash a little bit while  watching Super Bowl commercials. The photo on the left is without the flash.


Playing with Perspecitve

Changing Shutter Speeds and Exposure

Looking for different perspectives. The low ambient light combined with light from the television makes for an interesting situation. Shooting in shutter priority seemed to give the best shot. Of course this could have been helped by using a tripod as the shutter was slowed down. Surprisingly this photo came out pretty clear.

Adding Flash

Adding in the flash and manual focus to the shutter priority improved the overall picture. While looking at the information of this one I noticed white balance was manual. Knowing that could bring a little better color. More to play with I guess.

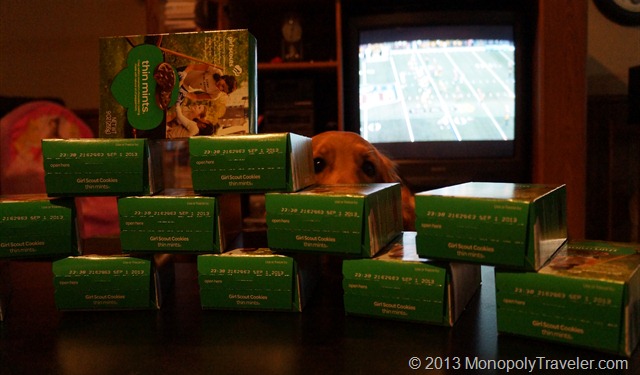
Another Set of Hungry Eyes

Looks like I’m not the only one looking for a snack of thin mints.

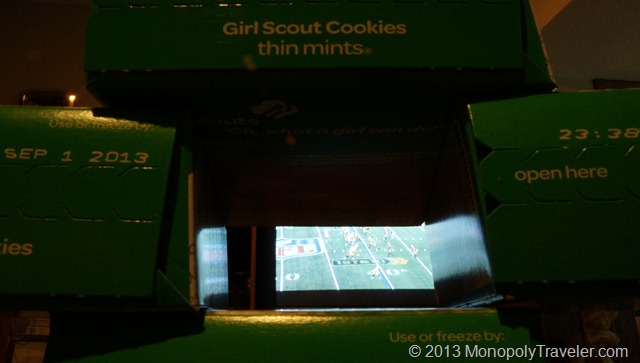
Tunnel Vision

Watching the game with tunnel vision.

Another Tunnel

Adding flash to a different tunnel gives a whole different photo.

Changing Focus

Adjusting the focus allows me to highlight different portions of this subject.
A Low Perspective

Shooting from the bottom. Not sure if I like it for this particular photo but it provides for a unique shot. There is one advantage with the camera I’m using, the LCD adjust so I don’t have to stand on my head for a shot like this.
Where Can I Get a Cookie?

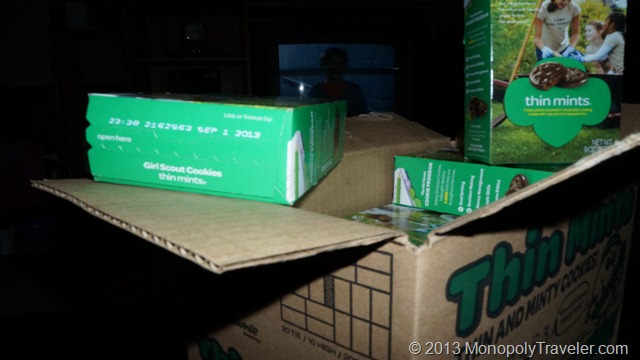
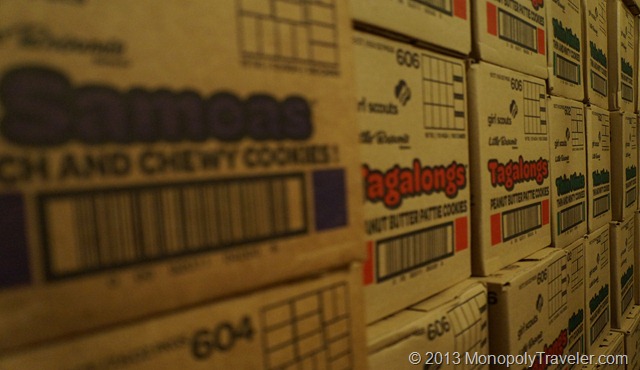
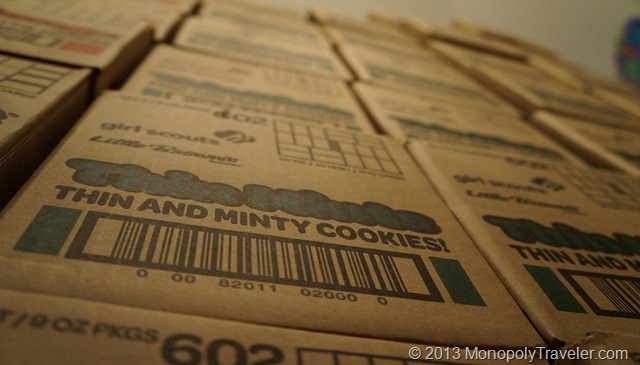
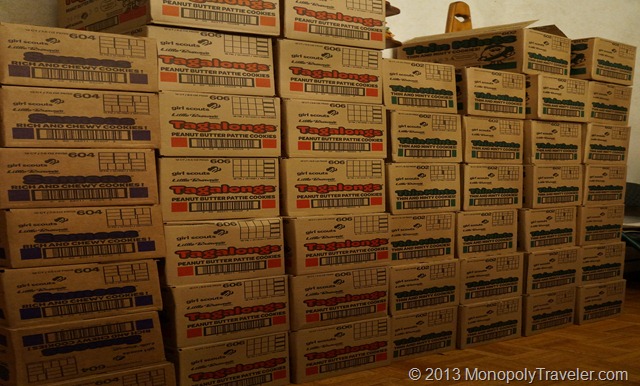
Does anyone know where to get girl scout cookies? I think it’s going to take me awhile to eat all of these. When I tell people I have walls of cookies at the house they’re not sure exactly what I mean. This is what I mean. Is this an indication of a girl scout cookie problem? They just keep multiplying.

As a side note, I did not alter these photos if you couldn’t tell. Digital processing comes later. This experiment just focused on learning more about the camera.

Backing Up 2012

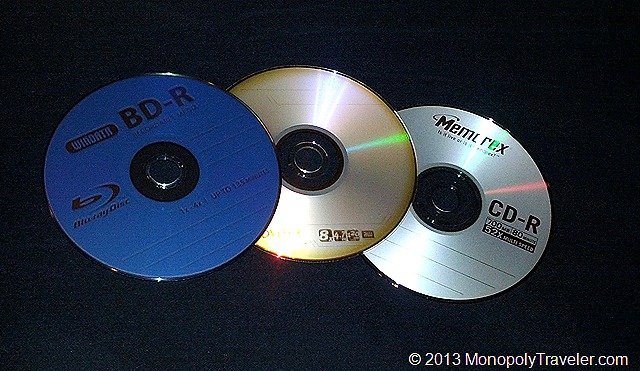
CD, DVD, or Blu-Ray


My plan for this week was to start the Photo Monopoly Board. Instead the time has been spent backing up files of 2012 onto hard copies and making room for 2013. I’ve decided this subject could make a good post. I know there are many out there but I do have some personal experience with disasters and how they can affect important documents. For this post I’m going to focus on photographs as those encompass most of the files I work with. However, this information applies to videos and other documents as well.  

USB Flash Drives

First off, before I ever delete the photos off of any storage card from a camera I make sure it is backed up in two different places. For example, on the hard drive of a computer and a USB flash drive or portable hard drive. Once I get home I have a certain computer that holds my photos and videos and an external hard drive that I only turn on when transferring photos to it or retrieving them from it. This way all of my pictures are in one central location so I know where to find any photography taken during a year. Some people will use cloud storage as one of their back-ups. I’m not comfortable with cloud storage so I rely on hard drives at my house.

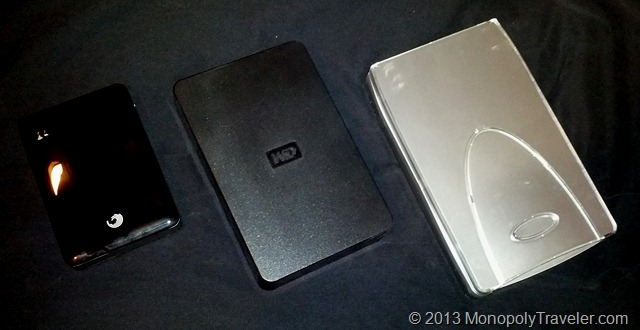
External Hard Drives

If at any point during the year I find any indication that photos could be lost either to a software upgrade or computer malfunction I immediately back up files to another external hard drive. At the beginning of a year such as now I take and make a hard copy of the previous years photos such as burning them to a cd, dvd, or blu-ray. Once I have hard copies they are placed in a secure firebox. After making hard copies these pictures are then deleted off of the computer. Now the two copies I have are the hard copies and an external hard drive. In addition, once I have enough photographs to fill a dvd or like this year a blu-ray I burn an extra copy of these pictures and give them to a relative in another state to store in a safe place.

Sometimes, like this year, I may come across more than two copies of a photo. This year I had 4 copies of many of my pictures due to computer issues at one time or another. Seems a little over kill doesn’t it? A motto I really like is: “overkill is under rated!” That’s kind of been a family motto for much of my life. Why do I take all of these precautions? First off, I want to do whatever I can to keep from losing important pictures and videos. Secondly, while growing up I experienced flooded basements and house fires both of which destroyed many important photographs. Most likely if a disaster of one type or another hits my house, my backup with a relative living in another state will survive. What are the odds of a natural disaster destroying both locations? It could happen but the odds are pretty low.

Cloud Storage

Fortunately I haven’t had these steps put to the test to see if these precautions are enough but past experience has defined them. It takes a little time and an extra hard drive or two but all in all, what are these photographs worth if they’re gone?!

31+ Days to Better Photography

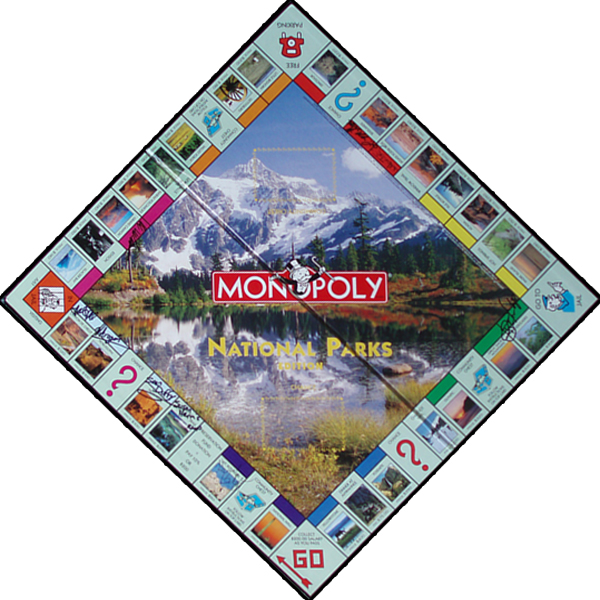
Monopoly-Board-31-Days

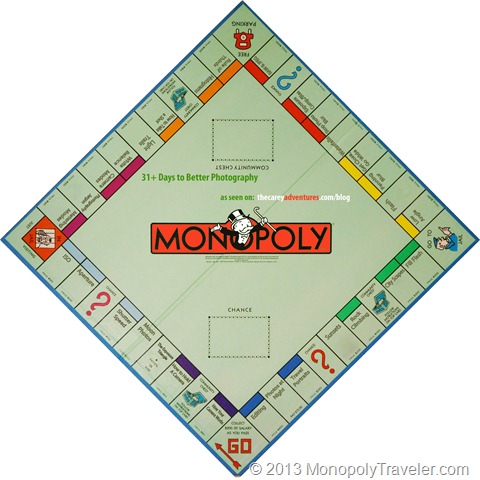
For 2013 one of my goals is to complete this Monopoly© 2012 Hasbro board to better photography. This idea came from the posts on the Carey Adventures website on ways to improve your photography. Each location on this board refers to one of Peter Carey’s posts. My goal is to take at least 100 photos for each topic and identify what I’ve learned and how it improves my photography. The cost is mostly just time and the results are almost instantaneous to do this as we don’t have to develop film any longer. In some cases I expect that 100 photos will not be enough and in others it may be a challenge to take that many pictures on the journey to completing this board.

I’m not trying nor do I expect to become a professional photographer by completing this. My goal is only to improve the shots I take so I can share them here for others to enjoy and share in the experiences of traveling to different national parks. Thanks to Peter for sharing these tips with others. In this day and age as taking pictures gets more and more affordable and easier to do, the quality can be so much better than even a decade ago. Unfortunately not all of the topics on this board have been written about on Peter’s website. If those topics are not added to during 2013 I will have to either research these topics from other places or choose different topics to work on. During 2012 I have played with some of these settings but look forward to taking more time to experiment and learn in greater detail in 2013.

To check on my progress throughout the year click here to go to the Photography Experiment page.

Some of the Wildlife on Isle Royale

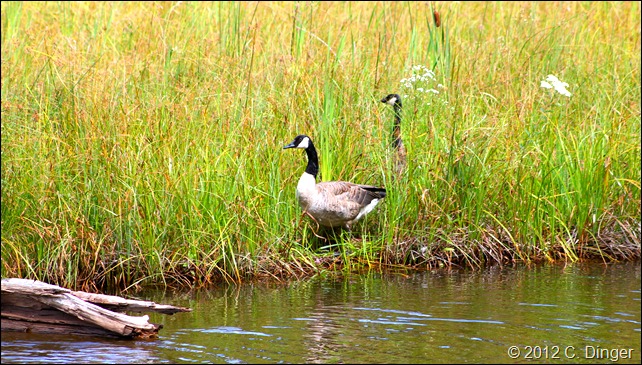
Canadian Geese

Canadian Geese should be expected this close to Canada so not a big surprise.

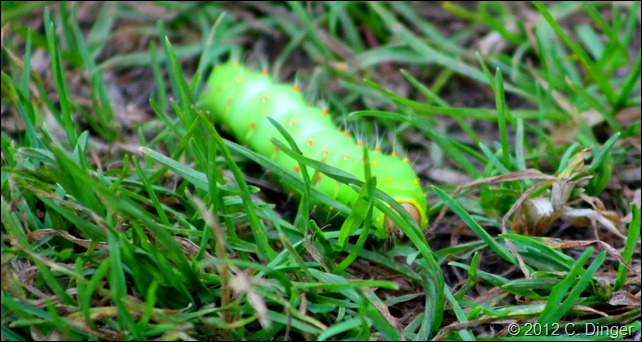
Caterpillar of a Luna Moth

This is a caterpillar of a Luna Moth. I’ve only seen one other caterpillar like this and still haven’t seen the moth itself.

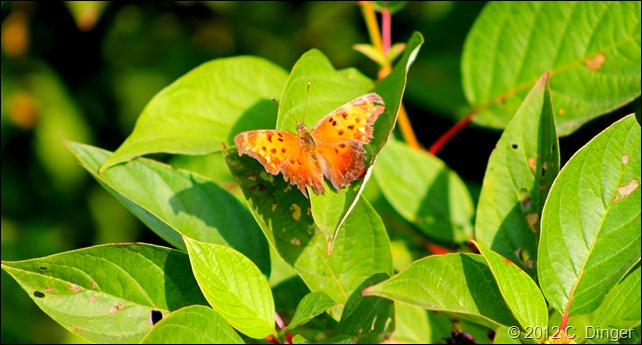
Painted Lady Butterfly

I believe this is the Painted Lady Butterfly. Fairly common in this part of the country.

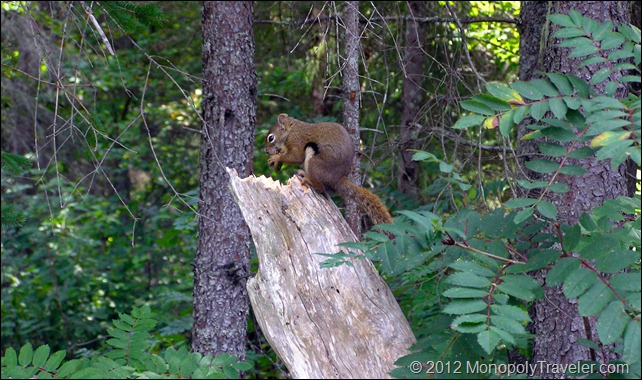
A Squirrel Eating

Somehow squirrels made it to the island. They were always eager to help with meals. Unfortunately for this one we didn’t leave anything behind as feeding the animals in a national park is not allowed.

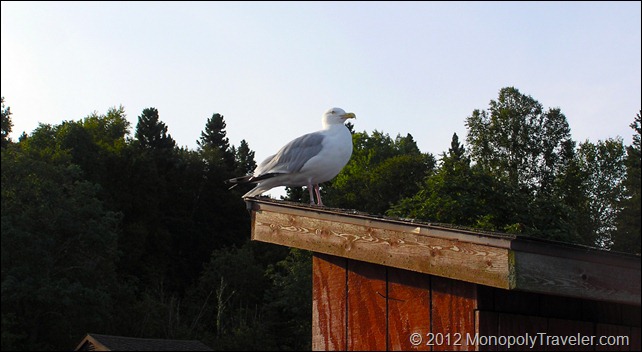
A Proud Seagull

Seagulls are fairly common. I just liked how this one was posing appearing very proud.

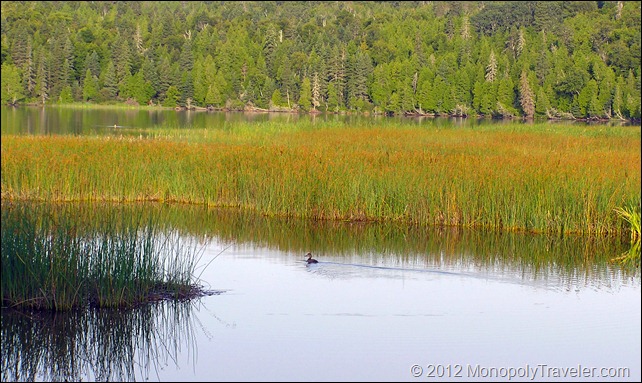
A Duck Swimming

There are a multitude of ducks around Isle Royale. I believe this is a Mallard enjoying the morning sun.

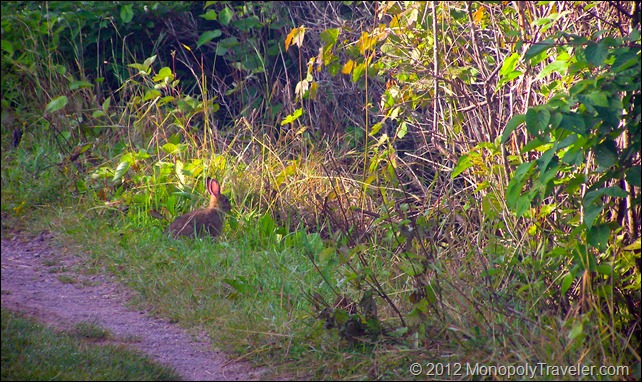
A Rabbit Grazing

Another animal that I can’t quite grasp how they got to the island. They must have stowed away on a boat at one time.

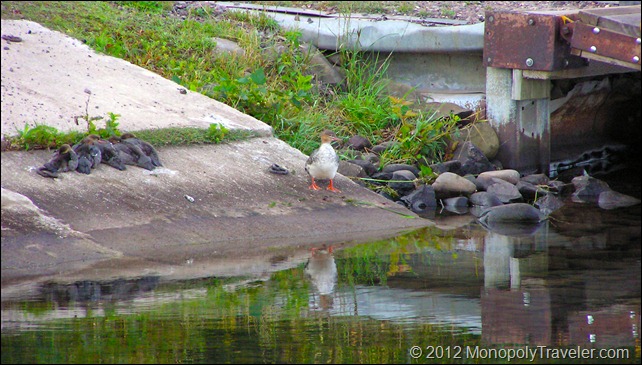
A Mother Duck and Her Babies

We enjoyed watching this group of ducks. When we first saw them we could only see the mother swimming. After watching for a few minutes one of the babies popped up from under the surface of the water, then another, and then the other 3 or 4. It was entertaining to watch as they would swim on the surface for a minute or two and then dive into the water staying under until the surface was calm and there was no sign they were there. All of a sudden they would begin reappearing in the blink of an eye.

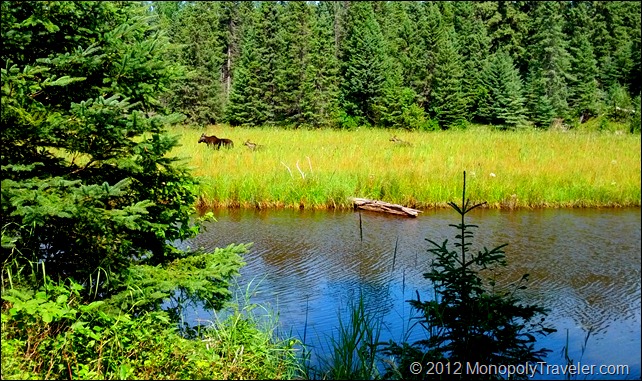
A Moose and Her Two Calves

Of course one of the more popular animals on Isle Royale are moose. We were fortunate to see this mother with her two calves stroll right in front of our campsite. There was another moose with her calf that met us on one of the trails causing a slight delay because those who know understand that the moose owns the area they are walking on. It is not considered a good idea to confront a moose, especially one with a calf. Some of the other wildlife on this island include foxes and wolves. We did not get to see either one. It is my understanding that the foxes are sneaking creatures finding creative ways to steal campers stuff so it may not be a bad thing that we did not see any.

Playing With the Camera at Night

One of my objectives with a different camera was the ability to take good photos at night. I’ve been playing around with it and here are some of the results.

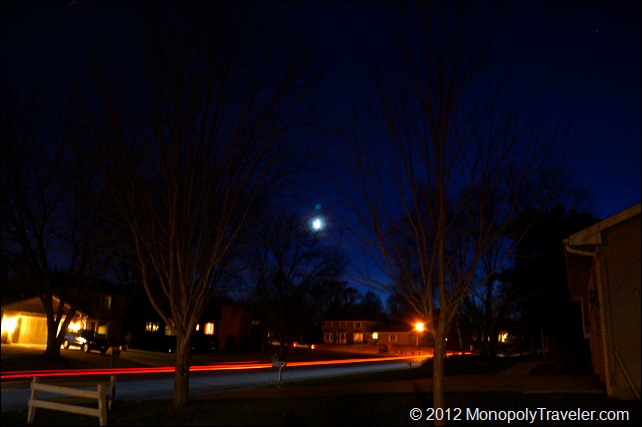
Moon Rising


Setting the shutter to a slow speed to capture the moon nearing the horizon while a car passed by leaving light trails.

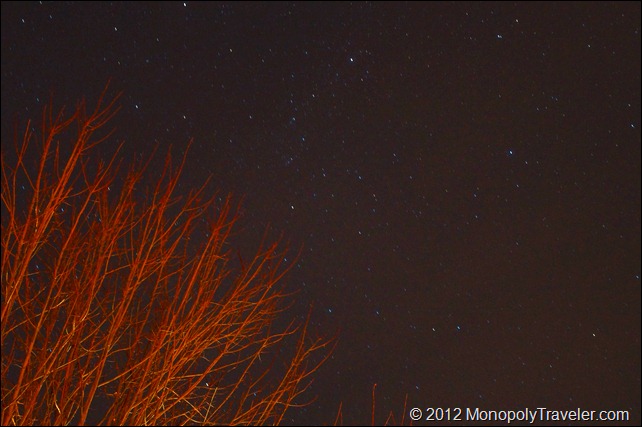
Stars lighting up the Sky

I was amazed at how many stars there were near a big city. More surprising is that they actually appear on the photo.

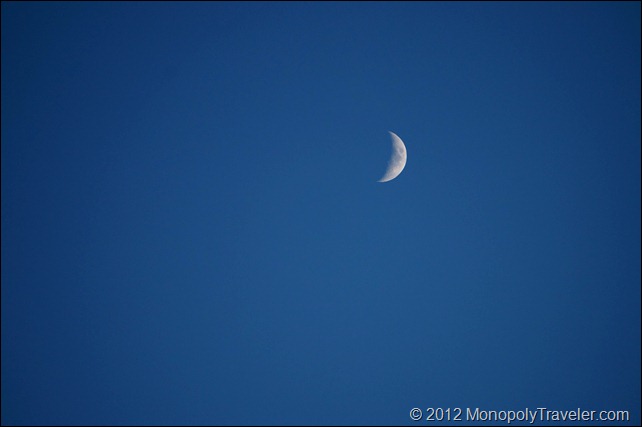
The Moon Just After Sunset

There was a bright half moon towards the end of the day. I was amazed how much detail shows up.

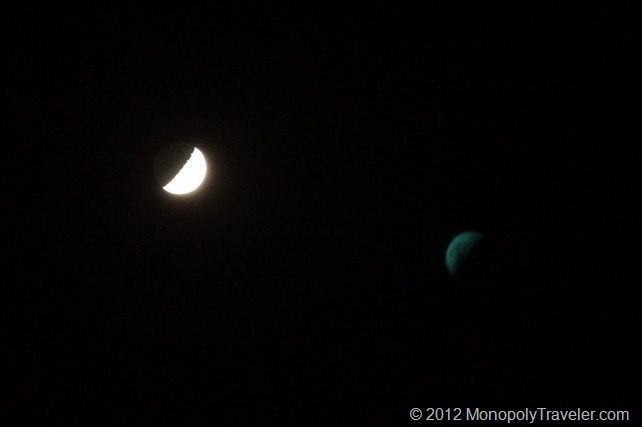
DSC00591

Later that night the moon shows even brighter. You can see the rough terrain of the moon by the jagged line where the light is reflecting off the moon.

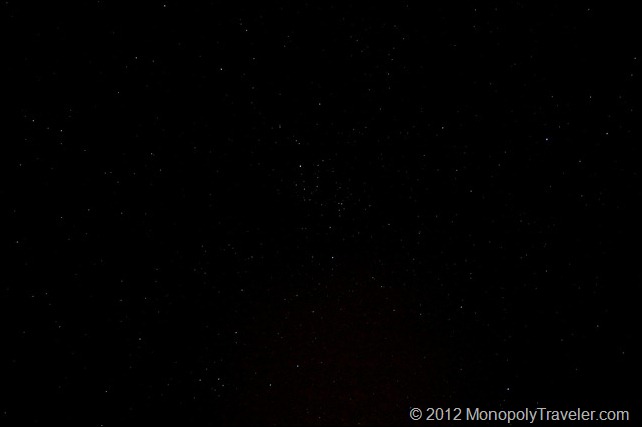
Stars Spread Across the Sky

After taking a lot of pictures trying to find the best settings I got a picture full of stars that are in focus. Keep in mind this is with a lot of light pollution near a big city.

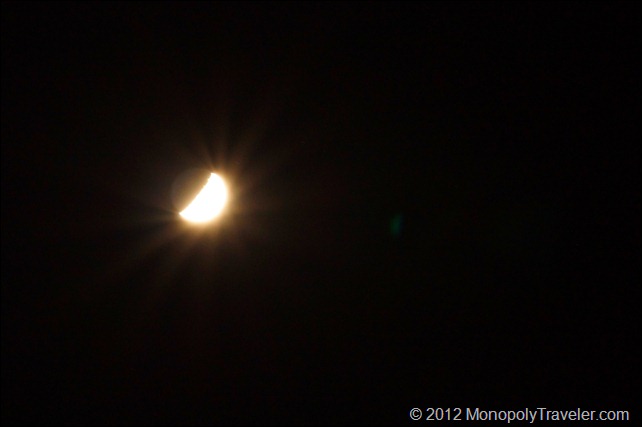
Moon Burst

Playing around with some of the manual settings on the camera provided an interesting moon burst. I think this was changing the aperture as high as it would go.

There is much more for me to experiment with while taking night photos but this was a fun start. I hope you enjoy these as I’m having fun figuring out how to take them.