Looking Back

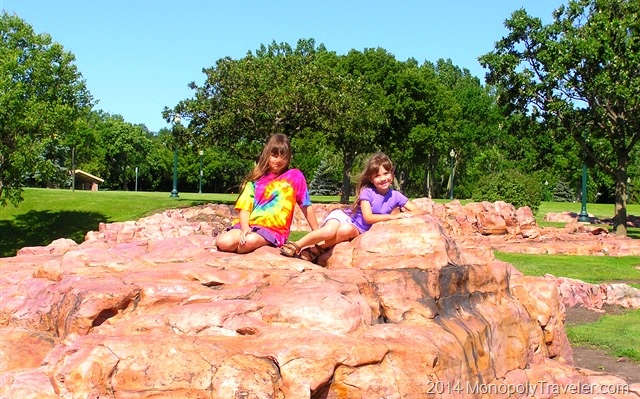
Our First Monopoly Adventure in South Dakota 2009

As I was looking back over this past year I looked at some photos from the past several years, some of which were from our first Monopoly travels to the Badlands in South Dakota. This has definitely reminded me of how much the kids have grown since we began our National Park adventures not all that long ago. This brings a number of different feelings as I’m sure many parents experience.

First, a huge smile to my face remembering the places we’ve explored together as a family and the stories there are about each one. Then a little bit of sadness enters because we can never go back to those ages with the kids and all that are left of those times are the pictures and memories. As I’m reminded of the changes that have occurred I begin to think about the changes that will be coming as we have only eight spaces remaining on our Monopoly National Parks board out of twenty-eight total spaces.

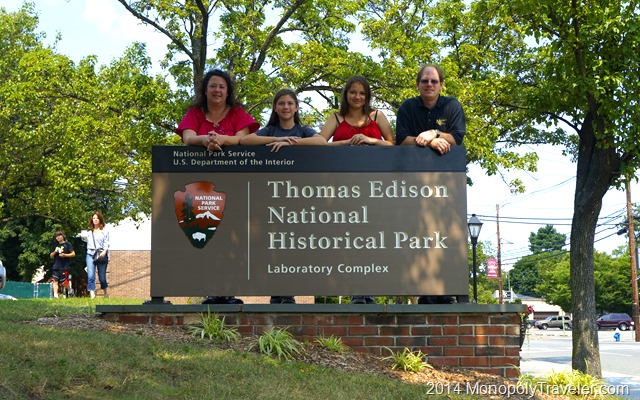
The end of these family adventures is nearing and I’m wanting time to slow down because our last trip is supposed to be to Hawaii Volcanoes National Park which coincides with the oldest daughter graduating from high school. From that point I expect our family to change as she begins to venture out on her own making family vacations more challenging to complete. As I envision entering our final park and stopping to take the requisite photo by the sign I begin to well up a little and feel as though I can’t get out of the car to get that last photo as my girls will be pretty much all grown up. Even writing this now is more challenging due to my emotions. I made the mistake one time of looking up images of Hawaii Volcanoes National Park and saw a photo of the entrance sign making these visions all that more real for me.

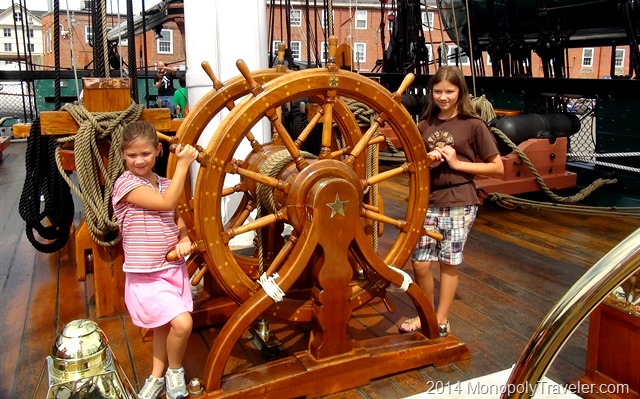
USS Constitution 2011

We have been very fortunate to have these adventures and share them with several family members and friends along the way. I’m so grateful for the opportunity to explore so many areas of the United States with my children and watch as they grow up and learn about these parks and places as well as they get to learn more about what each of them likes and doesn’t like and begins to explore themselves. Fortunately I have eight more parks to share with them and watch them continue to grow more.

As I look over these photos I’m very proud of our family for what we’ve done and tried and learned. There is no question in my mind these Monopoly Adventures are worth what we’ve put into them and some of the trade offs we’ve made to accomplish our goals so far. I’m hopeful we are able to complete the last parts of our board without too many difficulties, but not too quickly. OK, time to look ahead into 2015!

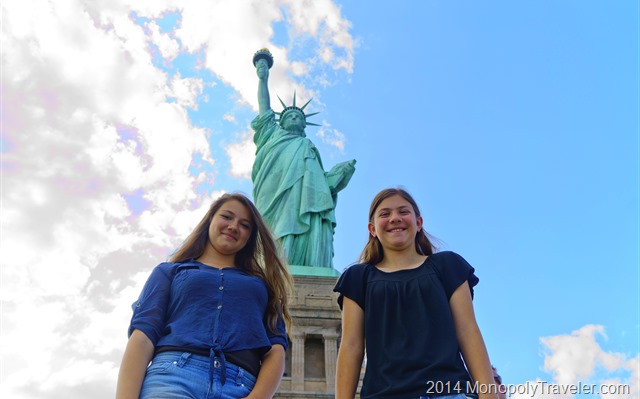
Exploring the Statue of Liberty 2014

Photographing Christmas

Image

It has taken weeks to plan a family Christmas celebration at your house for everyone to enjoy and that time has finally arrived. You’ve had wonderful images in your head about the beautiful decorations, the incredible food, and the enjoyment of everyone’s company while sharing gifts with one another. What a great opportunity to capture these moments with your camera and remember this time for many years to come.

For the past several weeks there have been countless emails, texts, and phone calls all in an effort to find a day and time that everyone can come together for a short time. Should it really be that difficult? If it is, does everyone really want to be together or is that just a fantasy in your head? Where’s the aspirin?! I feel a headache coming on. Why do I fight with these decorations for so long? How did they get tangled together? When they were put away last year they were wrapped up nicely and carefully put into storage containers. Now it’s one big pile of wires and glitter. Get the cutters! I’m going to win this battle if it’s the last thing I do.

Tangled Christmas lights and electrical cords on hardwood floor

Who’s calling me now!? Great, it’s my mother saying she can’t make it at the time we agreed on earlier. More emails, texts, and phone calls to accommodate her. Just what I was hoping to do right now. Ouch!! I think I cut my finger instead of the wire. Got to stop the bleeding. Who used the last bandage and left the empty box?! Tissues and tape will have to do. There’s no time for a trip to the store, well maybe the ER for a few stitches. Later, I’ve got to get more presents wrapped right now. But first let’s get these lights put up outside. Drag out the ladder along with nails and a hammer to hang these stupid lights. Why am I starting to get dizzy up here? Ohh, there’s a small pool of blood under my ladder now.

What? Why am I laying on the ground? I’ve got to get these decorations up and get to the store yet. How come these lights aren’t on? And those over there are blinking? Oops, I cut the wrong wire. Enough, I’ll have to do this later. Good, here come the delivery truck. My online order has arrived just in time. That’s not the color I ordered. Too late now, better get it wrapped. I’ll have to exchange it later. Now for the trip to the store to get the last of the food. There’s the phone again. What’s my sister doing with her friend at the bar? She’s suppose to be here soon. Can’t deal with that now.

One more thing to get – cheese for the potatoes. Why is that space empty? Sir, do you have more shredded cheese?  Sir…. Sir?  HELLO! SIR! No more shredded cheese?! OH but you have that 5 pound block of cheese? Wonderful! Just what I wanted to do yet today – shred cheese. A few more hours to go before our wonderful guests begin to arrive.

Adam's Art

That snowman wasn’t laying on it’s side when I left. Now all the lights are off. Well Mr. Snowman. How would you like to meet my great oak? Here you go! That problem solved. Are these lights plugged in. Who unplugged them? Better plug them back in.  Who’s that screaming in the garage? Dad? What are you doing? Oh, you were working on the electricity for the decorations. Sorry, I didn’t know. Where’s mom? She’s getting her no good brother out of jail. THRILLING! Who’s pulling up in a taxi? Wonderful, it’s my sister.

That can only mean one thing? Yep, she almost tripped over the pieces of the snowman. What great fun this is going to be. Well, at least she’s pulling enough bottles from the trunk for us all. That is until she dropped the box and broke them while falling on top and slicing her forehead open. Wait! don’t pull away yet. Can you drive her to the hospital to get…?  Wait, Wait! Uh, Dad? you’re up. Never mind, I’ll do it? Here you get the cheese shredded inside for me then. Come on sis.

Unbelievable how busy that place was. Do they have more than one doctor? Back to the house for this amazing Christmas celebration. Now my mom’s here. Maybe she can help get things back on schedule. Or not seeing as how she’s crying while my uncle keeps insisting he’s been clean for weeks now. Not one hit of pot or anything. He accidentally tripped through the window to the police station. Those TV’s and computers in his truck belonged to a friend of his. How was he supposed to know he stole them? I’ve got to get in the house. Where’s all this smoke coming from? The ham is on fire! Quick get it out of there. No, don’t use water!

https://fwtc.wordpress.com/2011/05/

Can you deliver three large pizzas to room 121? Thank you. Maybe there’s some hope to get a few nice pictures of this Christmas still now that it’s a complete failure. At least the hotel has done a nice job of decorating for the holidays that will be a nice background. Why is this not taking pictures? Thanks brother for pointing out my blinking light that says low battery. Forgot to charge them again didn’t I. Are there any more bottles that survived the fall around?

http://aroundtheworld-divaqueen.blogspot.com/2011/12/this-is-how-people-decorations-at-home.html

For those hoping to get tips out of this article there’s probably not much here but hopefully you were entertained for a few minutes and have a much better Christmas story than this one.

Edison

_DSC9256

One of the stops on our National Parks Monopoly Board was to Thomas Edison National Historical Park in New Jersey. When I first saw this place on the board I thought it would be interesting to see where the light bulb came from. Little did I know that Thomas Edison was responsible for so much more. He is credited with inventing ways to move electricity, of course the light bulb, the phonograph, motion pictures, motion picture cameras, and so many other things that are an important part of our lives now. After learning more about Edison it made sense why there are so many Edison Electric companies.

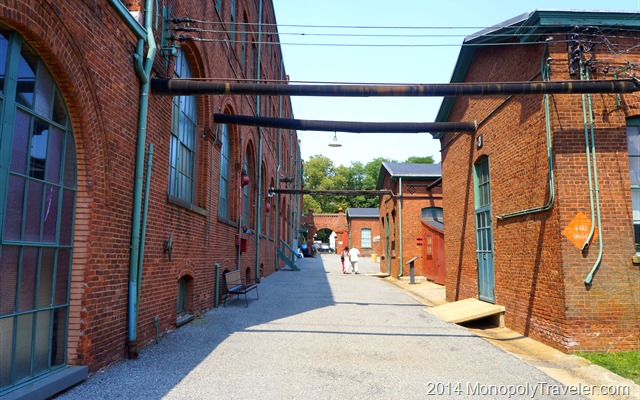
Edison's Laboratory Complex

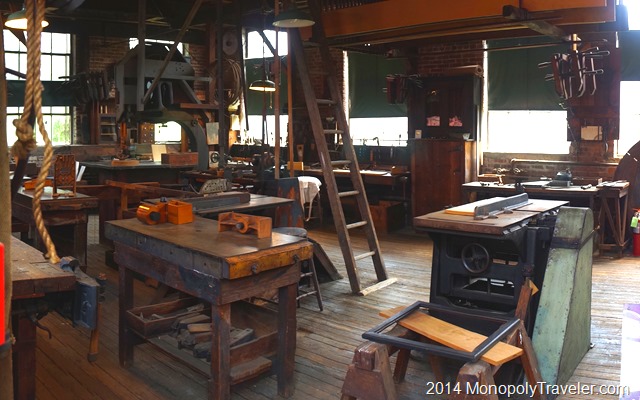
Arriving at the laboratory complex about mid-morning gave us the opportunity to explore Thomas’s different workshops for at least half the day. A stop at the visitor center allows you to get passes to see Edison’s home along with an introductory film about Thomas and his inventions. There are 5 different lab buildings to explore along with the Black Maria built for creating motion pictures and Glenmont Estate where his home is located. Our first building was the chemical lab.

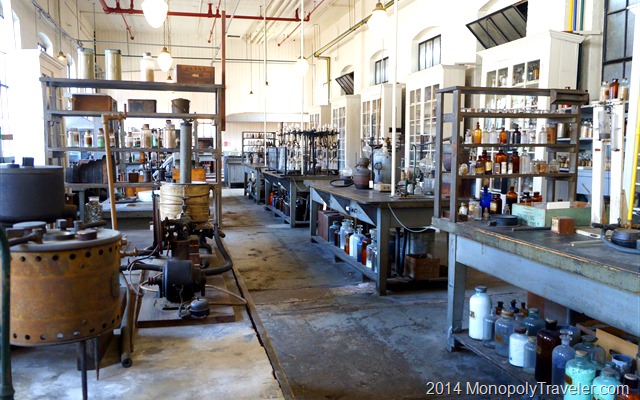
Inside the Chemical Lab

This is where we began to realize how many different inventions that Thomas Edison was a part of. There is a building for chemicals, metals, woodworking, and physics that worked together to create things such as records for the phonographs, batteries for cars, portland cement. While in the chemical lab we were showed some different things being worked on such as a plastic record for recording sounds and a rubber based on plant sap instead of using oil that could be used for manufacturing tires. It was also here that we learned about batteries being created to power cars. That was incredibly enlightening to understand that electric cars could have been around in 1910 and we are now just started to embrace this type of technology today.

The Metallurgical Lab

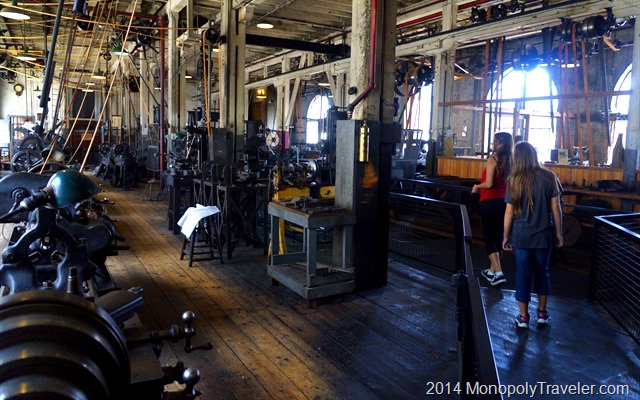
After a quick look inside the metal lab, we moved on to the main laboratory which was a much larger area with multiple floors able to build more inventions. There are a lot of machines in this building all running off of belts. I can only imagine how much noise there was when this building was in use. Amazing how this was all set up to run by connecting belts together. I’m sure people working here had to watch their step or a belt would cause a quick and painful injury as fast as they were probably running.

Inside One of the Floors of the Main Lab

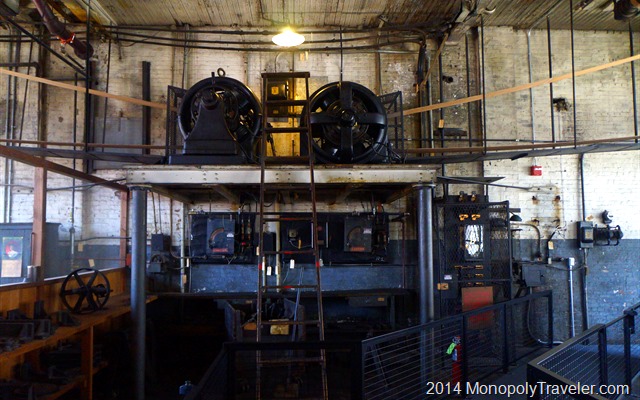
There were two motors to run all of these machines, one for each side of the laboratory.

The Two Main Motors That Ran Everything on the Floor

The most incredible piece to this whole complex to me is how advanced this all seems for late 1800’s and early 1900’s. I’m sure at that time, while it was advanced technology, it didn’t seem nearly as advanced as I believe it to be. Of course I get to view the advancements from 60 plus years in a matter of hours and know what they have led to today instead of the years and years it likely took to create many of these inventions. Having done some woodwork along with my horticultural education which requires some chemical knowledge with fertilizers and pesticides helped me to really appreciate what it must have been like working in these labs attempting to create new things.

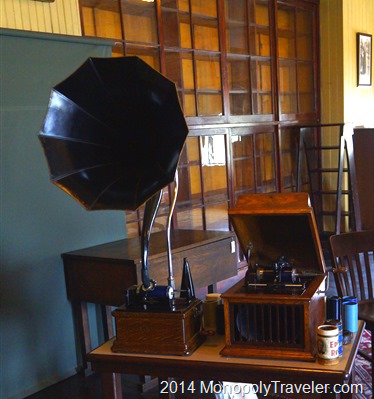
One of the First Phonographs Which Still Works, We Actually Heard it Play

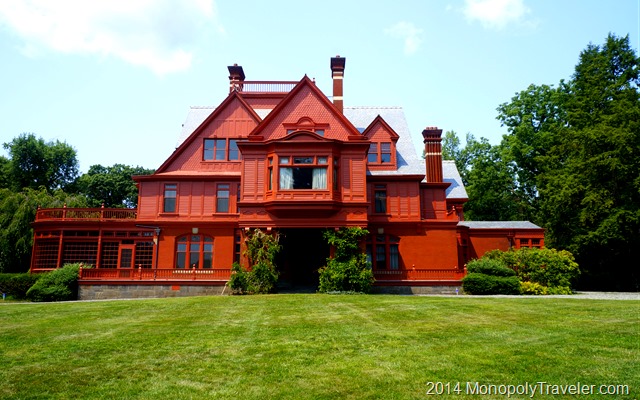
After going through most of these laboratories, we headed up to Glenmont Estate to tour Thomas Edison’s house. It was a very nice house that was well furnished but didn’t appear as extravagant as a home that I’m sure he could have had. There were a number of rooms well decorated with wall hangings, rugs, and intricate woodwork to show the expense put into his home. He showcased a number of his inventions here and had certain rooms solely for entertaining people and having business dealings. There were separate areas for the servants including their own kitchen, bathroom, and  stairwell to reach each of the three floors. While I’m sure this home was enjoyed, I didn’t feel overly comfortable inside to want to live in a place such as this. The rooms felt small and closed off to me probably due to the darkness of the interior from the heavy décor and woodwork. Just my personal feelings. No pictures are allowed inside so I can’t look back on them to confirm and show why I felt this way.

The Edison Home

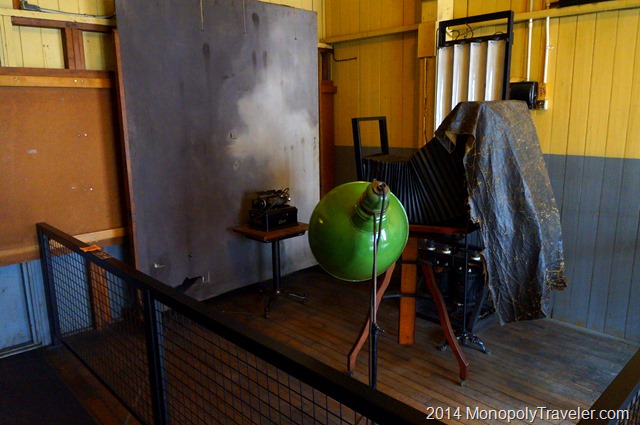
Returning to the lab complex we finished up exploring the motion picture creations. I never realized that Edison created motion picture cameras, a way to view them, and a studio designed to make them. It must have been amazing to create and watch the first motion picture. I know a lot of people still like to make and watch them today only they are considered stop motion or time lapse videos now but basically the same concept used to invent the first movie. We enjoy watching how things happen over time or even slowing time down in the case of an explosion or other fast event. I’m sure it was the same idea then.

Setup to Create the First Motion Pictures

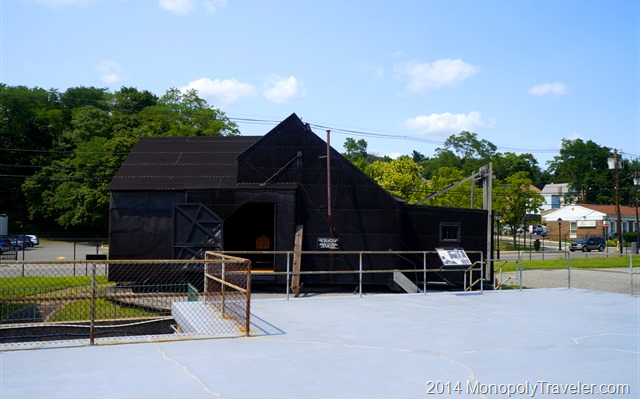
Once the motion picture was created than it was time to figure out better ways to photograph them. Thus the need for Black Maria which was built for the first motion picture studio. The purpose of the studio was to control light. Light could be blocked out or let in with opening doors in different places or turning the entire studio to a different direction by rotating it on the tracks much like railroad tracks it was built on. Adding sound to these motion pictures was the next step and made sense with their creation of the phonograph and motion picture. It took almost 30 years to make sound work correctly with motion pictures.

Black Maria - the First Motion Picture Studio

I left this historical park truly amazed at the contributions Thomas Edison made to our lives today. Many of his inventions may have still been created but they would have taken longer and would not be as advanced as they are today without him. Well deserving of a National Park designation. Another place we would not have known about or visited without our Monopoly travels. It does make me wonder what else do we not know about and are missing?

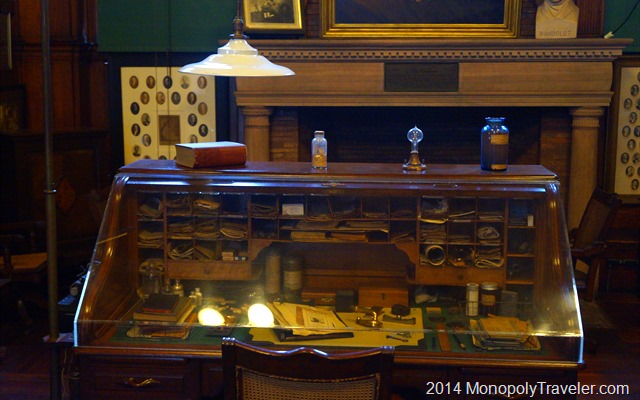
The Desk of a Great Inventor

Photography Experiment–Editing

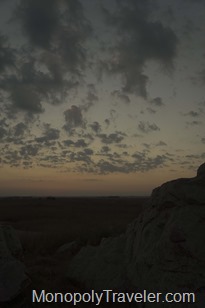
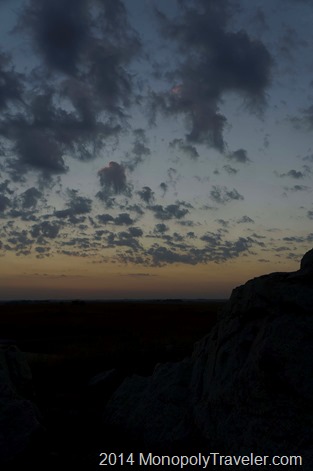
Sunset Over the Blue Mounds

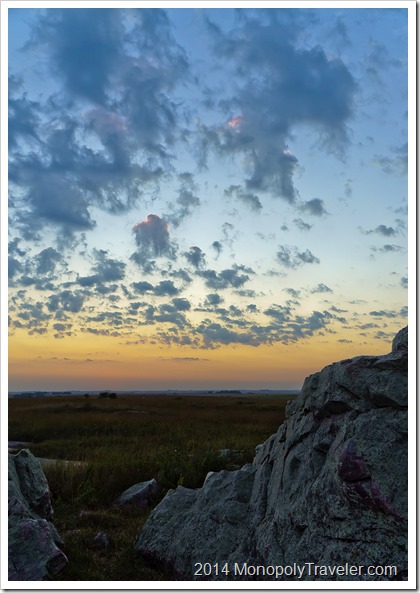
Nearing the end of the photography experiment Monopoly Board, I have been practicing with editing my photographs. Here is a beginners guide to photo editing by Peter Carey which is the basis for my photography experiment board. Photo editing seems to have a negative connotation to some as they think it means photo manipulation which I consider to mean adding or subtracting elements in a photograph to produce a final picture that is not the actual scene. For me photo editing is the equivalent to photo processing which has been done throughout the history of photography. We just use computer programs now instead of dark rooms.

To accomplish this I have used information from books, videos, and webpages to increase my learning on how to edit a photograph. The difficult and simple part is that everyone seems to have their own preference and style on how to edit a photograph. This makes it difficult because there is no one correct way to achieve an  amazing final photograph. The simple part is you can process your photos in a program of your choosing to create a final picture as you remember how it looked when you took it. I choose a picture I took at Blue Mounds State Park back in September for this post. Let’s see how it turns out.

My first program of choice is Adobe Camera Raw because it works with a number of their programs and edits a picture without permanently changing it. I tend to shoot most of my pictures in both JPEG and RAW so in order to get started I have to convert the RAW image into a DNG using Adobe DNG Converter which then can be opened in Adobe Camera Raw. Both Adobe DNG Converter and Adobe Camera Raw are free downloads if you already have purchased one of their other photo editing programs such as Adobe Lightroom which is used by many photographers or Adobe Photoshop Elements or Adobe Photoshop which is the ultimate photo editing tool but is also the most expensive. On to my photograph.
_DSC0596-2

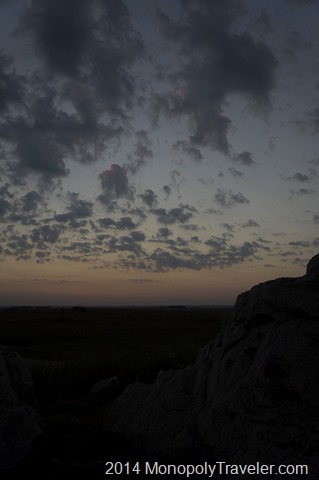
Here is my photograph without any adjustments made so it is as Camera Raw opened it after changing the default settings back to zero. Camera Raw automatically adjusts the blacks, contrast, and brightness by default. Below you can see how it looks inside Camera Raw. As you look at the histogram in the upper right corner you can see that all of the colors are showing up without being clipped by the black triangles in each corner of the histogram. If there were a color being clipped one or both of those triangles would show up with a color other than black.

Starting Image

My first adjustment is to the white balance. By default it is set to ‘As Shot’. Usually I prefer a different white balance setting. In this case I selected between Daylight, Shade, and Cloudy. You can see each of those below. You can adjust the white balance to custom but I find this does not produce better results much of the time but I do use it on occasion.
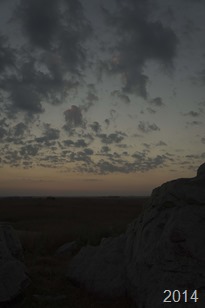
Daylight  Cloudy  Shade

Daylight which is the first picture was the one I chose. It seemed the most accurate to what I remember the scene looking like when I took the photo. Next I move over to the lens correction tab and check the box next to enable lens profile corrections. I’ve already entered the lens I was using so it automatically makes distortion and vignette adjustments. These are pretty small adjustments for the lens I was using.

Changing Lens Profile

Comparing these two pictures you probably won’t notice much if any change but there was a mild adjustment to the distortion.
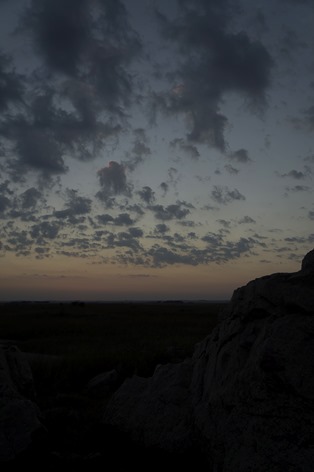
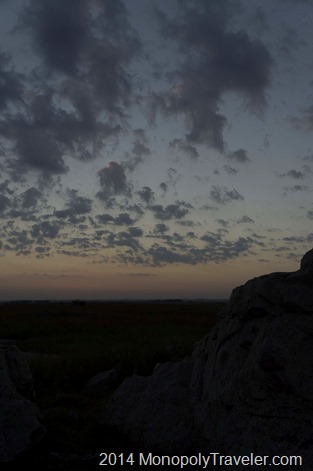
No Lens Correctin  With Lens Correction

My next adjustment is in the camera calibration tab. By default this is set to have the camera calibration as Adobe Standard. Standard is not what I had in mind when I took this picture so I change this to camera vivid most of the time.

Changing Camera Profile

You can see the comparison between standard and vivid in the photos below.
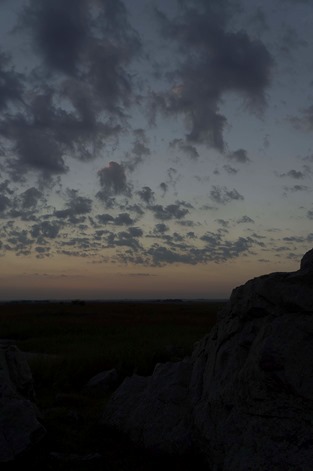
Adobe Standard  Camera Vivid

Now it’s time to move back to the basics tab and bring out scene to the best of my abilities. Instead of going through each step and making this post excruciatingly long, here are all of the adjustments I made in the basics tab. Exposure +0.50, Recovery 60, Fill Light 65, Blacks 5 which is the default setting, Brightness +25 which is a default setting, Contrast +50 which is a default setting, Clarity +91, and Vibrance +41. I didn’t automatically come to those settings. There was some back and forth because as you adjust one of those settings it affects the others so you have to go back and change other settings. After playing around with these adjustments for awhile you begin to get an idea of how to make the adjustments in order to create a photograph that is pleasing to you. That is the difficult part of photo processing.

Basic Adjustments

Here are the before basic adjustments and after. Now it looks closer to what I remember seeing the night I was taking these pictures with the rocks visible and the colors in the sky showing up more vibrantly.
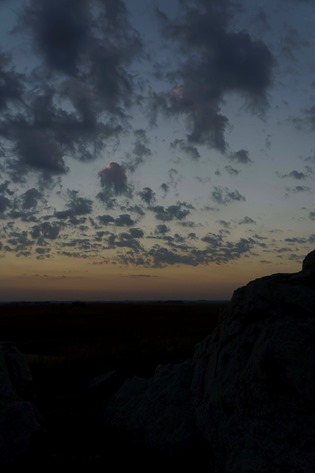
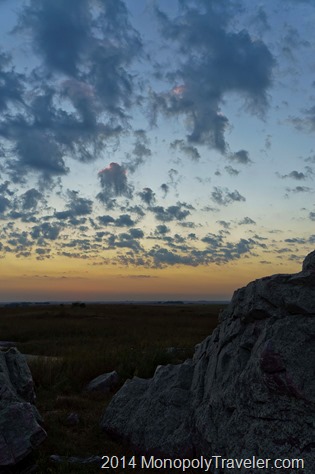
Before Basic Adjustments  After Basic Adjustments

One final piece to this picture is the sharpness. in the detail tab I increased the sharping by 114 with a radius of 2.0, detail of 35, and masking of 50. This brought the clouds and rocks into a little more detail. Of course while doing this I realized the noise was beginning to climb so I adjusted the luminance to 36 to take out some of the noise.

Sharpening

A comparison of these is below. There may not be much of a noticeable difference as viewed on this post but there would be a difference in printed photographs.
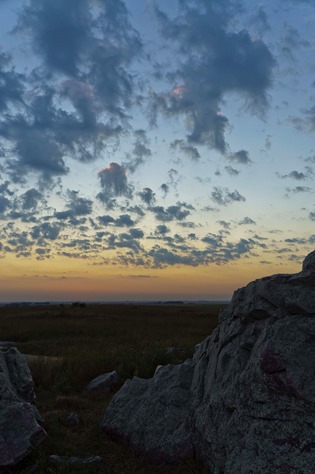
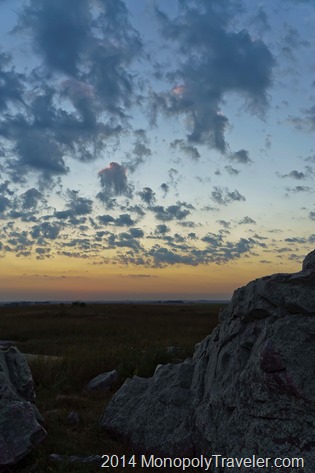
Before Sharpening  After Sharpening

I’m still not sure that the exposure is high enough. Other than that, I’m happy with how this photograph looks. Let’s see how it looks by increasing the exposure or brightness a little.

A Few More Basic Adjustments

After increasing the exposure I decided to increase the exposure to +0.70 and the brightness to +46 because I decided to increase the contrast a little more to +70 and add a touch more vibrance +60. Let’s see how they compare now.
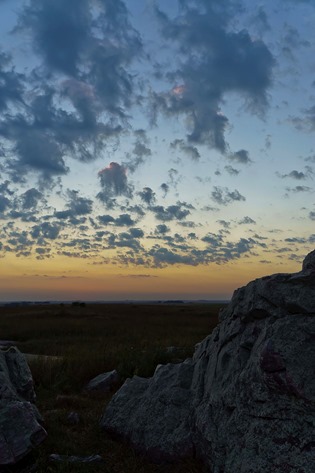
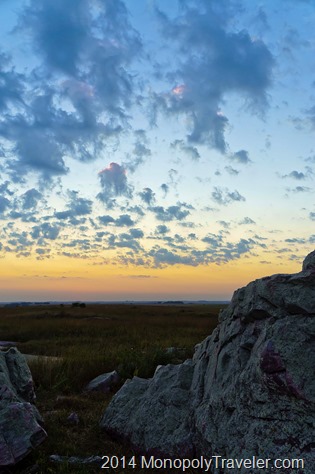
Before Final Adjustments  After Final Adjustments

I do like both of these but the increased brightness, contrast, and exposure are preferred when finally printing out a picture to display. My choice in vibrance level is debatable. So, let’s go back and compare the beginning picture to the final picture. I think the recovery should be increased to take some of the highlights out of the sky.
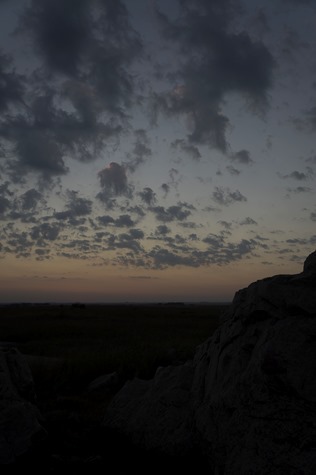
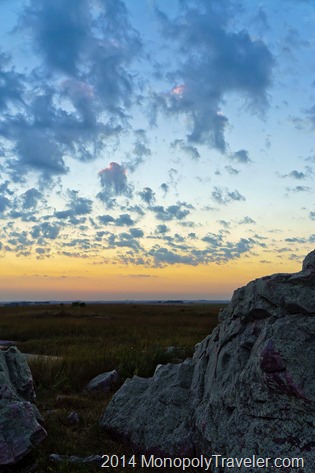
Starting Photograph  Final Photograph

Here it is with the recovery increased to 95. I think that does it. Now let’s take a look a a minor cropping.Increased Recovery
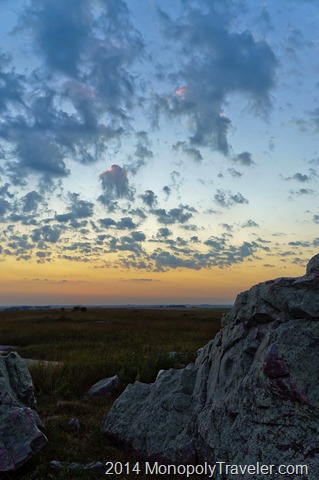
I probably should have started with cropping but now that the rocks are visible let’s see if a little cropping would improve this picture. I think that helps put more of the focus on the sky which is what I was trying to do in the first place because of the colors and interesting clouds. The rocks help to add interest because of the irregular patterns and add some sense of perspective overall. I think this gives a good example of how photo processing takes some time and requires multiple adjustments to give you a great final photograph.
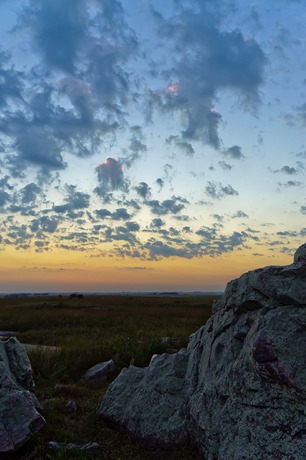
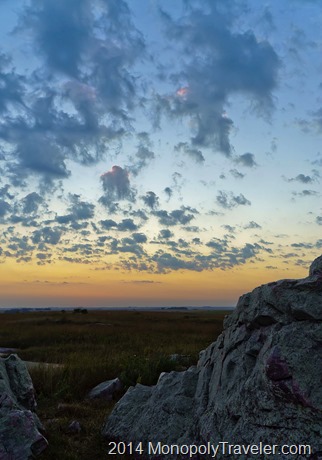
Before Cropping  After Cropping