Tag Archives: Time-lapse

Taking Time-Lapse Photos

Getting Setup to Take the Photos

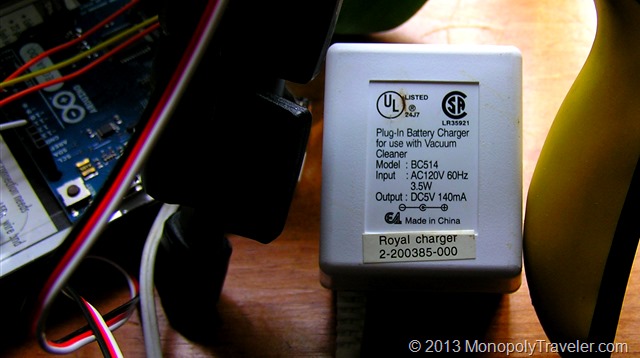
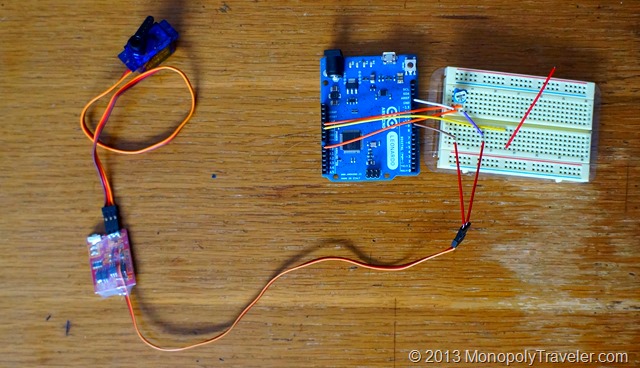
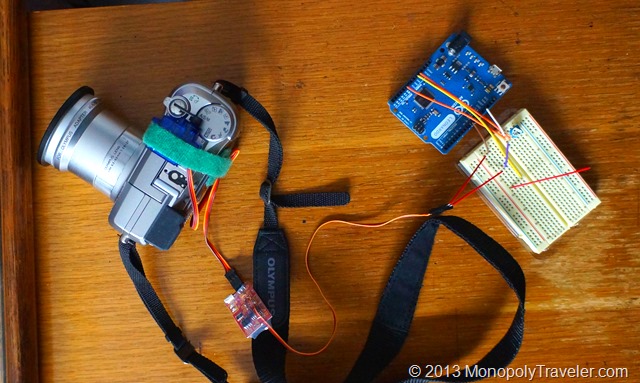
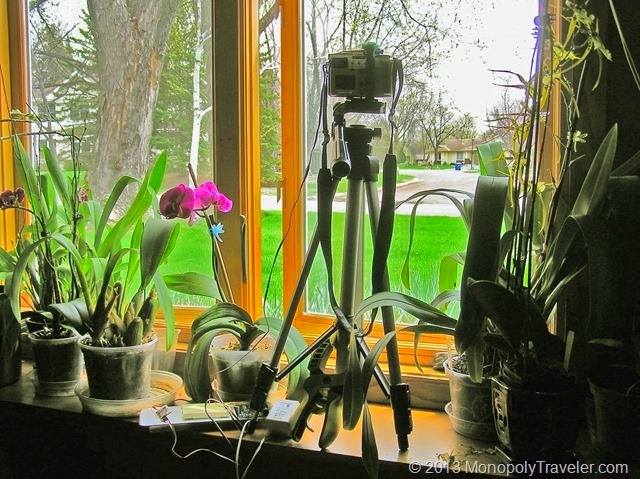
This is how I set everything up to shoot a time lapse video before the snow started falling for one of our April snow storms. I plugged in the Arduino which is connected to a prototype board with the potentiometer on it which is connected the the shutterbug pro which is connected to the servo on top of the camera set to take pictures. I found an AC adapter around the house ( I knew I saved these things for a reason) that puts out 5 volts DC current which is perfect to power all of the boards and the servo. As a bonus the plug fits perfectly into the port on the Arduino board. Should be all ready to go now.

The AC Adapter

The next thing is to adjust the camera for taking the pictures. If it was left in automatic mode it would re-focus each time and set different shutter, aperture, and ISO for each shot. This takes time, energy, and changes how each picture looks so that there is a flicker appearance in a time-lapse. To help avoid this I set the camera on aperture priority with a setting of f2.8 so I could get as much light to the senor as possible because it was darker than normal with the heavy cloud cover and snowfall along with the day transitioning to night during the shooting time of over 8 hours. Also, the focus was set to manual and adjusted for further away. This saves power since the camera doesn’t have to focus for each picture and prevents it from transitioning the focus from the street to the glass in the window as night arrives since this all took place through the window. Here is the final video which lasts 24 seconds but taken over 8+ hours in time.
video
play-sharp-fill

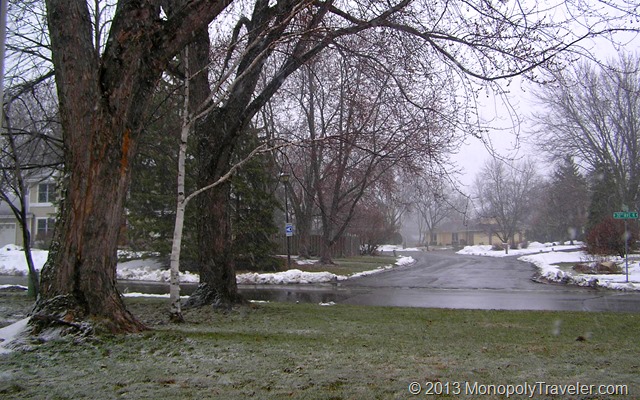
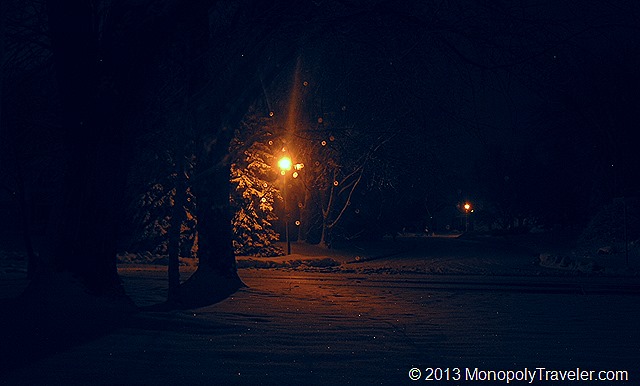
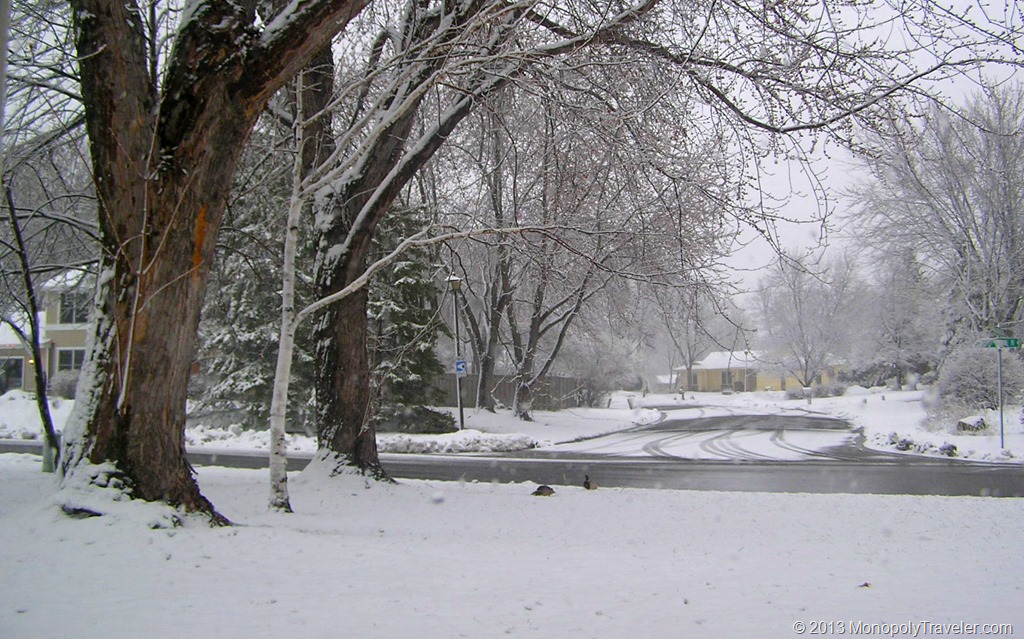
Some points of interest. First, at about 5 seconds, if you’re lucky, you can see a pair of ducks venture into different yards for a few frames. Second, I used 25 frames per second which means that for every second of video there are 25 pictures. Calculating that out you get 600 pictures taken over the 8+hours which is 1 picture every 50 seconds. I used 8 hours because that’s how long the batteries lasted in the camera. Below are the first and last photo so you can compare the difference in light throughout this project.

First Photo of Time Lapse


Last Photo of Time Lapse

More Time-lapse Fun

Arduino with Shutterbug and Servo

While spending way too much time researching mechanical intervalometers (the device that takes pictures at a set interval) I came across a video that shows a shutterbug pro pre-built circuit board used to control a servo which mechanically presses the shutter button on any camera. While looking through the parts list and how this all works I came across a problem. You need another device to set the servo positions so shutterbug can operate the servo to those precise positions. The company that sells the shutterbug pro also sells a signal emulator which can position the servo. Do I really want to use something once that really has no other uses?

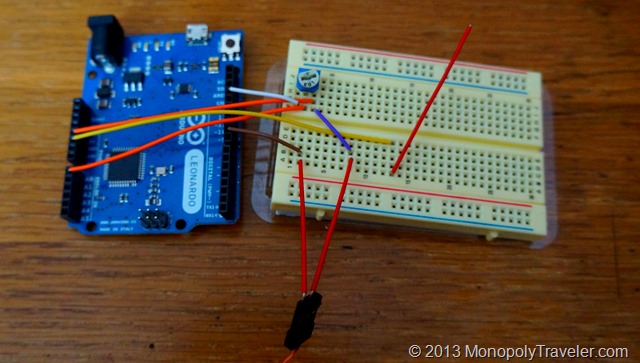
The Arduino with a Prototype Board

Of course not! Spending even more time I came across another video that shows how to use an Arduino micro computer and potentiometer to adjust the servo. In addition, once I’m done using it to set the servo positions for the shutterbug, I can learn simple programming to make the Arduino do other things if so desired. In addition I use the Arduino as a voltage regulator to the shutterbug. Are there a lot of terms here that are unfamiliar? I had that issue as well. I never really knew what a potentiometer was or how a servo works until researching it more just to do time lapse photography.

Everything Hooked up to the Camera

I do also want to try long exposures to capture star trails at some point which the shutterbug can do with some (suppose to be) simple programming. Although I have run into issues trying to re-program this board from time to time for different interval shooting and to change it to hold for long exposures. With enough messing around I do eventually get it to do what I want. Make sure everything is working well before the desired photography session begins. It has taken me up to 30 minutes to get the board and servo set up. In addition, it takes some tinkering to get the servo to consistently push the shutter button on the camera.

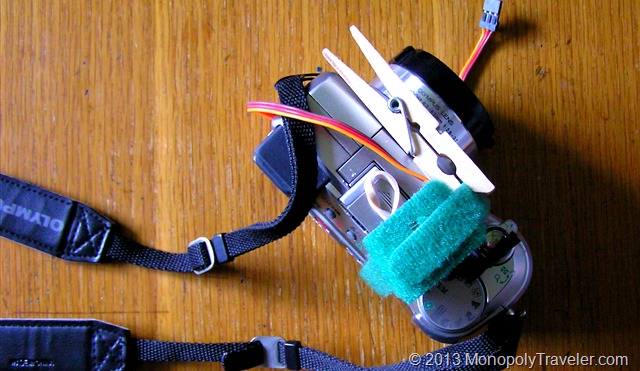
Some of the Tinkering

As you can see in the photo above I needed to add some extra equipment to make this work flawlessly. I have the servo attached to the camera with a velcro strap. Just this didn’t work well because I could not get it tight enough to actually push down the button on the camera. That’s where the close pin comes in. I use one or two to make the velcro tight enough to get the servo to press the button depending on how tight I get the velcro to start with. Also, I added a rubber band to the servo because it kept sliding around on top of the camera over time preventing it from taking photos after awhile. One last modification was the addition of electrical tape to the servo arm as it would scratch the button after a number of pictures.

Next up….. taking the actual pictures.

Time-lapse Photography

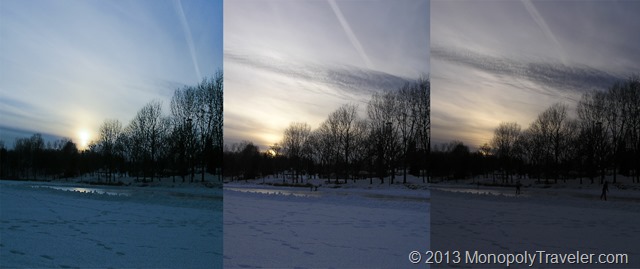
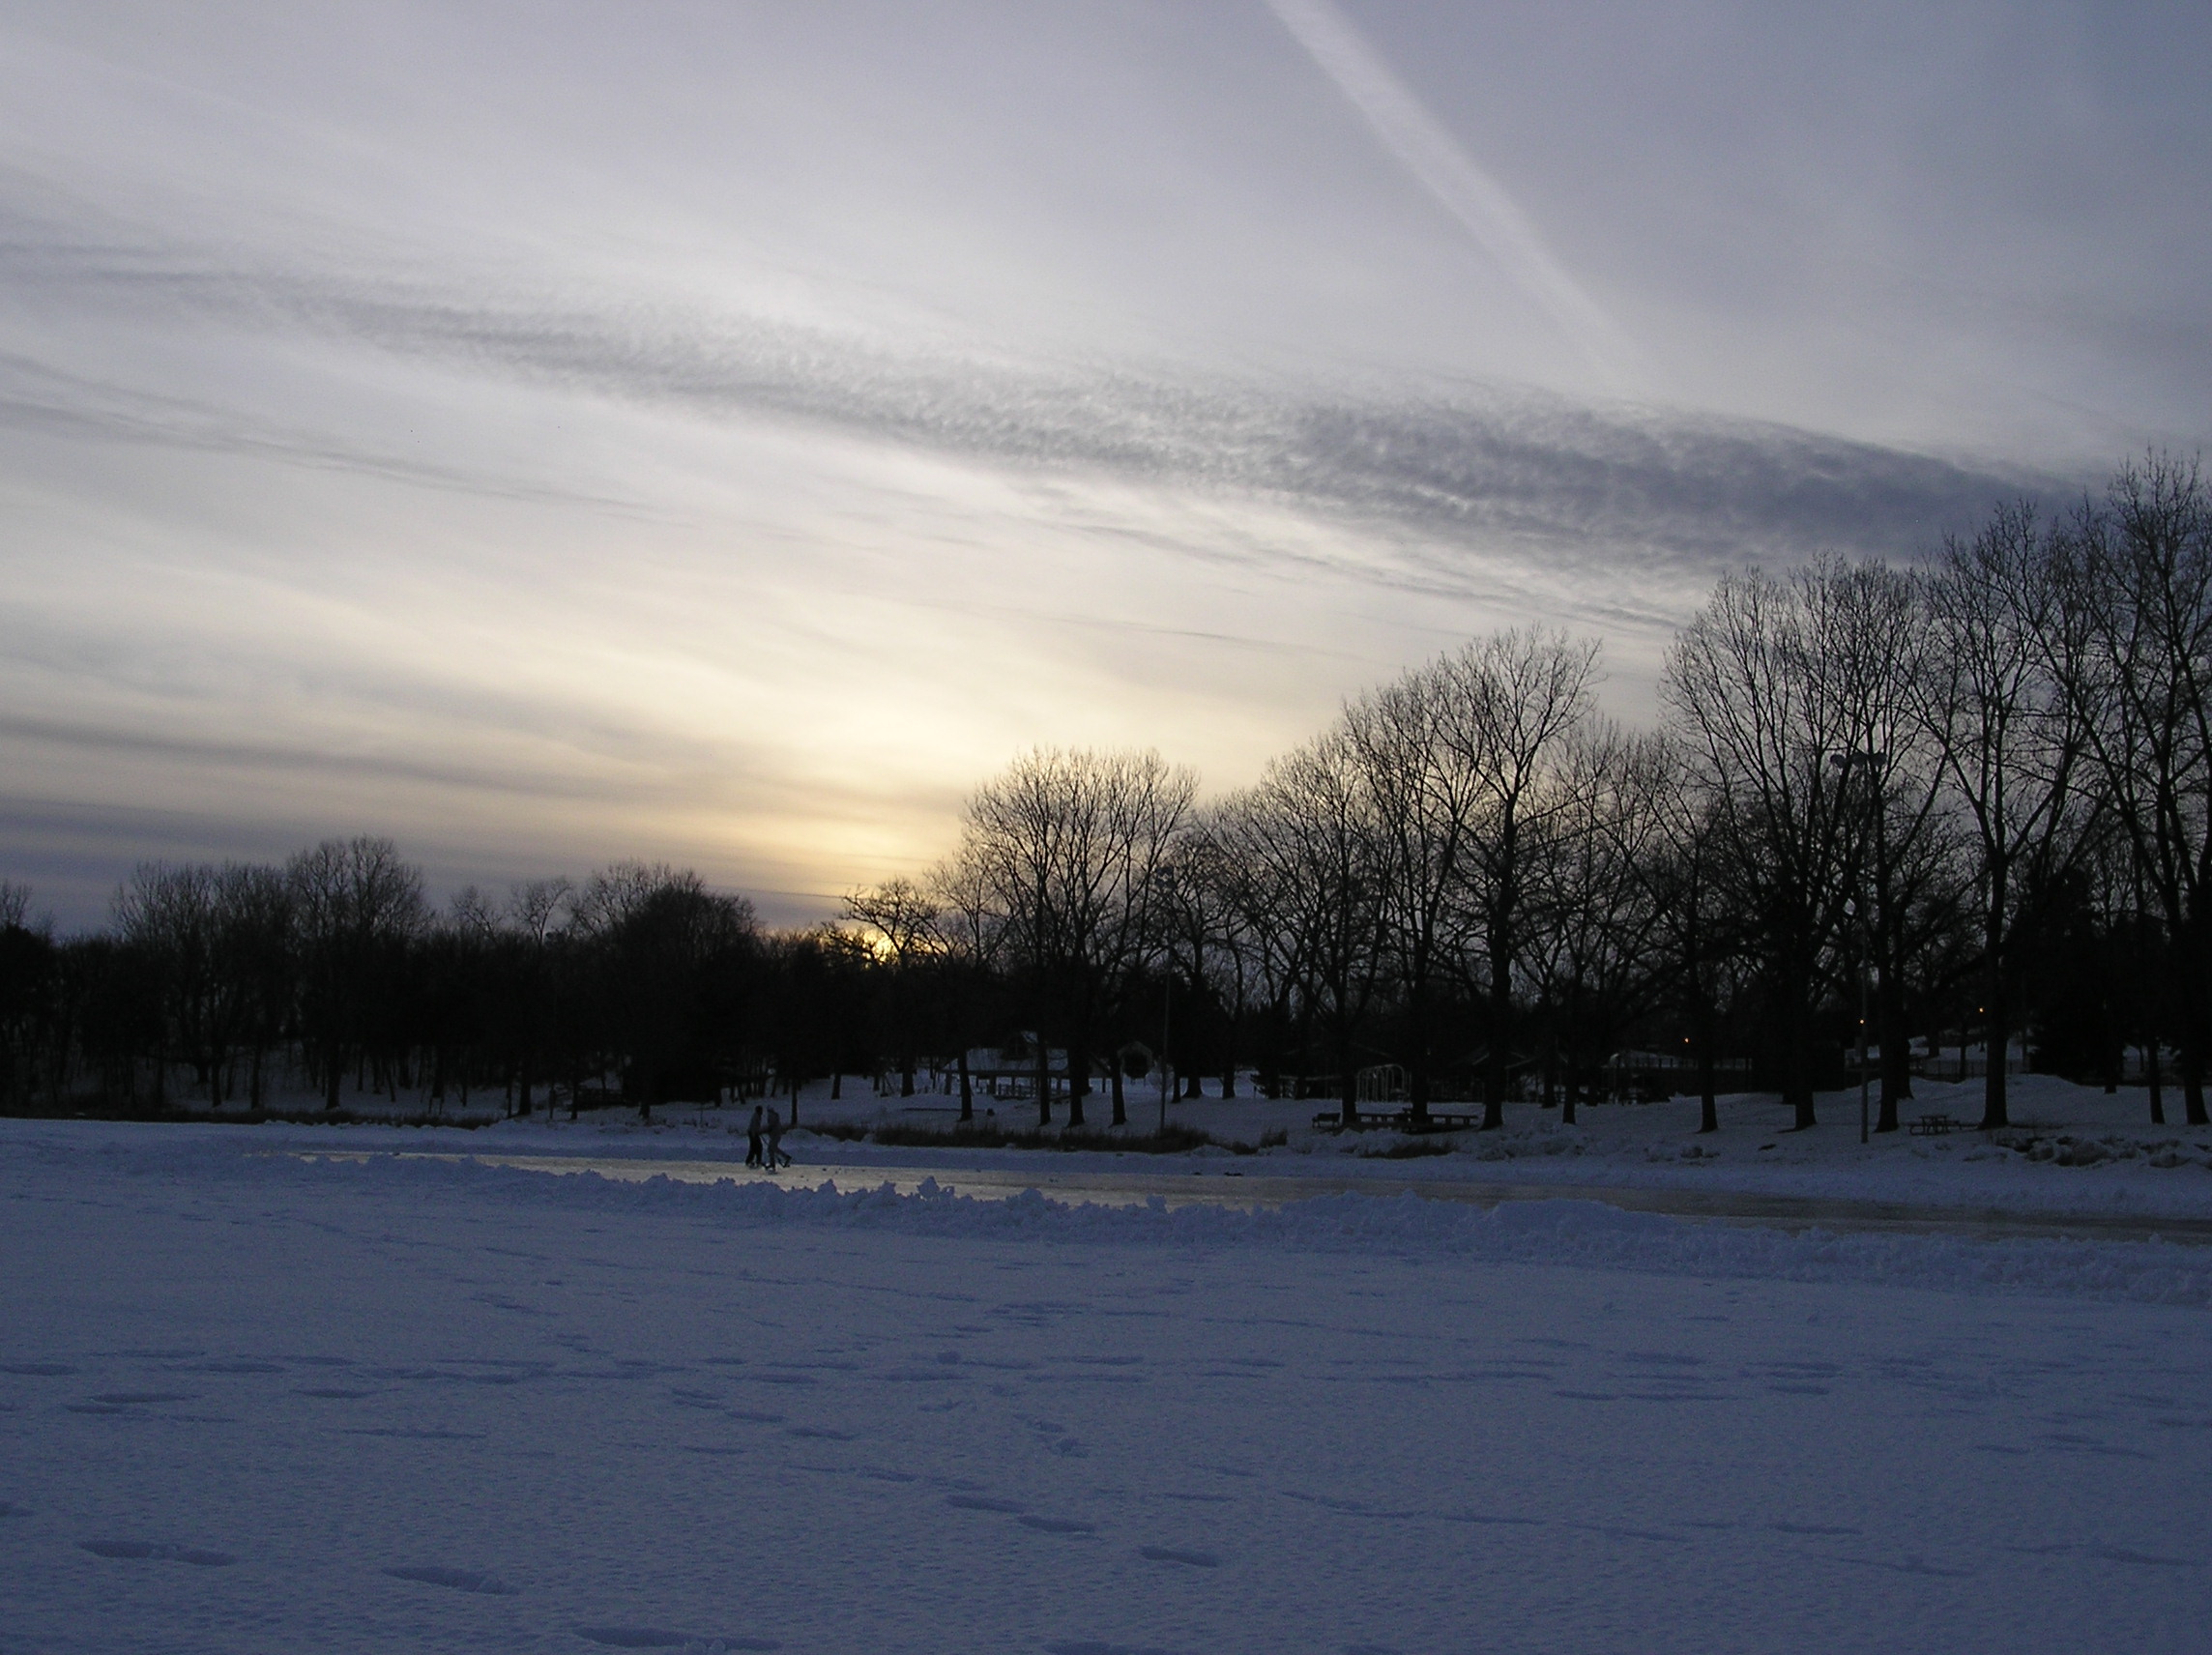
Ice Skating Time Lapse

Well, it’s been a few weeks since I’ve put together a post so what have I been doing? Other than taxes? Ya, that takes a little time, along with shredding documents that have accumulated over the past year that don’t need to be saved. I’ve been going through a few more properties on the photography experiment board such as Shutter Speed, Aperture, ISO, and Photography Jargon as well as reading a book or two on photography. The photography jargon helped explain a few terms for me so I can understand them better. A worth while post to read. I couldn’t think of anything to write about regarding these and I’ve already completed the experiment recommended by Peter Carey covering these topics so there haven’t been any post recently.

One thing I’ve been thinking about lately is how to take time lapse photos. Using my point and shoot camera which was recently fixed, you can see that post here…, I tried it out just using the remote that came with the camera taking a photo as soon as the camera was finished processing each shot. There ended up being over 300 pictures taken over 30 minutes which ended up providing a 10 second time-lapse video. That was fun but how can I make a 4-5 minute time-lapse video using this technique? Through some research I found the Tempus time-lapse remote to take pictures every few seconds. Problem solved, let’s order one.

video
play-sharp-fill

Wait a minute! That will work for my point and shoot but what about the new Sony Nex 3 which does not have remote functions. When I purchased this camera I didn’t think the remote was very important since up to this point I never used it on other cameras. What that ever a wrong assumption now that I have a camera capable of shooting good nighttime photos. Who knew? Well, Tempus also comes with a mechanical trigger but at a much higher cost. Could there be another way? Through more time and research I came across ways to build my own mechanical time-lapse trigger which was a little more adjustable and would work on all of my cameras with considerably less cost.

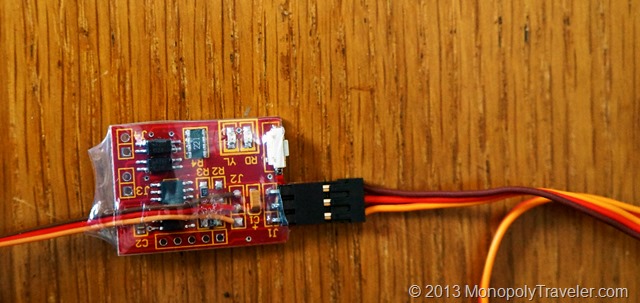
Shutterbug Pro Circuit Board

Finally I settled on the Shutterbug Pro which combined with a servo will take pictures at set time intervals. This is able to take extended photos in the bulb setting on dSLR cameras in order to capture light trails and star movement over time which I do want to try. Also, I get to build something and learn how to use things I’ve never used before. Learning is usually the best part for me and successfully using that knowledge. More new experiences!

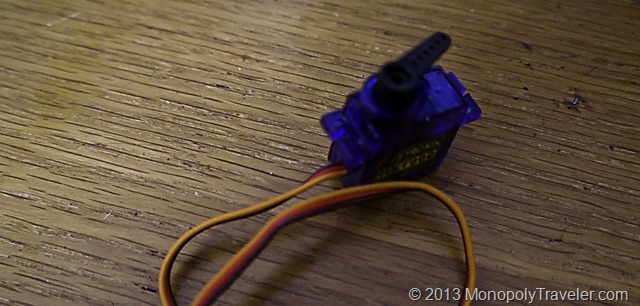
Hobby Servo

I’ll put up another post explaining how I did this later. To see that post click here….

To see the video created from this project click here….