Category Archives: Photography Experiment

Multiple Seasons

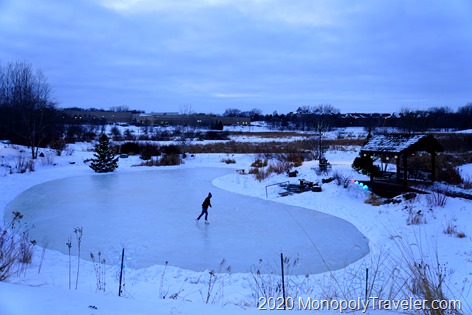
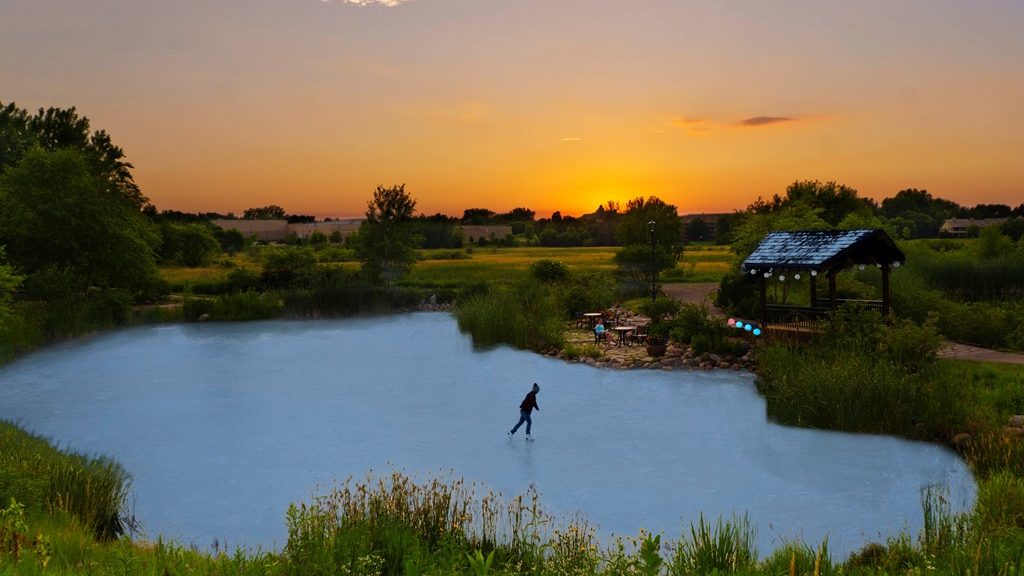
How do you get a picture that is impossible to photograph? It requires planning, multiple photo shoots, and post processing. The picture above didn’t start out as seen above. My original intention was to photograph my daughter ice skating under a beautiful sunset. On a few occasions we headed to a nearby park where a small pond is kept clear of snow for an intimate skating experience. Unfortunately the sky didn’t cooperate for any of those nights and soon after this photo was captured, the ice began to melt eliminating the possibility of the photo I had envisioned.  On the night this photo was take below, we headed to the park as the sky was mostly cloud covered but there were peaks of sun. If one of the patches of clear skies was in the right place near the horizon at sunset, the colors could be incredible over the ice rink. It was the night of the Superbowl and my wife was a part of the halftime crew in Miami so we hurried to be home in time for the game. Unfortunately the sky didn’t cooperate with the grand sunset I was hoping for and no further opportunities presented themselves that winter.

Winter and ice skating scene

We took many photos anyway since we were there and practice can always help. Over the course of the next few weeks, as I realized the opportunities had passed, I had an idea. What if I overlaid this frozen pond on a beautiful summer view of this same place? Almost immediately I couldn’t wait to try this and see how it would turn out. There was no way in the world I could ever photograph such a scene. Thankfully I had carefully paid attention to where I was standing when I took the initial pictures so I could return to the spot and get summer shots from the same perspective. This is critical when combining multiple pictures over different days, months, or seasons. Now I just needed to wait for summer.

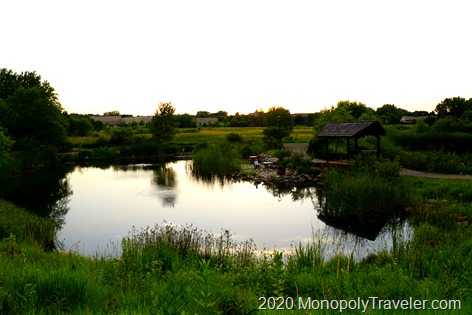
Summer photo for foreground

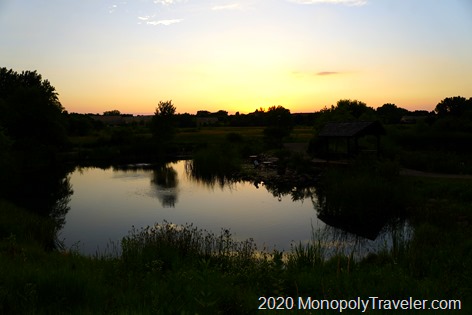
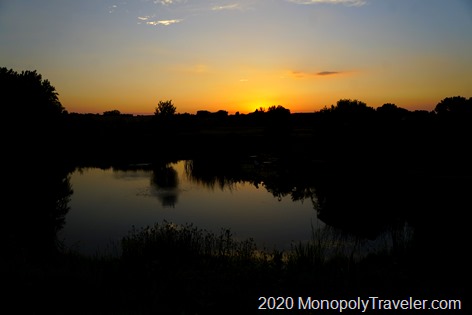
It was the 4th of July holiday weekend and things were fully growing creating a green landscape for the next part of my project. There were clouds floating through the sky so I expected the sunset to be beautiful. Again we headed to the park, this time to capture a summer sunset scene. As the sun approached the horizon, the clouds dissipated. Now what? I decided to continue with the photo shoot and at least capture the dark green of early July. We may have to return yet again to capture a striking sunset. Getting setup in the same location I photographed the ice skating version from, it was now time to wait for the sun to drop near the horizon. As daylight began to dwindle I snapped a few photos adjusting first for the foreground (above), then midground (below), and finally for the setting sun (two photos below). Cameras are not able to capture each of these areas the same as we can see them so some blending is necessary.

Summer scene used for midground

Several weeks later I put these into the computer and did a quick combination with the ice skating picture and the photo just below that to see if it was interesting enough to continue processing this idea. It took mere seconds for me to decide that I should continue as the idea was so interesting. Over the course of a few hours I started with one summer photo and the ice picture. As I worked to blend these together I realized more images of the summer sunset would be needed to really give the vision as portions of each had some dark details. In the end there were 4 photos from the summer shoot blended to get the sunset and surrounding area closer to reality. Once these were done I added in the winter photo for a total of 5 pictures to create the top image. I ended up using the roof of the covered bridge from the winter scene as I thought it provided a better balance to the overall picture. While it may seem like a fairly simple combination it took many hours of planning and photographing to get the scenes I was looking for along with a couple of hours to combine them for the completed image.

My expectation is that people will initially look at the photo and think “that’s nice” and almost move on before realizing something doesn’t look right. That then requires a closer examination to figure out that the water is frozen but it’s a summer scene. At that point they are now invested in the picture and search for the different details to find out which seasons each piece represents. Isn’t that often the goal? To have people brought into the image? I have some more ideas that I want to play with down the road similar to this now that I’ve entered into this realm. This really kind of messes with my mind to see two very different seasons added into one picture.

Summer scene used for sunset

Taking the GoPro Snorkeling

Snorkeling has been a great hobby ever since I first tried it in the Cayman Islands in 2001. Ever since then I’ve wanted to capture the beautiful underwater landscapes but the cost to do so has prevented me from using equipment that would provide great photos. Fortunately things have changed over the past 15 years making it more affordable to capture those underwater memories.

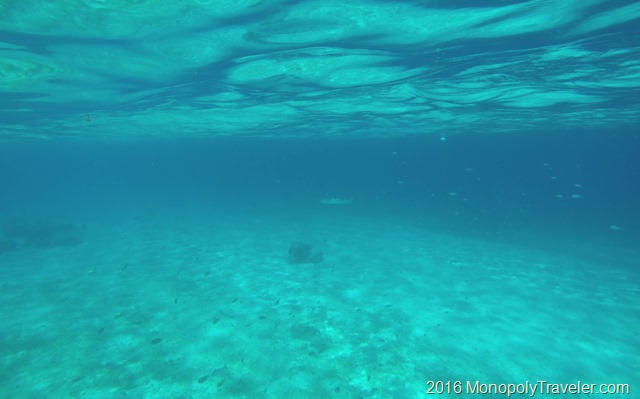
What's under the water? Is that a Barracuda?

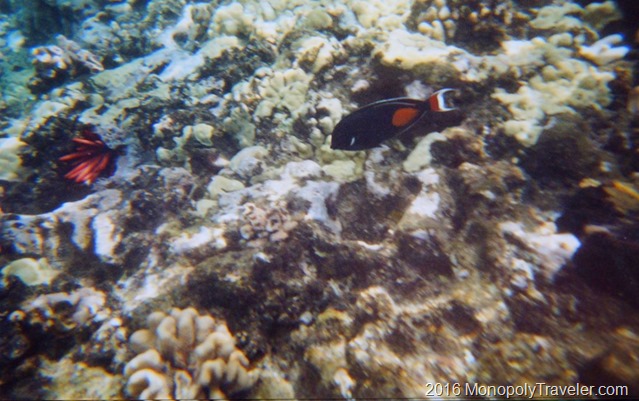
Above is a picture taken in 2015 on the beaches of Cozumel using a GoPro Hero 4. It’s not a great shot but one that makes me laugh because the larger fish is a Barracuda and you don’t see a lot of fish in front of it but there are several behind it. When I first started taking underwater photographs I was resigned to using the disposable camera for water. This image below is one of the better shots as most are made up of varying shades of blue making it difficult to see what you are taking the picture of.

Using a disposable underwater camera

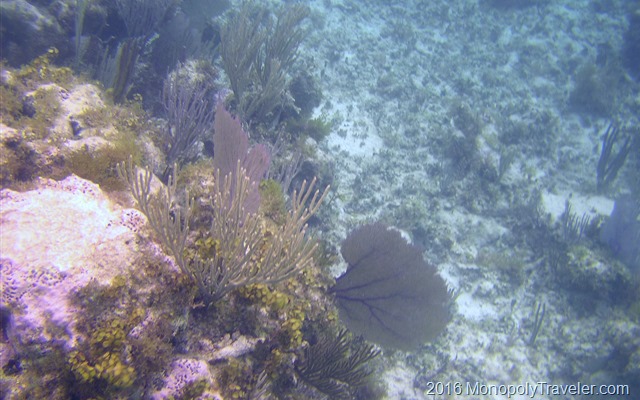
After getting tire of so many poor pictures and the challenge in trying to use one of these disposable underwater cameras I decided it was time to get a waterproof case for a digital camera. The results are better, however I’m using cameras purchased in 2004 so the quality is still less than I would like, but given how often I snorkel, purchasing better gear isn’t justified. Below is an image of coral using the older digital camera in a case made specifically for it.

Coral using digital camera with an underwater case

Many of the images from this older digital camera are a little blurry but at least there are more pictures where you can tell what the picture actually is about and colors are more representative of what you actually see. In addition, there isn’t as much of a limitation on the number of photos you can take because they’re digital instead of a roll of film so go ahead and shoot away. Because of this I was able to photograph this school of fish in the picture below and somewhat see what I was photographing through the screen on the back.

Photographing fish with a digital camera using the underwater case

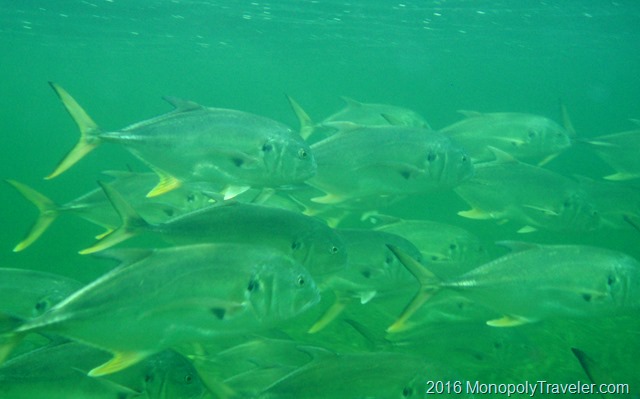
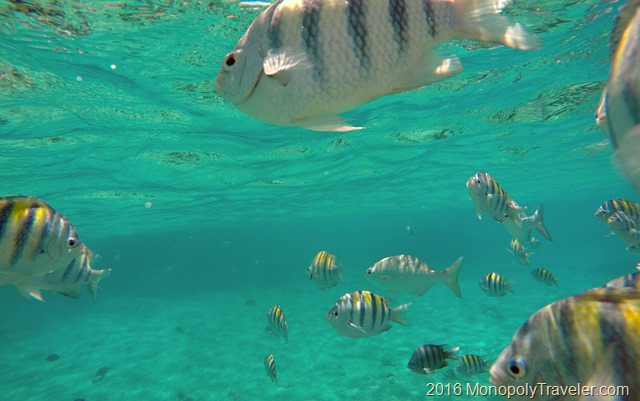
All of the following images were captured using the GoPro. These are definitely better –  sharper, more accurate colors, and increased detail on larger images. I just set the camera to take a picture every second or two and swim around with the camera. No more trying to set up a shot only to have a wave come by and push me into a different position. The unfortunate side to this is I don’t know what the photographs look like until I get back to my computer because I don’t have an LCD screen on the GoPro Hero 4 as most of the time my smart phone is the screen but that doesn’t seem to like being in the water.

Using the GoPro to photograph fish

The end result is better underwater photographs, which for the most part, I’m happy with. For such a small camera it really does a good job. Since I don’t live around an ocean I would like to try it in fresh water in lakes and rivers around my house to see how those turn out. Most likely not as colorful as ocean pictures but could be fun and interesting all the same in the right places.

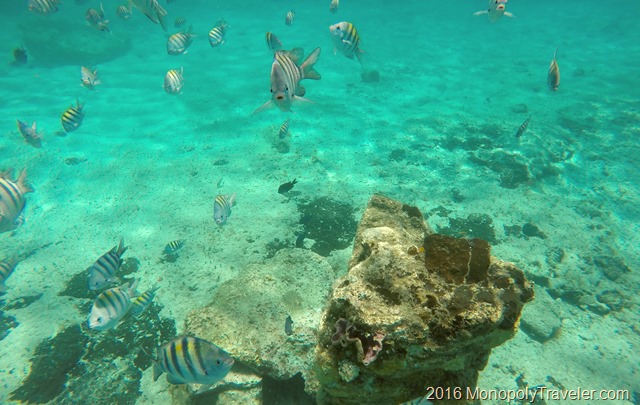
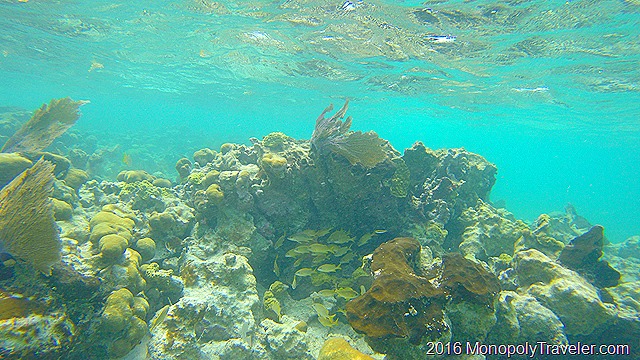
Fish and coral captured using the GoPro Hero 4

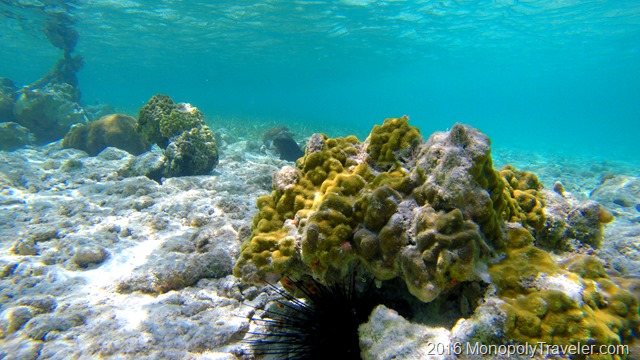
Above is a school of fish taking refuge among the reef. Below is one of the many urchins hiding in the rocks. The little orange specs near the urchin are small fish. These action cameras like the GoPro are definitely fun cameras to use in ways other cameras can’t without expensive add-ons without sacrificing a lot of quality.

Coral captured using the GoPro Hero 4


GOPR5074

Photography Experiment–Editing

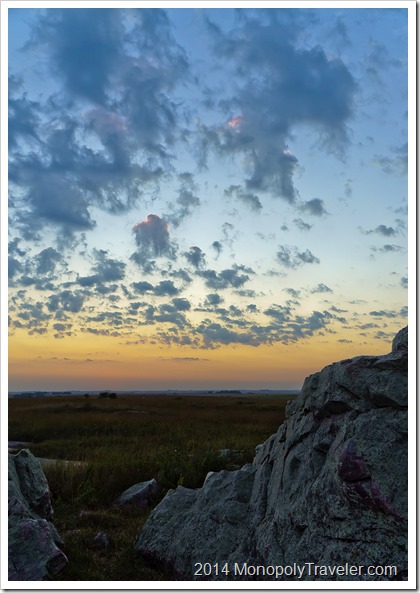
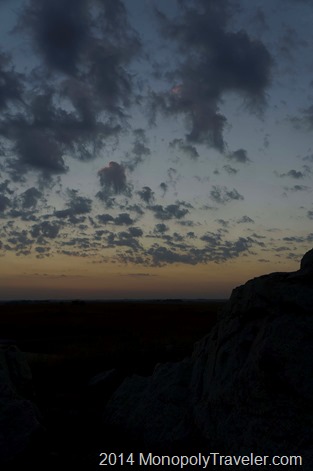
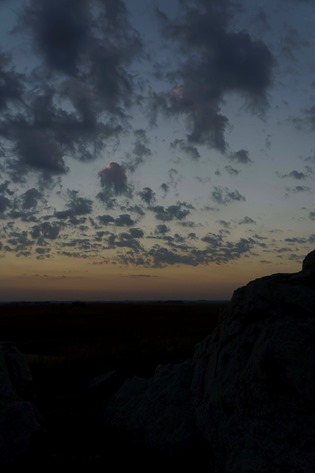
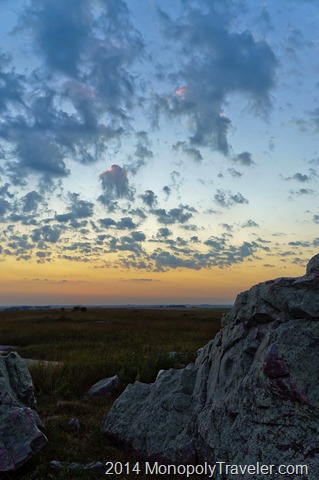
Sunset Over the Blue Mounds

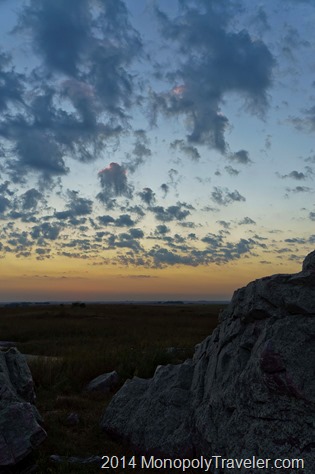
Nearing the end of the photography experiment Monopoly Board, I have been practicing with editing my photographs. Here is a beginners guide to photo editing by Peter Carey which is the basis for my photography experiment board. Photo editing seems to have a negative connotation to some as they think it means photo manipulation which I consider to mean adding or subtracting elements in a photograph to produce a final picture that is not the actual scene. For me photo editing is the equivalent to photo processing which has been done throughout the history of photography. We just use computer programs now instead of dark rooms.

To accomplish this I have used information from books, videos, and webpages to increase my learning on how to edit a photograph. The difficult and simple part is that everyone seems to have their own preference and style on how to edit a photograph. This makes it difficult because there is no one correct way to achieve an  amazing final photograph. The simple part is you can process your photos in a program of your choosing to create a final picture as you remember how it looked when you took it. I choose a picture I took at Blue Mounds State Park back in September for this post. Let’s see how it turns out.

My first program of choice is Adobe Camera Raw because it works with a number of their programs and edits a picture without permanently changing it. I tend to shoot most of my pictures in both JPEG and RAW so in order to get started I have to convert the RAW image into a DNG using Adobe DNG Converter which then can be opened in Adobe Camera Raw. Both Adobe DNG Converter and Adobe Camera Raw are free downloads if you already have purchased one of their other photo editing programs such as Adobe Lightroom which is used by many photographers or Adobe Photoshop Elements or Adobe Photoshop which is the ultimate photo editing tool but is also the most expensive. On to my photograph.

_DSC0596-2

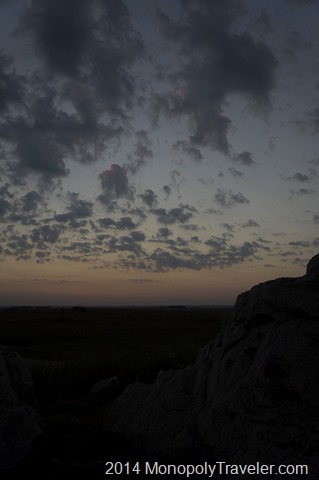
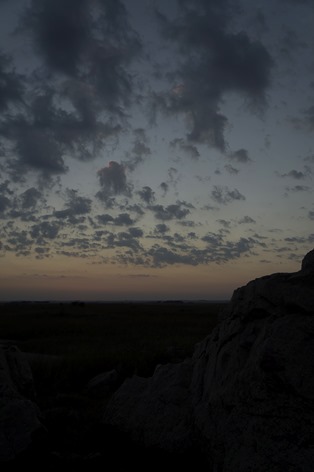
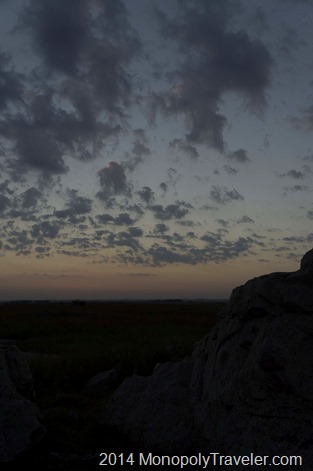
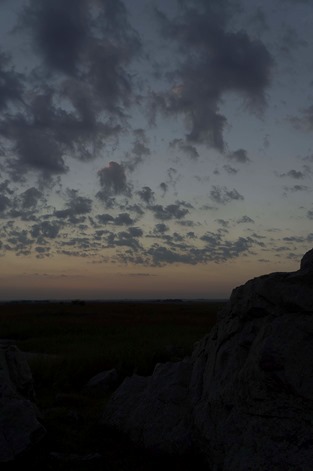
Here is my photograph without any adjustments made so it is as Camera Raw opened it after changing the default settings back to zero. Camera Raw automatically adjusts the blacks, contrast, and brightness by default. Below you can see how it looks inside Camera Raw. As you look at the histogram in the upper right corner you can see that all of the colors are showing up without being clipped by the black triangles in each corner of the histogram. If there were a color being clipped one or both of those triangles would show up with a color other than black.

Starting Image

My first adjustment is to the white balance. By default it is set to ‘As Shot’. Usually I prefer a different white balance setting. In this case I selected between Daylight, Shade, and Cloudy. You can see each of those below. You can adjust the white balance to custom but I find this does not produce better results much of the time but I do use it on occasion.

Daylight  Cloudy  Shade

Daylight which is the first picture was the one I chose. It seemed the most accurate to what I remember the scene looking like when I took the photo. Next I move over to the lens correction tab and check the box next to enable lens profile corrections. I’ve already entered the lens I was using so it automatically makes distortion and vignette adjustments. These are pretty small adjustments for the lens I was using.

Changing Lens Profile

Comparing these two pictures you probably won’t notice much if any change but there was a mild adjustment to the distortion.

No Lens Correctin  With Lens Correction

My next adjustment is in the camera calibration tab. By default this is set to have the camera calibration as Adobe Standard. Standard is not what I had in mind when I took this picture so I change this to camera vivid most of the time.

Changing Camera Profile

You can see the comparison between standard and vivid in the photos below.

Adobe Standard  Camera Vivid

Now it’s time to move back to the basics tab and bring out scene to the best of my abilities. Instead of going through each step and making this post excruciatingly long, here are all of the adjustments I made in the basics tab. Exposure +0.50, Recovery 60, Fill Light 65, Blacks 5 which is the default setting, Brightness +25 which is a default setting, Contrast +50 which is a default setting, Clarity +91, and Vibrance +41. I didn’t automatically come to those settings. There was some back and forth because as you adjust one of those settings it affects the others so you have to go back and change other settings. After playing around with these adjustments for awhile you begin to get an idea of how to make the adjustments in order to create a photograph that is pleasing to you. That is the difficult part of photo processing.

Basic Adjustments

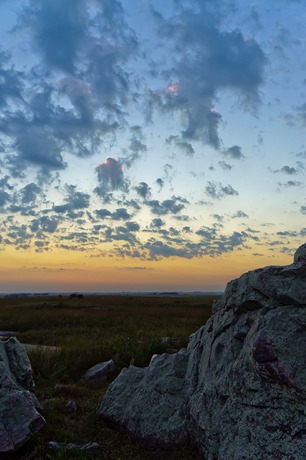
Here are the before basic adjustments and after. Now it looks closer to what I remember seeing the night I was taking these pictures with the rocks visible and the colors in the sky showing up more vibrantly.

Before Basic Adjustments  After Basic Adjustments

One final piece to this picture is the sharpness. in the detail tab I increased the sharping by 114 with a radius of 2.0, detail of 35, and masking of 50. This brought the clouds and rocks into a little more detail. Of course while doing this I realized the noise was beginning to climb so I adjusted the luminance to 36 to take out some of the noise.

Sharpening

A comparison of these is below. There may not be much of a noticeable difference as viewed on this post but there would be a difference in printed photographs.

Before Sharpening  After Sharpening

I’m still not sure that the exposure is high enough. Other than that, I’m happy with how this photograph looks. Let’s see how it looks by increasing the exposure or brightness a little.

A Few More Basic Adjustments

After increasing the exposure I decided to increase the exposure to +0.70 and the brightness to +46 because I decided to increase the contrast a little more to +70 and add a touch more vibrance +60. Let’s see how they compare now.

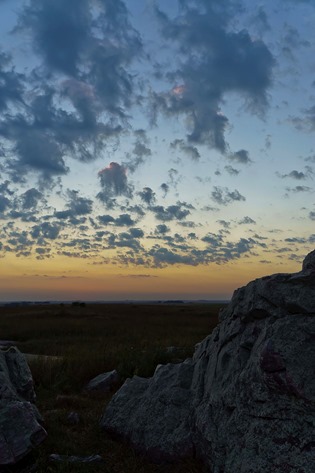
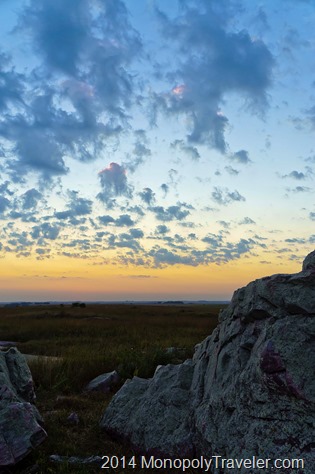
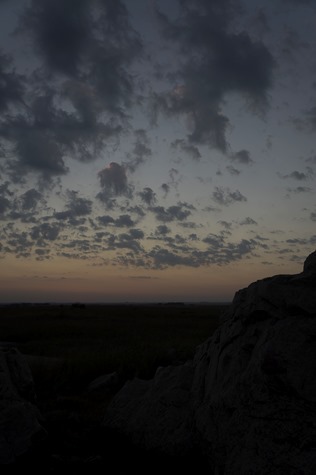
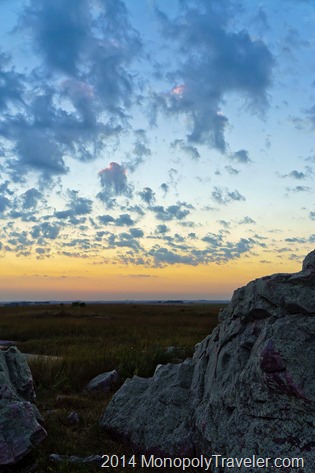
Before Final Adjustments  After Final Adjustments

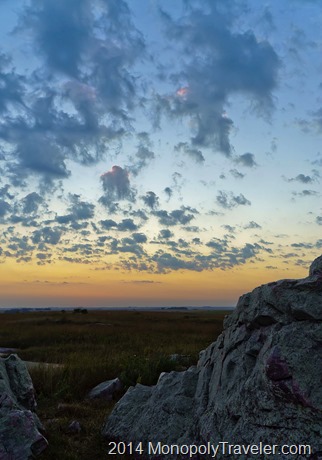
I do like both of these but the increased brightness, contrast, and exposure are preferred when finally printing out a picture to display. My choice in vibrance level is debatable. So, let’s go back and compare the beginning picture to the final picture. I think the recovery should be increased to take some of the highlights out of the sky.

Starting Photograph  Final Photograph

Here it is with the recovery increased to 95. I think that does it. Now let’s take a look a a minor cropping.Increased Recovery

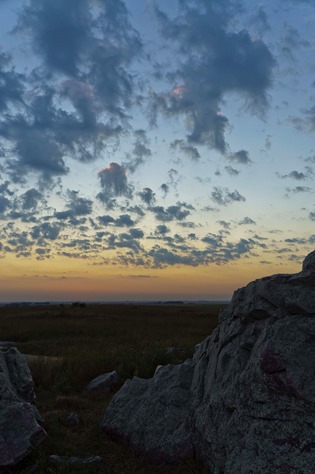
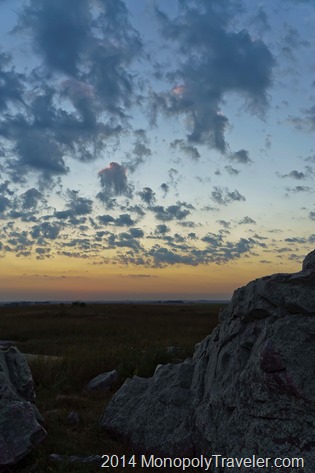
I probably should have started with cropping but now that the rocks are visible let’s see if a little cropping would improve this picture. I think that helps put more of the focus on the sky which is what I was trying to do in the first place because of the colors and interesting clouds. The rocks help to add interest because of the irregular patterns and add some sense of perspective overall. I think this gives a good example of how photo processing takes some time and requires multiple adjustments to give you a great final photograph.

Before Cropping  After Cropping

Photography Experiment–Cities

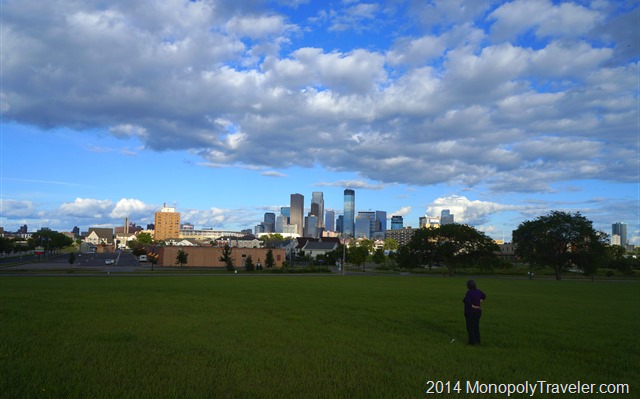
An Early Summer Evening Shot of Minneapolis

Cities are not as interesting for me to photograph as nature and landscapes are but from time to time they catch my attention. Getting some practice and tips will be useful at these times so this experiment is worth taking some time to perform. As luck would have it, I have a nice city to photograph relatively close by too. Some of Peter Carey’s advice includes a little bit of research to determine when and where to photograph which ever city you’re visiting. To read more of his advice about shooting cities with your favorite camera click here…

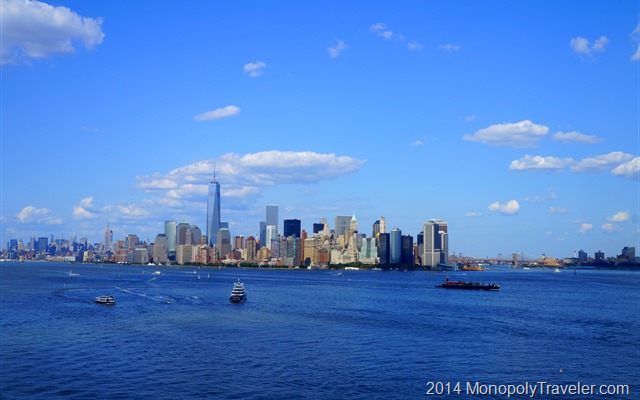
New York During the Late Afternoon

The first tip is to avoid taking pictures of a city during the middle part of the day when the sun is higher in the sky with the most light intensity reflecting off of buildings. I didn’t follow that very well taking pictures of New York this past summer. Using a polarizing filter on this particular picture may have helped even though I don’t think it turned out to bad thanks to a nicely timed cloud blocking some of that sunlight.

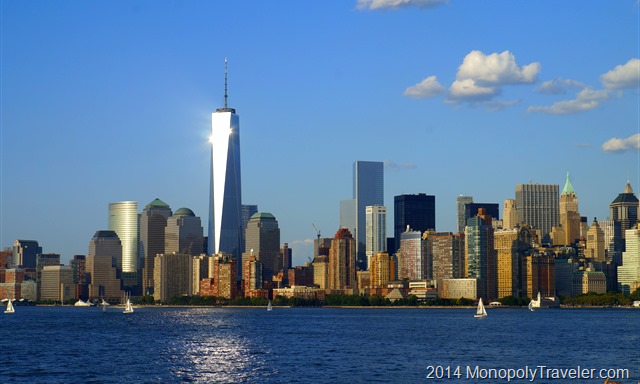
The Sun Reflecting Off of the World Trade Center

Here is a good example of why shooting during the middle part of the day may not work out so well because of all the reflections. In this case I did that on purpose because I liked the idea of the new World Trade Center tower appearing as the beacon of New York. It provided a sense of brightness for a city that was horrifically attacked. That is not an effect I would like to have with most cities when trying to photograph them.

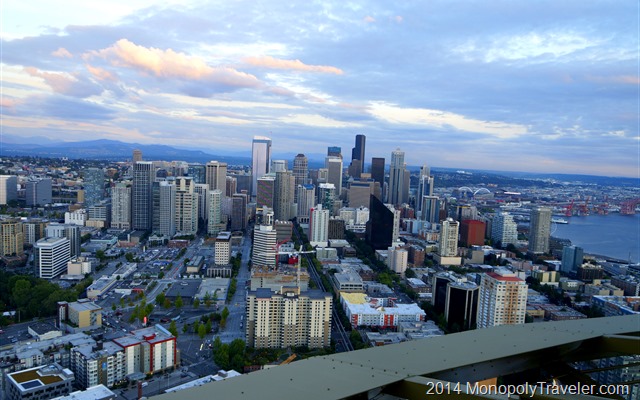
Seattle Near Sunset

This photo of Seattle was taken just before sunset providing a nice opportunity to capture the city towards the end of a day. Direction was less important because of the clouds covering the sun preventing any reflections from the glass but also prevented the warming effect of the setting sun against the buildings. Those same clouds enhance the picture with their shapes and colors though. Since this was taken from the top of the Space Needle it was difficult to put this identifying landmark in the picture.
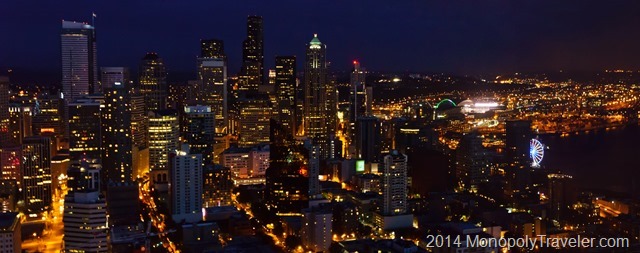
Seattle at Night

Later that evening I had the chance to take this nice panorama of Seattle. That is probably my favorite picture of many cities – the life of a city after dark. This is also the same picture that I don’t often provide time to take.

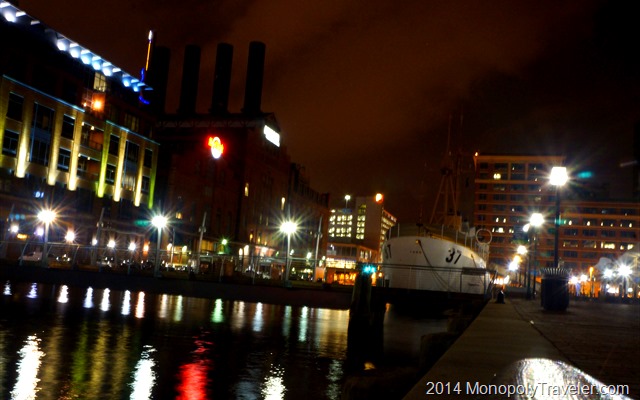
Downtown Baltimore

This is taken from Pier V in downtown Baltimore. I was playing with the aperture settings in order to get the starburst effect on the lights. I think I may have gone a little too far and should have found a more intermediate setting.

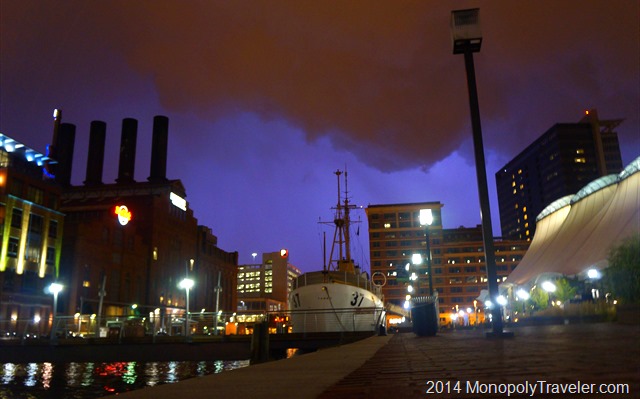
Lightning Over Baltimore

My main objective that night was to catch some of the numerous strikes of lightning over Baltimore. There were very few visible bolts of lightning so I had to settle for the sky lighting up. Still, I like the picture even though it does not show the whole downtown area but a small portion of it.

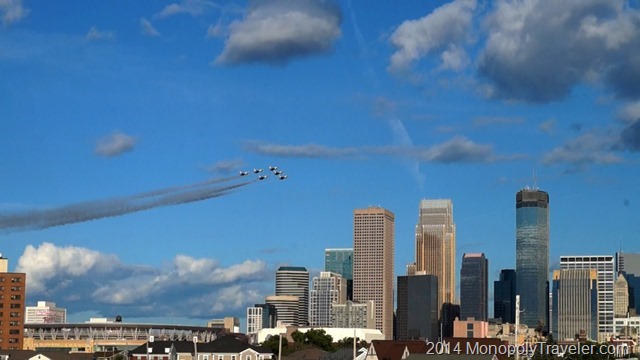
Thunderbirds Over Minneapolis

One final piece I think is worthwhile to photograph are special events occurring in a city. In this case it was the Baseball All-star Game in Minneapolis this past summer. Earlier in the day I heard about a fly over of F-16’s over the stadium before the game. It wasn’t until I arrived at this park to photograph it that I was informed the fly over would be performed by the Thunderbirds. Unfortunately I could only capture this moment with video or still photographs. I chose to use video and this was one frame from that video making it a lower quality picture. Even with that being the case, I saw a picture from a different vantage point on top of one of those taller buildings in the newspaper the next morning. This picture is better than the one in the newspaper simply because of the direction of the sun. I was shooting with the sun at my back while the newspaper photographer had the sun in front of them catching the reflection on the planes washing out most of the color from the picture. I thought taking a picture from the top of a building looking down on the stadium as the Thunderbirds flew over would be great. After seeing it, the picture didn’t work out all because of the placement of the sun. A good learning experience for me in this situation. Had I decided to take still photos I may have had one of the best pictures of this event anywhere all because of the location I chose for this picture.
Sunsets

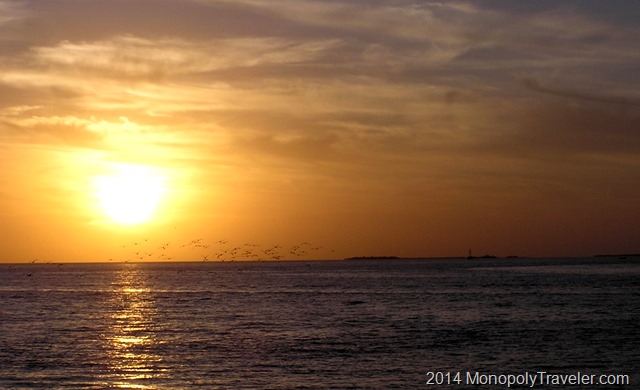
Sunset in Keywest

Ahh, sunsets. Like so many people, this is one of my favorite subjects to photograph. Looking through any number of posts on this website you will no doubt come across some of my pictures. In Peter’s photography experiment post on sunsets (located here…. he focuses on tropical sunsets. More specifically, sunsets over the ocean. Who doesn’t like a good tropical ocean sunset photo. There are photos of this subject all over the place. I have taken many of these myself and will likely take several hundred or even several thousand more myself in the future. However, most of my sunset opportunities are far away from any ocean so I have to practice in different situations.

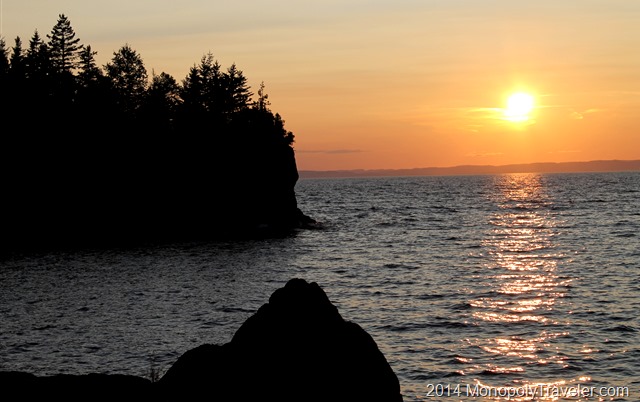
Sunset on Isle Royale

Peter writes about the importance of composition in taking a good sunset photo and that applies to any sunset photo. Just a photo of the setting sun in the center of the picture is certainly not as interesting as capturing some of the surrounding landscape and inviting the viewer into the setting. Fortunately Lake Superior is much closer to me and can photograph similar to the ocean providing a place to practice. One of the differences is the lack of nice sandy beaches but many of the rock formations can more than make up for this in creating interesting sun sets. Another opportunity for practice comes with the sea of snow often available. Sun sets are different with a snow covered landscape for a couple of reasons. First, sun sets occur earlier in the day and happen substantially faster. Second, the reflection off of the snow provides a different lighting, and thirdly, there are no leaves on many of the trees allowing different silhouettes to outline a landscape.

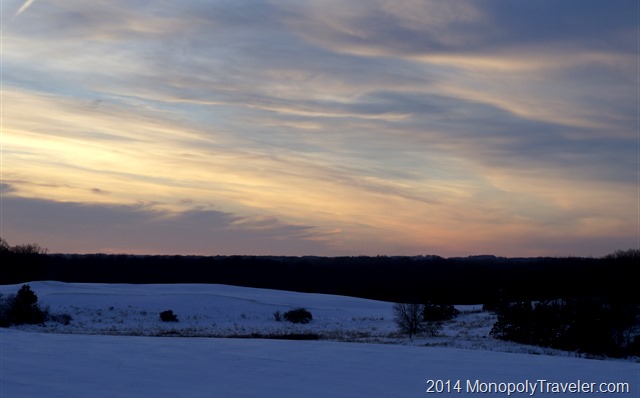
Winter Sunset

During this past winter, when the polar vortex affected so many, there were a number of great opportunities to practice sunset photography. The above picture was taken one evening on a last minute decision to go out and watch the sun set because the clouds were creating a beautiful canvas while the sun traveled through them. Unfortunately those clouds also covered the sun right at sun set. Still, the way the light bounced off of the clouds provided for an amazing opportunity to practice my photography. This was at a local park and as I traveled around the park the sky kept begging for more pictures as the clouds and colors changed and intensified so naturally I obliged.

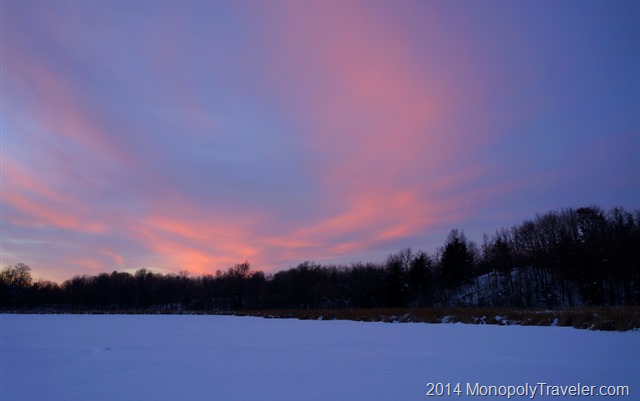
The Blue Hour

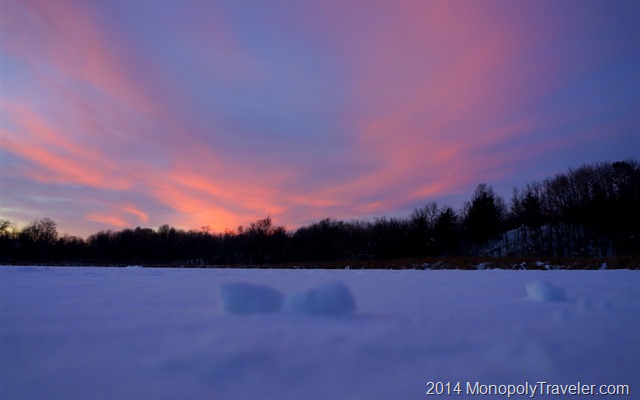
Stopping at a frozen over lake, I watched the final moments of daylight vanish as the light continued to change the look of the landscape all the while. My camera kept snapping photos, changing the composition of each shot in an attempt to learn attributes of a great composition. During the winter in the Midwest, the sunset colors are different than the summer or in the tropics. Whether it is do to lack of the growing plants, the snow covered landscape, or the angle of the sun, I don’t know. But I do know it is just different, the reds are more pronounced in the clouds creating a striking contrast to the blue sky.

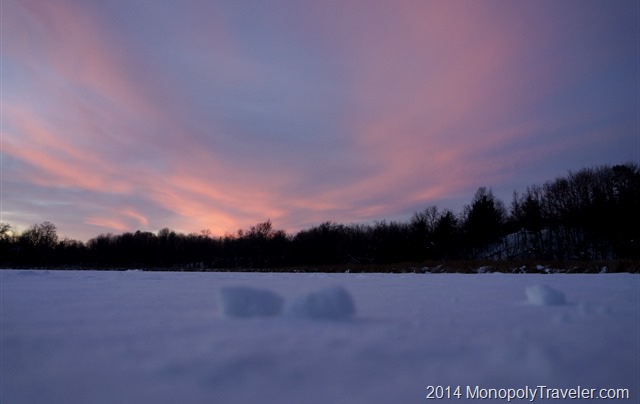
The Blue Hour with Snowballs

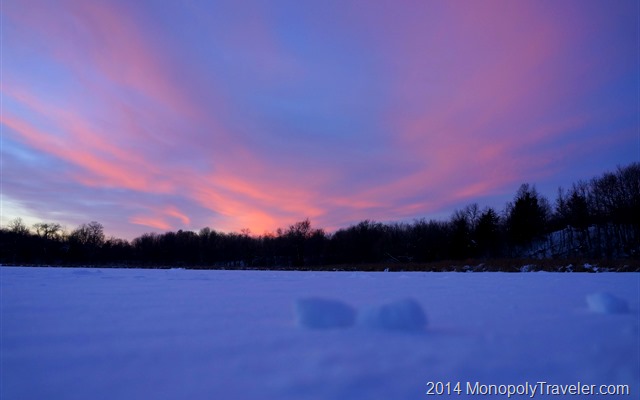
After the sun had set there were still amazing colors floating around in the sky. Taking a few pictures over this lake I was just moving around in the snow and wanted to try a low angle shot. Using my boot I started kicking away the snow to make a place for the camera to capture this low angle. By accident the snow was firm enough to create these snow balls so I decided to try and add these into the photograph. Setting up the first shot, the snow balls definitely added to the overall composition by providing interest in the foreground. Maybe centered is not the best placement though. Let’s try moving them to one side. That helps! Instead of focusing on the snowballs by putting them in the center of the picture, moving them to the side allows the viewer to look past them and returns the focus onto the colorful clouds. Composition definitely plays a part in the quality of a photograph in the winter as well.

The Blue Hour with Snowballs Repositioned

Moon Photos–Photography Experiment

The Waning Moon

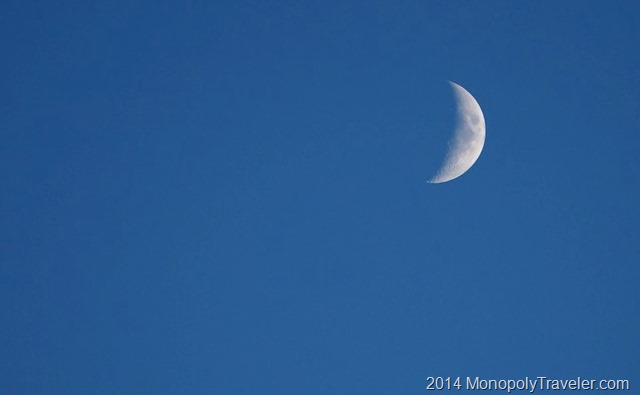
It’s time to continue on with the photography experiment. Taking pictures of the moon is not something that I’ve really wanted to do but is something that I tried while taking pictures of sunsets and stars. Using the information in Peter’s post about moon photos, I can attempt to take better pictures of this subject. Here are a couple of my attempts. The first one above was taken shortly after sunset so the sky was still pretty light making the exposure easier to get right for the moon.

Shadows Dancing Across the Moon

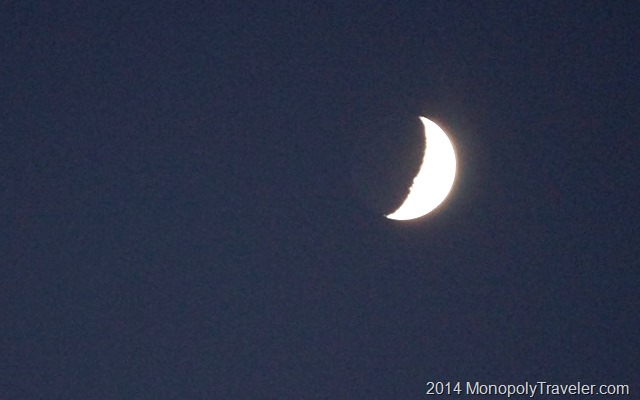
This next one was taken a little while later as the darkness grew around the moon. I thought it was interesting to see how the sunlight displays the moon surface with the mountains and valleys which are evident in the uneven shadows. Also, the entire moon is visible in this shot but can be a little difficult to see. Exposure was a little high to really get the details of the moon in this shot. I’m sure I could work with it using editing software but the point of the experiment is to improve the actual taking of the photo.

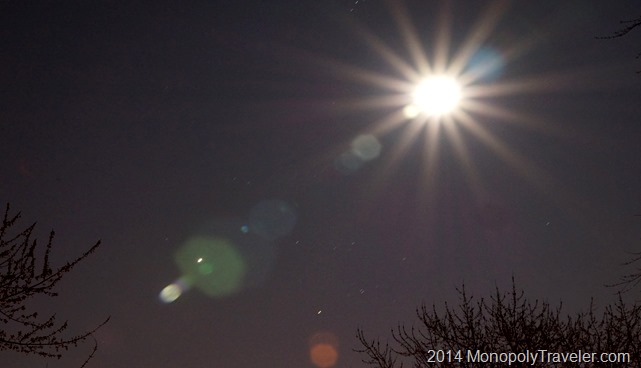
Moon Bursts

Playing around with the exposure a little I got this cool moon burst. This was from changing the aperture and leaving all the other parameters (ISO and shutter speed) the same. I also like the lens flare and how it accents the moon burst. While this might be an unique way of capturing the moon, I don’t know if there is a good use for this type of shot. If so, I haven’t found it yet.

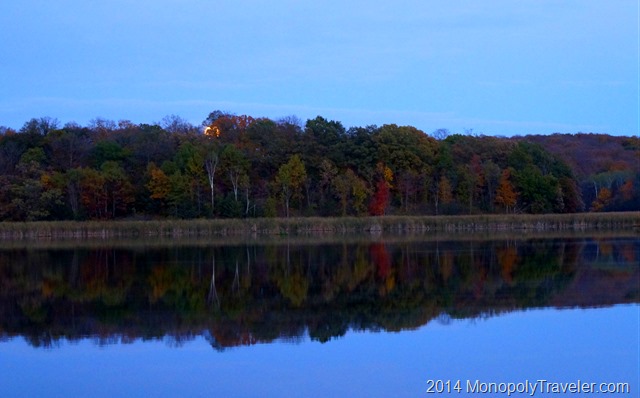
Moon on the Horizon

There was a partial eclipse of the moon on the night this photo was taken. I actually planned out parts of this night of moon shots. Earlier in the day I researched when the moon rise was and how that would relate to the timing of the eclipse. From that I looked over different places to photograph the moon. Once I chose a spot, I used Google Sky to determine where the moon would rise so I could set up the tripod and get the camera ready. There where many practice shots while checking over the settings. Finally the sun had set and it was time for the moon to rise. Cold was dropping in on me causing me to shiver making it a bit more challenging to make adjustments to the camera but that’s part of the fun isn’t it? Looking just below the top of the trees you can see the moon. Time to go to work. I was hoping to catch some nice moon reflections in the water at this location.

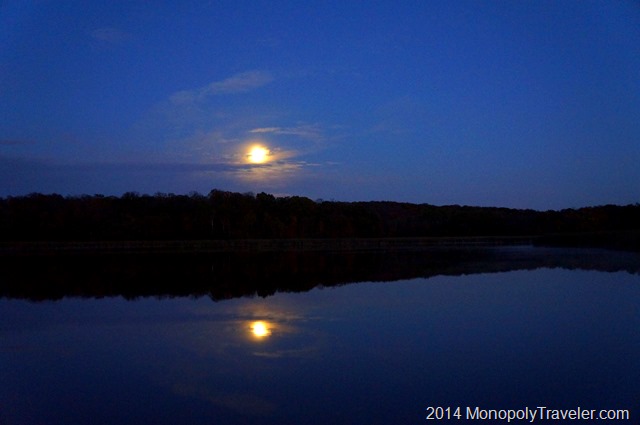
Moon Reflecting in the Water Above the Trees

Right as the moon was getting above the trees, clouds moved in preventing clear moon photos right away. I wasn’t certain how long the clouds where going to cover the moon but figured I would wait awhile just in case. Finally the moon was rising higher in the sky and began to clear the clouds leaving a reflection in the water. Just what I was hoping for. Now where’s the eclipse. Where I was the eclipse had a very minor impact on the moon this night. You couldn’t really tell there was one actually. I continued to take pictures trying different shots and exposures. I never really got the correct exposure out in the field. This one is still overexposed to see any details in the moon.

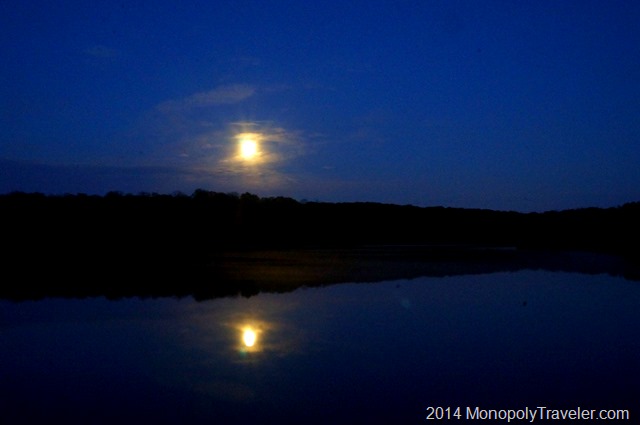
More Moon Bursts

While trying different exposures I did capture the moon burst again. I thought that was kind of interesting as it reflected in the water. In the moons reflection, fog was beginning to float across the water. Unfortunately it didn’t get as pronounced as I was hoping for once I saw it beginning to form. It was interesting to see it form at the shoreline and travel across the water.

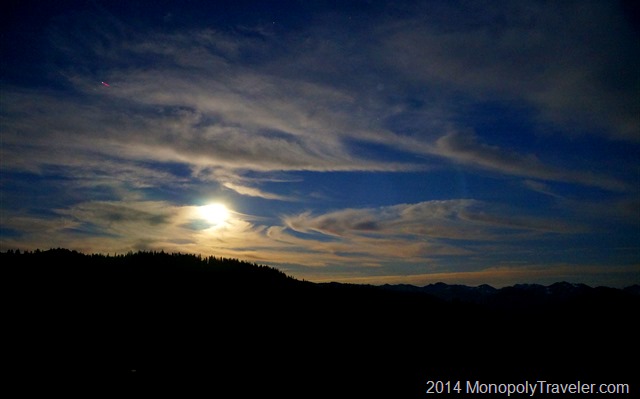
In the photo below I wasn’t actually intending on photographing the moon. This was by accident while traveling in the Olympic Mountains in Washington. The purpose was to capture stars in a dark setting but, not doing my homework first, the moon changed that. Just as the sun set and the stars began to shine I had the camera set up and was about to begin shooting away when the sky lit up. Turning around I cold see a full moon rising over the mountains. So much for star pictures. The way the clouds where swirling in the sky lit up by the moon I decided to change my focus a little and take photos of the moon. Still a little overexposed but I wanted to get the clouds and the mountain in the picture so I wasn’t exposing just for the moon. More practice is needed for my moon photography. Eventually I’ll get the exposure right.

The Moon Interacting With the Clouds in the Olympic Mountains

Low Angles

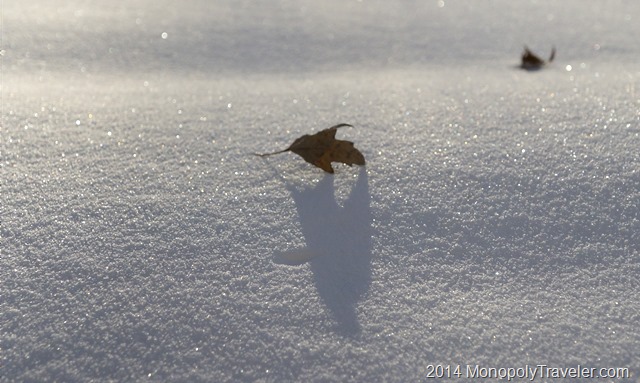
Snow Sparkling in the Sun

What better way to kick off the new year than by continuing on the photography experiment, I’ve been working on using a different perspective for some of my shots – a low angle. Playing around with using low angles has really helped change my perspective when trying to setup a shot. Fortunately there have been some amazing sunsets recently encouraging me to get out in the cold and snow to play with the camera. The photo above caught my attention as the sun was rising higher in the sky one morning reflecting on some freshly fallen snow. A perfect time to practice a low angle to see if I could capture the scene in a little different view. I really like the leaf and it’s shadow in contrast to the white shimmering snow and the detail this angle presents. Centering the leaf in the shot probably was not the best choice but that’s what practicing is for, right?

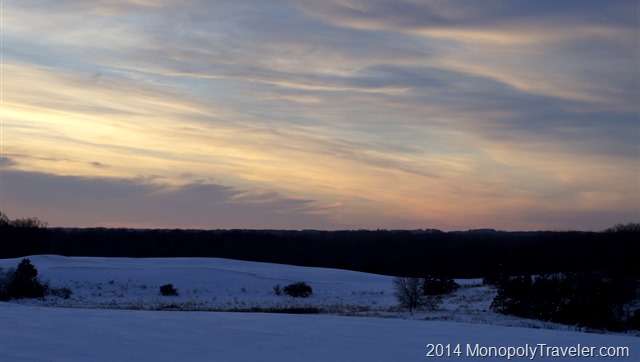
Normal View of a Winter Sunset

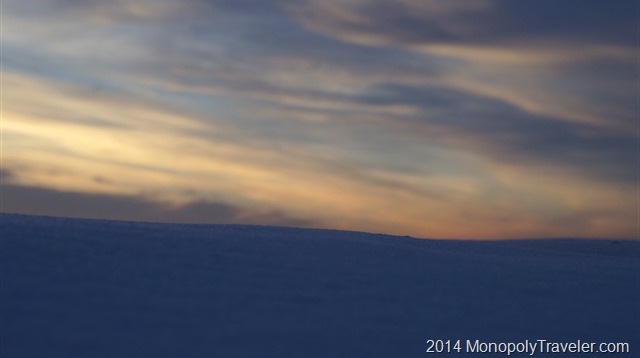
While the sun was setting one winter evening I loved how the clouds and colors were interacting giving a beautiful view. Taking several pictures of the surrounding landscape at the normal photographic view gave some nice photos but something we’re used to seeing. Trying something a little different such as a low angle shot provides a little different picture. I’m undecided if I like the sky in the background out of focus or not. Using a low angle meant I could either focus on the sky or the snow but not really both. While out practicing I didn’t take multiple shots changing the focus and then deciding which I liked better. I guess there’s a reason to get out again and spend a little more time changing the focus. Ultimately this picture highlights the clouds and colors in the sky more because all of the mid-ground elements are hidden putting the sky against the snow.

Low Angle of the Same Winter Sunset

Changing locations I tried this technique again to see how it would look at a different perspective. Walking out on a frozen lake covered in snow I didn’t like how the picture looked while placing the camera at snow level. It wasn’t low enough to capture enough of the snow covered lake. Fortunately the camera I use has a flip screen so I can see how things look before taking the picture. To try and improve things I kicked out the snow to get the camera lower giving a more balanced picture. At least I thought it did. As a side benefit some of the snowballs from kicking out this snow gave some great shapes to enhance the overall shot. In fact, I believe they make this photo. Without them the whole scene loses something. It becomes a little boring to me even though the clouds were reflecting off some great color in interesting shapes. Again, the snow is out of focus and I’m uncertain if it should have been more in focus. More to practice with on the next outing.
Low Angle With a few Snowballs

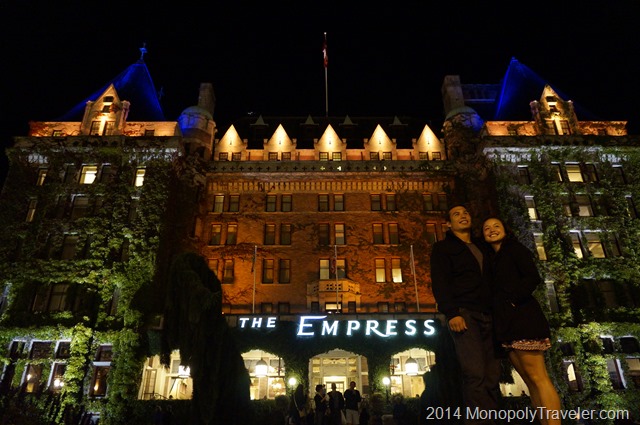
Low angles aren’t just for a wintery landscape. While in Victoria, British Columbia this past fall this couple wanted their picture taken in front of the Empress Hotel. Unfortunately the best photo opportunity is from the sidewalk in front of the hotel which is fairly close to the hotel. The choice is to cut off part of the hotel or part of the couple unless you’re using a wide-angle lens which I don’t currently have. Wait, a low angle just might provide another option which is what I used hear. A low angle shot can be for more than just a different perspective I guess. A technique definitely worth using. There are very few pictures using it that I found uninteresting.

_DSC5630

Get Close, Go Wide

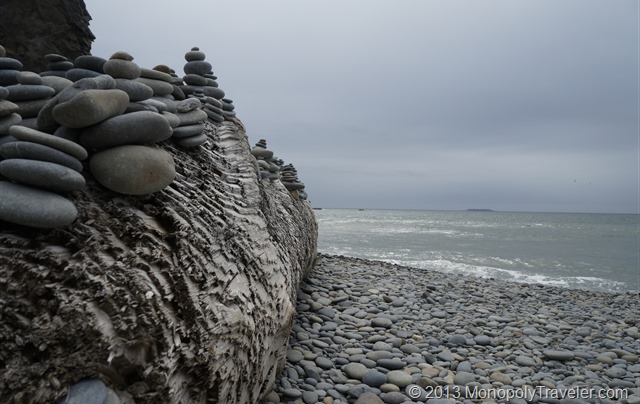
Close up of a log leading out to the ocean

This is a technique that looks like it can offer some unique pictures and has given me some interesting shots. Unfortunately I don’t have a wide angle prime lens for my camera as suggested in this article. That doesn’t mean the technique can’t be used. It just needs to be used a little differently such as the camera needs to be further away from the close subject in order to focus on it. The photo above was taken on the shore of Olympic National Park.

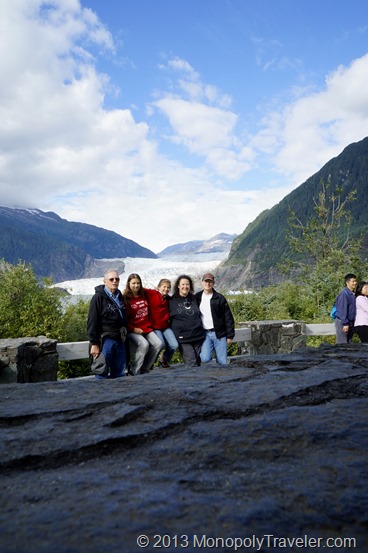
Family Portrait Using the Close - Wide Technique

Here is another way to use the “Get Close, Go Wide” technique. Using the stones in the foreground add depth to this picture. Not that I was trying to accomplish that. It was more of an accident because the tripod was setup behind this stone wall with the camera just above the stone in order to capture the glacier behind us. Fortunately the settings for this type of picture were correct to get some of the stone in focus along with the group of people all the way out to the mountains. Even though it was not entirely intentional, I like the effect. Now let’s see if I can do this again on purpose.
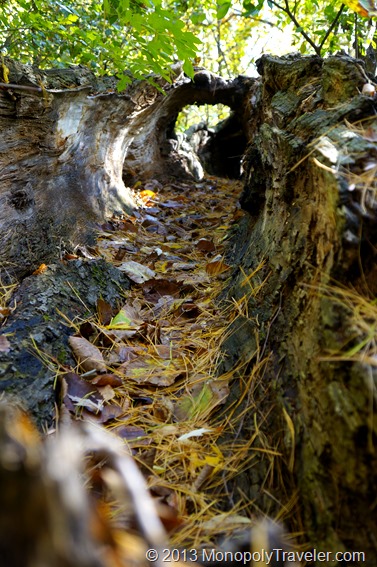
Close Up of a Hallow Log

This was an attempt at photographing a hallow log using this technique. The log is interesting put I don’t think this photo works very well in this situation. I may have to try a different perspective to really capture the essence of this log.
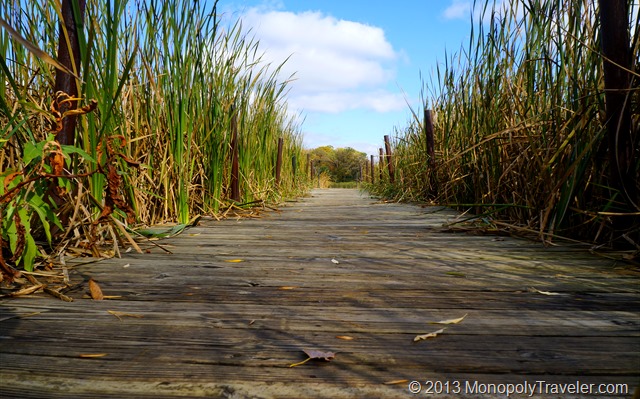
Close up of a Dock Leading to the Lake

I like the “Get Close, Go Wide” technique for this photo. Can you imagine the lake at the end of this dock? Maybe a kid jumping off the dock into the lake on a hot summers day? Or a dad and his daughter walking on this dock to go fishing? It’s all in your perspective.

Waterfalls

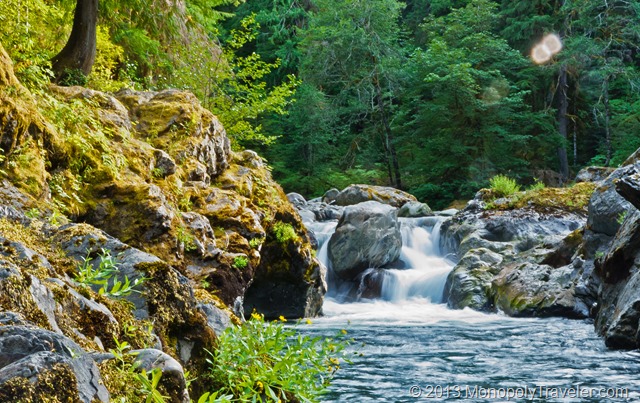
Salmon Cascades in Olympic National Park

Earlier this year I wrote about Chasing Waterfalls in my attempt at improving my photographs. You can read about that here…. While that portion of the photography experiment didn’t turn out very well, it did give me practice for this next opportunity at capturing waterfalls.

The Pacific Northwest is very scenic with a number of beautiful landscapes to enjoy. The combination of mountains and precipitation create stunning views. Of course finding a day without rain or snow to get out and explore these views is a little more challenging. Fortunately for our trip, there was very little rain allowing us to get out and see some amazing waterfalls. The photographs show this all for themselves so I’ll concentrate on showing them.

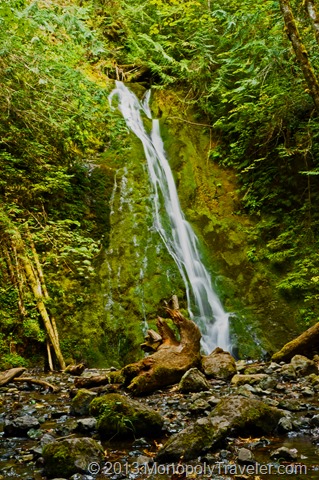
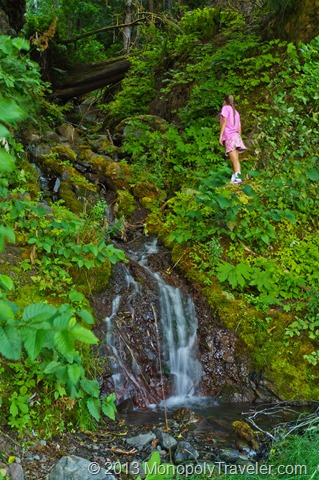
Madison Falls by the Elwha River

This waterfall is a very short hike from the nearest parking area by the Elwha River in Olympic National Park and is definitely worth taking time to see.

Even Driving There are Several Waterfalls Next to the Road

While stopped at a pull out near Crescent Lake to take in the view, this waterfall was right behind us.

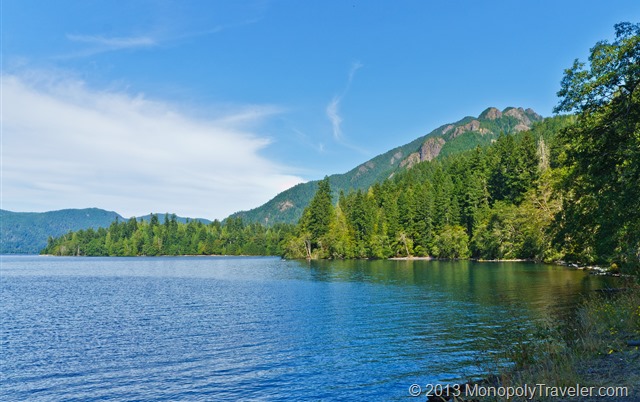
Crescent Lake

The view we stopped to take in when we saw the waterfall next to the road.

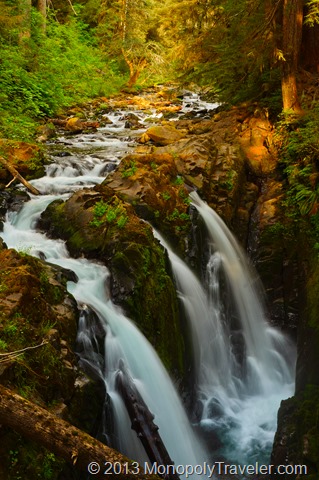
Sol Duc Falls

This waterfall is a bit more of a hike but again was worth the time to explore.

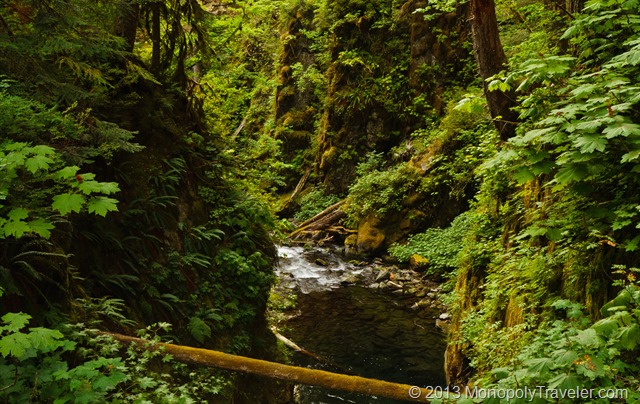
Canyon Carved Out by the Sol Duc River

A beautiful canyon covered in mosses and plants carved by the Sol Duc River.

Help Stop Photo Blur

Blurred Evening Photo

Frequently enough photos are blurry. I decided to check the settings some of these pictures and see how many of my blurry photos violate Peter Carey’s rule for sharper images which you can read about here. The image above has a focal length of 55mm and exposure time of 15 seconds. Yes, the camera was on a tripod as I was taking night photographs trying to capture the thousands of fireflies flashing about. Unfortunately this was in a city and there just was too much light for effective lightning bug pictures. According to the rule of thumb, the exposure time should have been 1/55 second or faster. if the camera was handheld. In this instance the camera was probably bumped.

Too slow of a Shutter Speed

Another case where the shutter speed is too slow for the focal length. This was taken at 21mm focal length and 1/2 second exposure time. It should have been at 1/21 second or faster in order to produce a sharper image. Taken again in the evening with the light going away quickly so the camera was compensating for the reduced light.

Image Taken with the correct Shutter Speed

The above image was taken with a focal length of 21mm however the shutter speed was 1/30 of a second producing a sharper image. Another one of those details to improve my photographs.