Inspiration From Zach

I heard Zach Sobiech on the radio last year and was inspired. In brief, he was diagnosed with cancer early in life and given a short time to live. As a parting message he wrote a song which has been doing quite well – it’s called Clouds. This was kind of his way of saying goodbye. Unfortunately Zach passed on May 20,2013.

To see his story watch the video.

There are many stories of kids that are terminally ill and are difficult to understand and accept. There is inspiration in these stories. Inspiration for gratitude. Inspiration for those around you. The biggest piece of inspiration I received from Zach is to live! To me that doesn’t mean living on the edge and skydiving or swimming with the sharks. It means looking back on the day and finding those pieces of joy. Enjoying those your with that day even if they have done things that really irritate you and they do it every day. We all receive unwanted news and get angry or depressed. Feel it, embrace it, and move on. This doesn’t mean do it all in minutes. It could take days, weeks, or even months to move on. Just don’t let if affect you for years and years.

How often do you stop and ask during the day “Am I enjoying this?” It’s a valid question. What is interesting is the answers you begin to give yourself. Why are you or are you not enjoying this right now? Could you be? Should you be? Is there something that needs to be changed? What are the consequences of those changes? You realize you are in control of more than you thought and that can be invigorating.

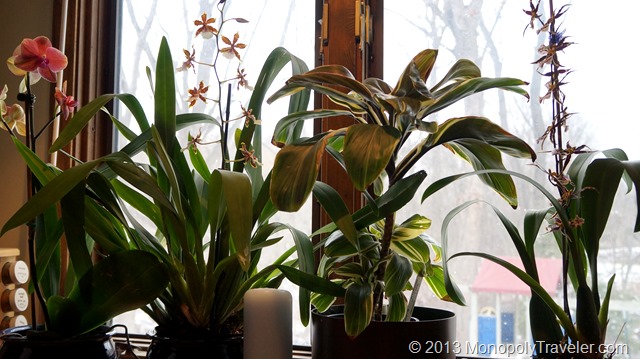
Orchids - One of My Hobbies

For me, I enjoy learning and experiencing new things. I change hobbies somewhat frequently. It may be keeping fish for awhile and then moving on to orchids and then photography. With each hobby comes dedication to learning and expenses. Traveling to different destinations is my most impactful hobby. Sometimes those travels are costly and other times they are just a day trip with little cost. Traveling is not just about the destination, it’s about experiences and the people that I get to share those with.

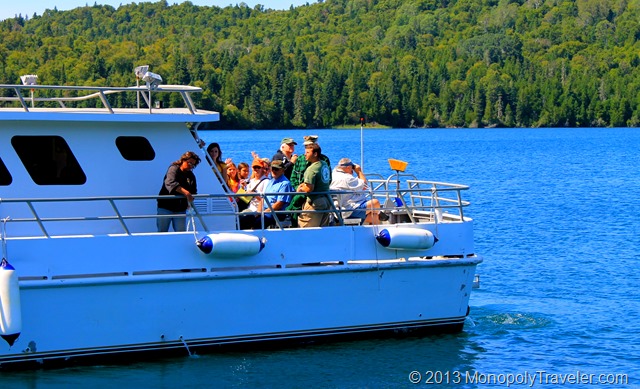
Those I get to Travel With

Zach has re-inforced that the things I like to do are ok. It’s alright to keep learning and living. Changing hobbies every 3-5 years has become a little frustrating because of the time, energy, and money I put into them. While I learn a lot, I can never seem to become a master at any of them because I get bored with them. Maybe that’s what I’m really good at, learning. Zach’s message to live reminds me that is what I’m doing and what works for me.

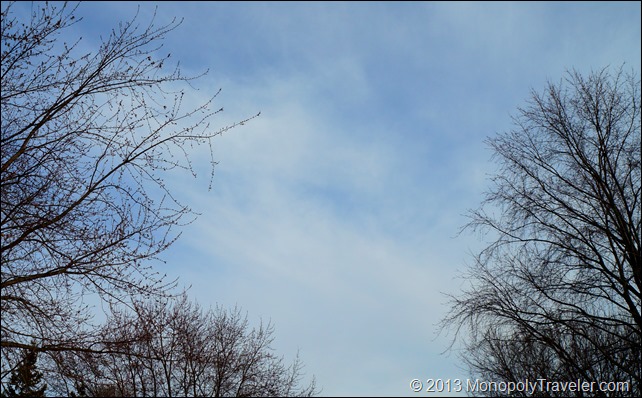
Clouds

I hope Zach can be an inspiration to you also!

Metering Modes

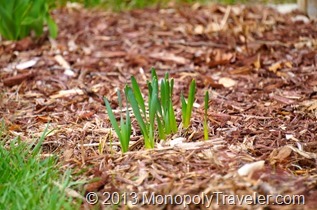
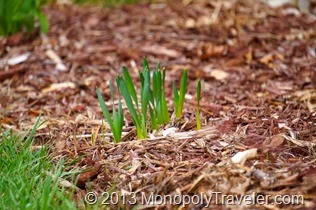
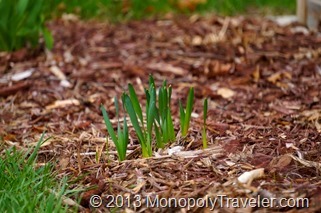
Metering modes are not something that I have ever really played around with as I keep this set to pattern on my cameras which is the same as matrix or evaluative in Peter’s article on metering modes. I decided to play around with this a little to see what differences I could find. The different modes are only available with the aperture priority, shutter priority, program, and manual settings. I set the camera in aperture priority and kept the ISO at 1600. The camera was not on a tripod so each shot is slightly different which could account for some of the variation in these pictures. That being noted, here’s a few pictures:

DSC02751_thumb6DSC02752_thumb9

DSC02753_thumb8

The top left photo used spot metering while the top right photo used center weighted average and the photo to the left used pattern. I don’t see much of a difference in any of these that even at larger sizes. These were taken during the morning on a sunny day at close range possibly negating any difference in modes. These are daffodils emerging from their winter nap.

DSC027587_thumb9DSC027591_thumb3

DSC027601_thumb3

These photos are in the same order as the previous group with spot metering top left, center weighted average top right, and pattern metering on the left. As in the daffodil group above, I don’t see a lot of difference between modes. Again these were taken outside in the sun so the difference may be less noticeable if there is any.


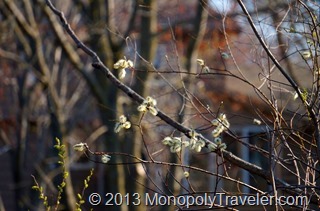
DSC027621_thumb6DSC027631_thumb4

DSC027611_thumb6

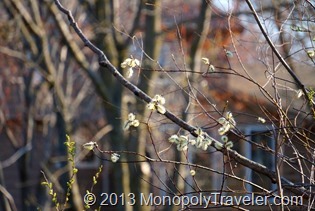
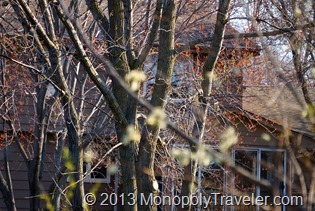
These photos show more of a difference in modes most likely because of the distance between the foreground and background. The order is the same with spot metering top left followed by center weighted top right and pattern to the left. Both the spot and center weighted are focused on the pussy willows while the pattern focuses on the trees in the background. The spot metered picture is a little darker than the others with greater focus on the details of the pussy willow branch. Center weighted obviously let in more light making the whole photo brighter. The pattern photo is the brightest of the three modes due to the whole picture being weighted for light levels by the camera.

I didn’t see a lot of differences by changing the metering modes for photos shot closer to the subject but once you step back and take pictures of a larger area the differences begin to show up. There are plenty of situations to try this in to find the differences. Peter Carey gives a list on his metering modes page for which modes to use in which situations. Time to go learn more about taking photos. Fortunately many of the issues from incorrect metering can also be taken care of if editing with the exception of focus or too high and too low of an exposure.

Taking Time-Lapse Photos

Getting Setup to Take the Photos

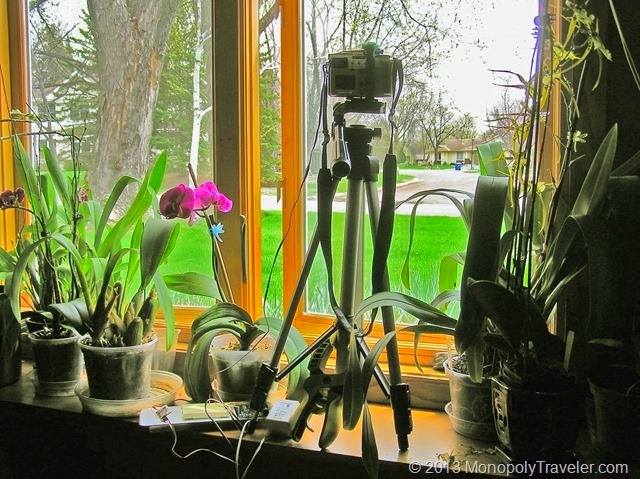
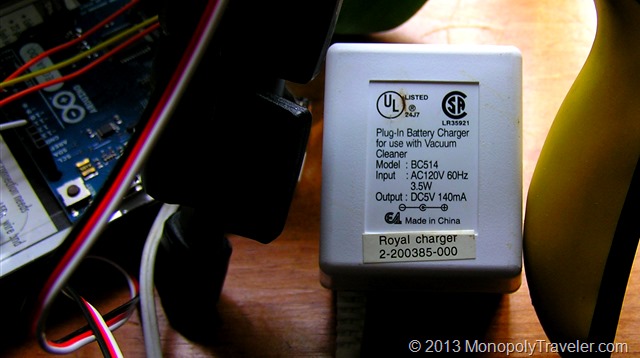
This is how I set everything up to shoot a time lapse video before the snow started falling for one of our April snow storms. I plugged in the Arduino which is connected to a prototype board with the potentiometer on it which is connected the the shutterbug pro which is connected to the servo on top of the camera set to take pictures. I found an AC adapter around the house ( I knew I saved these things for a reason) that puts out 5 volts DC current which is perfect to power all of the boards and the servo. As a bonus the plug fits perfectly into the port on the Arduino board. Should be all ready to go now.

The AC Adapter

The next thing is to adjust the camera for taking the pictures. If it was left in automatic mode it would re-focus each time and set different shutter, aperture, and ISO for each shot. This takes time, energy, and changes how each picture looks so that there is a flicker appearance in a time-lapse. To help avoid this I set the camera on aperture priority with a setting of f2.8 so I could get as much light to the senor as possible because it was darker than normal with the heavy cloud cover and snowfall along with the day transitioning to night during the shooting time of over 8 hours. Also, the focus was set to manual and adjusted for further away. This saves power since the camera doesn’t have to focus for each picture and prevents it from transitioning the focus from the street to the glass in the window as night arrives since this all took place through the window. Here is the final video which lasts 24 seconds but taken over 8+ hours in time.

video
play-sharp-fill

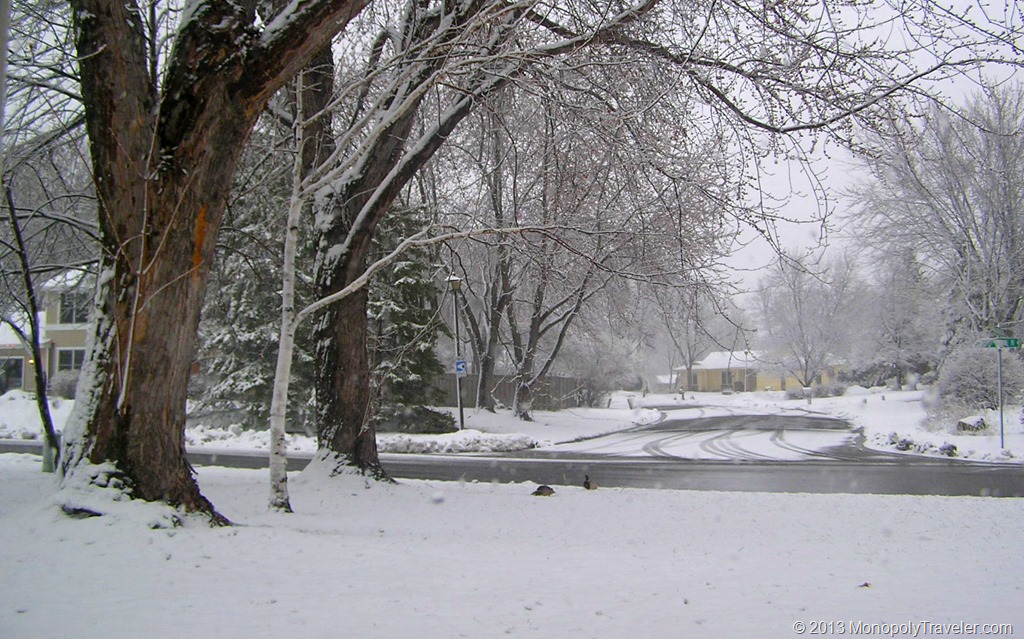
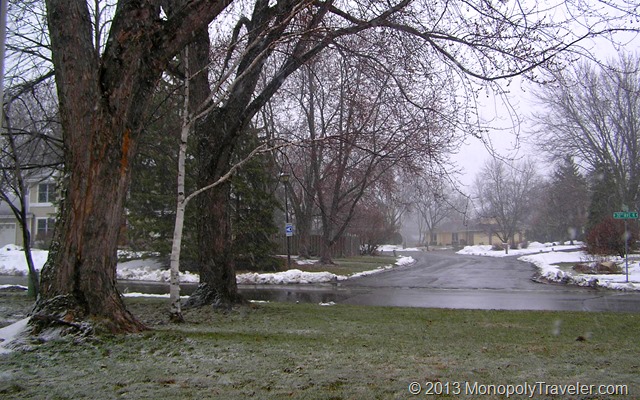
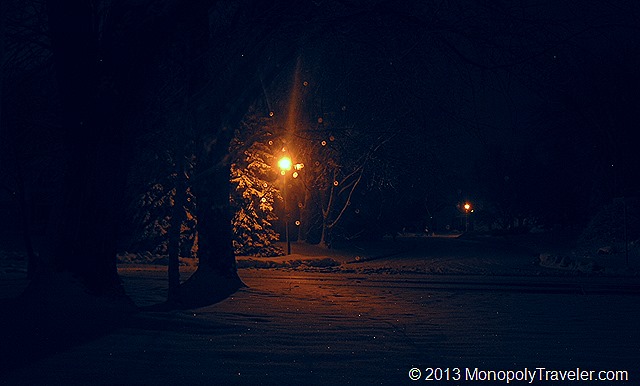
Some points of interest. First, at about 5 seconds, if you’re lucky, you can see a pair of ducks venture into different yards for a few frames. Second, I used 25 frames per second which means that for every second of video there are 25 pictures. Calculating that out you get 600 pictures taken over the 8+hours which is 1 picture every 50 seconds. I used 8 hours because that’s how long the batteries lasted in the camera. Below are the first and last photo so you can compare the difference in light throughout this project.

First Photo of Time Lapse


Last Photo of Time Lapse