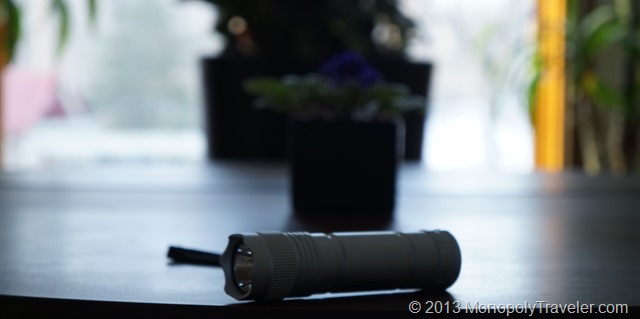
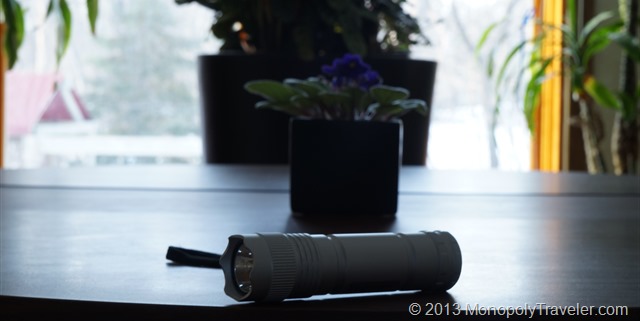
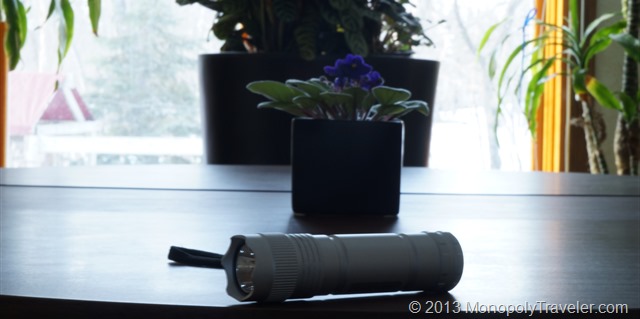
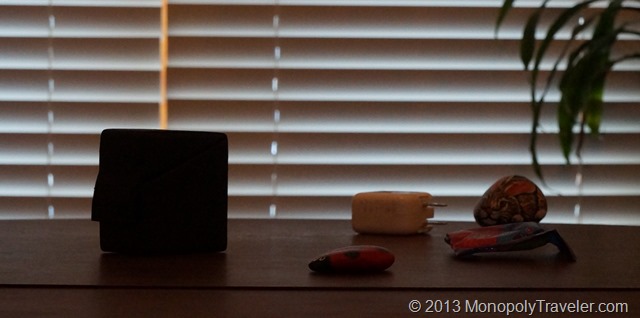
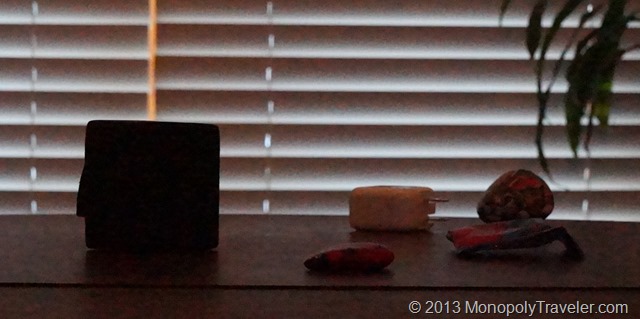
Continuing on with my determination to learn how to better use my camera, I took on a few experiments recommended by Peter Carey in his post about Exposure. The first one involves changing Aperture from the lowest aperture to the highest. On my camera that involved 6 different photos. My apologies as the lighting is not great for these photos but the basic idea still comes through.
In the top photo the background is completed blurry and the shutter speed was the slowest. As I progressed through each level I noticed two things happening. First, the shutter speed decreased as I moved the aperture higher. This is in response to the camera letting in less light (larger aperture) requiring a longer exposure to capture the elements in the photo to offset the smaller opening. Second, more and more of the background came into focus. You can see the difference in focus from the top photo to the bottom one. This must be what they call depth of field and what is meant by losing depth of field as the aperture increases. Nice experiment Peter!
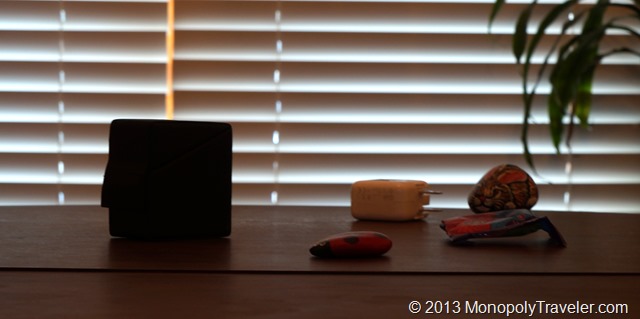
The next experiment was with ISO. Keep aperture steady and increase ISO and see what happens. This took 8 photos for me to run through the available ISO range on my camera ranging from 200 to 16,000.
In the top photo the clarity is pretty good as this photo is magnified somewhat. Again as the ISO is increased the shutter speed changed. The higher the ISO the faster the shutter opened and closed to compensate for the sensitivity to light as affected by the changing ISO. As I moved to the middle of the ISO range you can see the graininess appear more in the picture below.
Moving to the lower picture the graininess is really noticeable, especially on the white and black objects. Before understanding how the exposure, aperture, and ISO work together better, I used the exposure setting on my camera to change the picture not realizing that all that was doing was changing one or more of these settings. I thought it was a separate setting altogether. I’m gaining a clearer idea of how each of these can be used to change the look of a photo. A few thousand more photos changing the exposure settings and I should start to get a feel for which to adjust in different situations.

